How to Set Up a Confluence Site and Install the Scroll Apps
Whether you’re brand-new to Confluence, or just need a new Confluence instance where you can freely test and evaluate the Scroll Apps, this guide has you covered.
In just a few minutes, you’ll learn how to set up a free Confluence site and install the Scroll Apps so you’re ready to go.
Set up your Confluence site
Confluence forms the bedrock of your documentation. In this step, you will create a new Confluence site and create a new Confluence Space where you will author your documentation.
Already have a Confluence site? Jump to Install required Scroll apps
| 1 | To create a Confluence site for free, visit the following sign-up page: Confluence Cloud On the sign-up page, click Sign up with Email. You can choose to Continue with Google but for this tutorial, we will stick to Sign up with Email. | 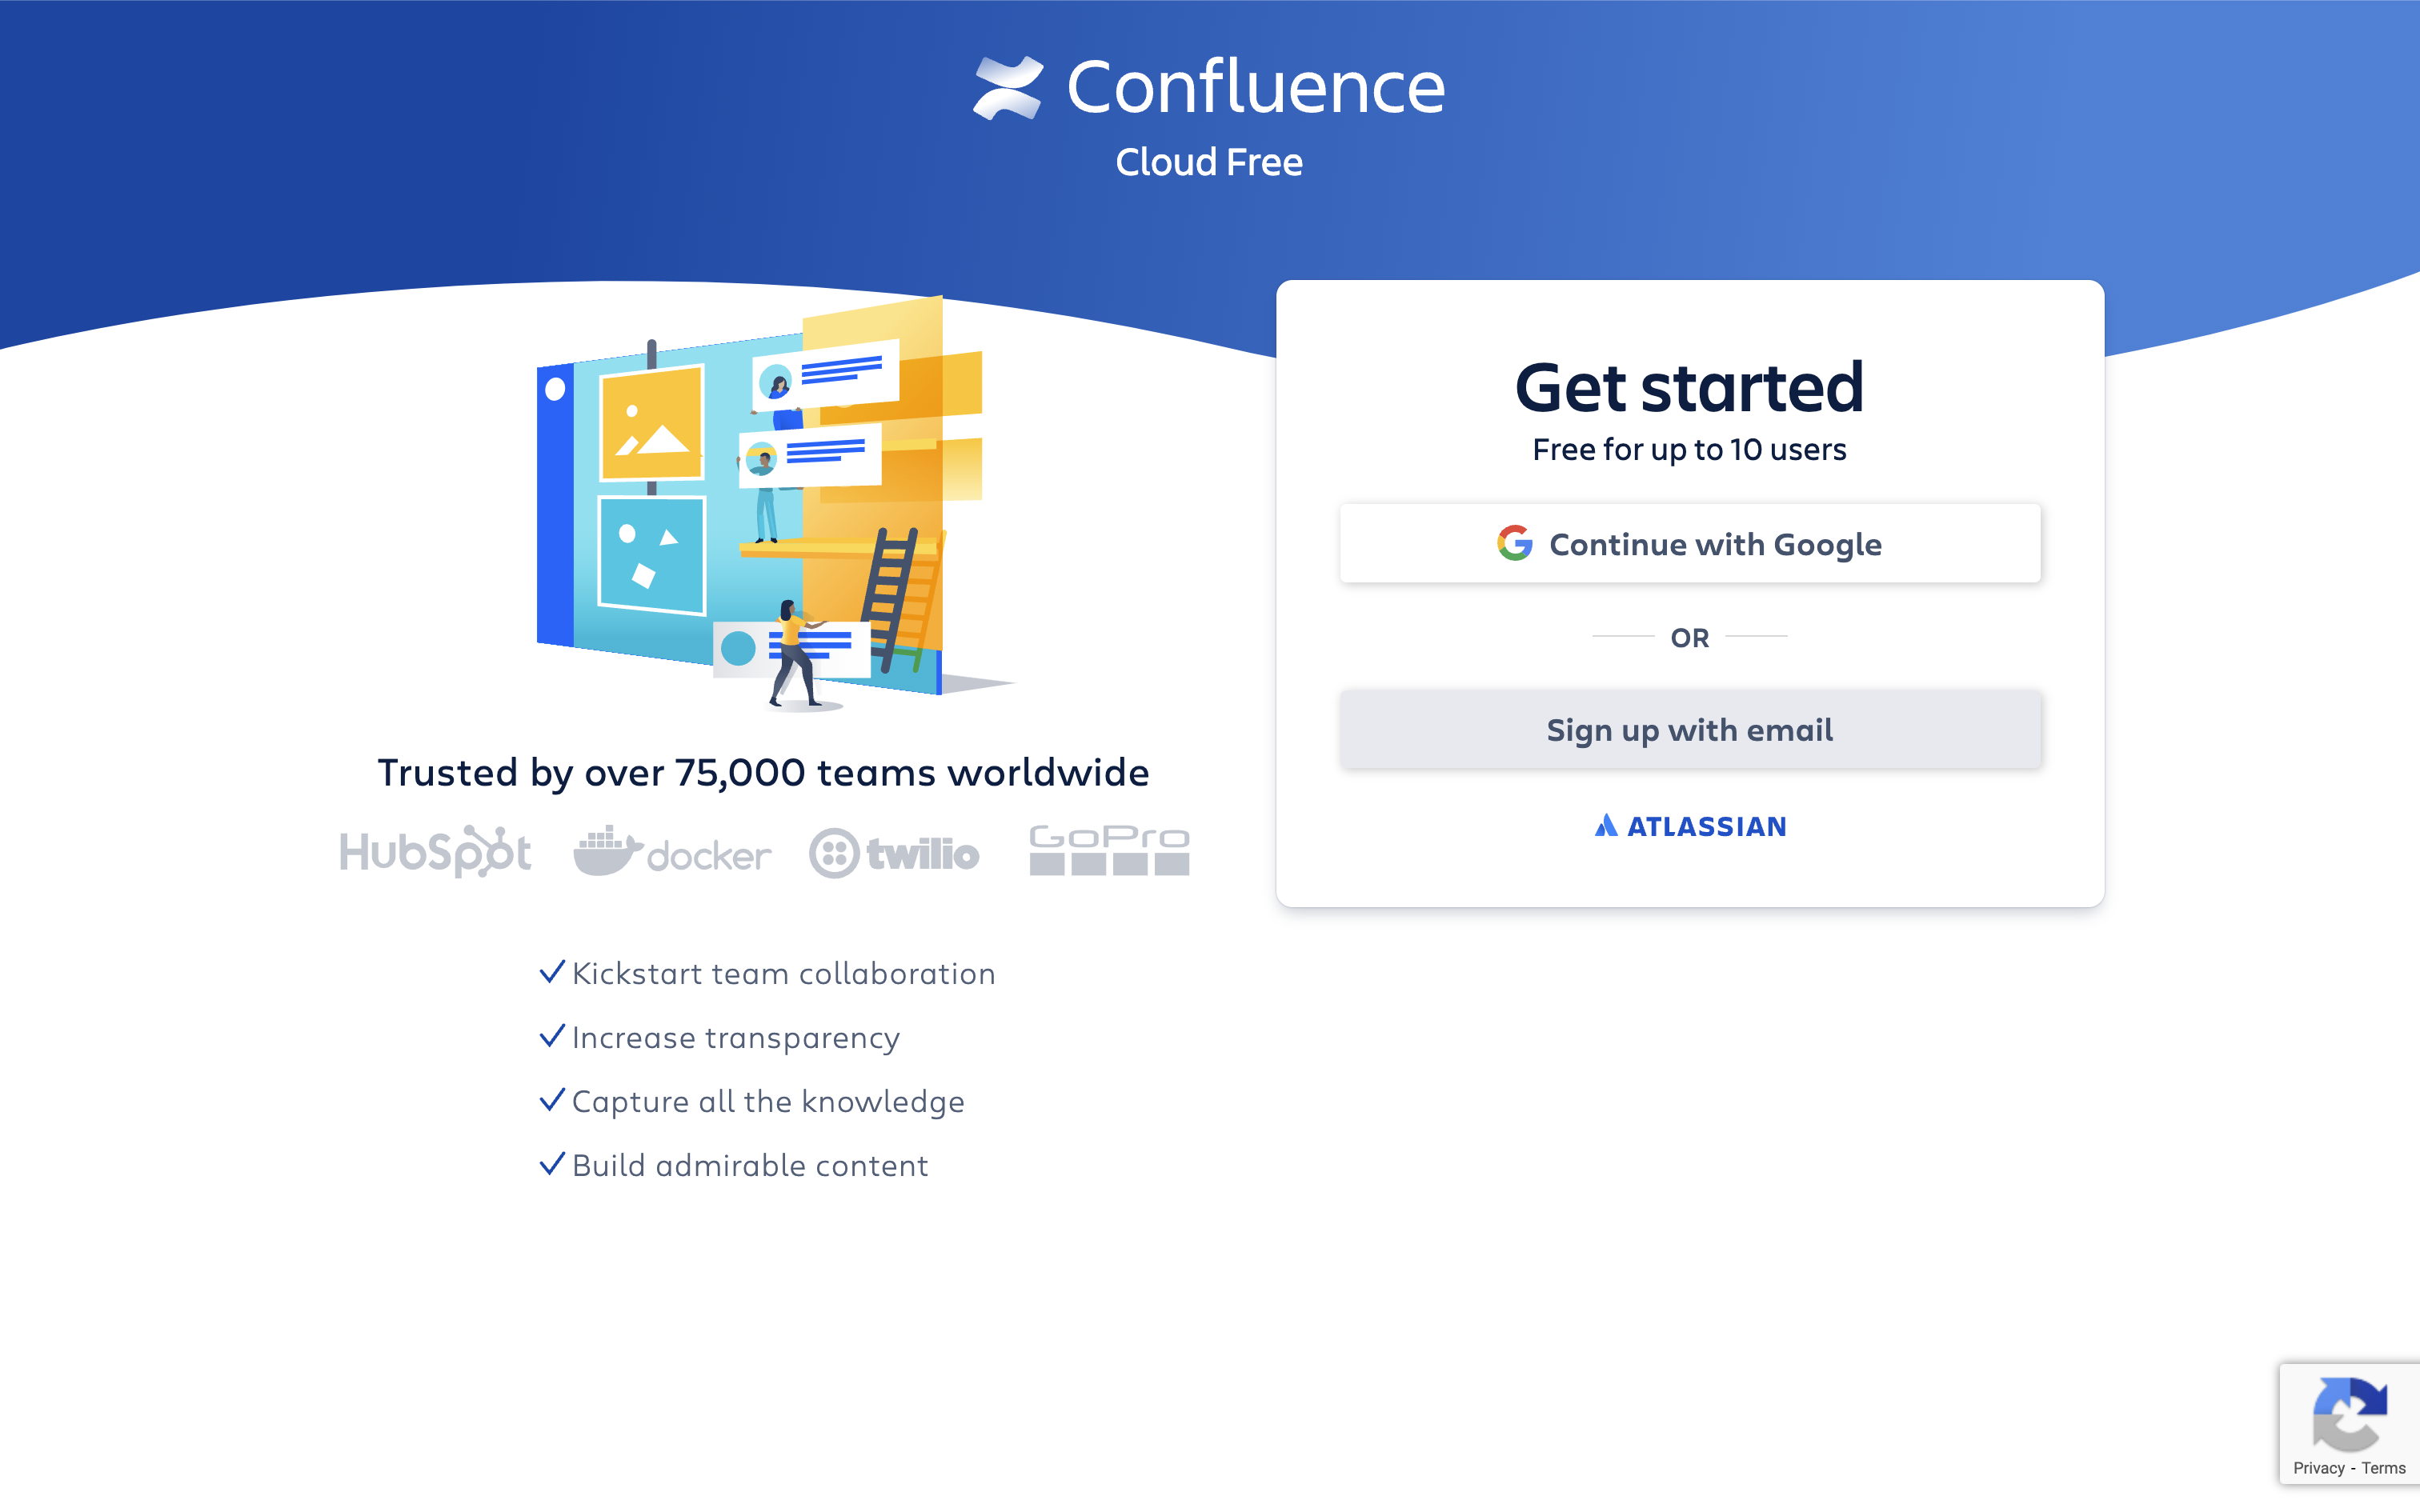 |
| 2 | In the next step, provide your work email and full name, and click Agree. Next, log in to your email inbox, locate the verification email from Atlassian, and click the link to start setting up your Confluence site. You’ll have to enter a name for your new site. | 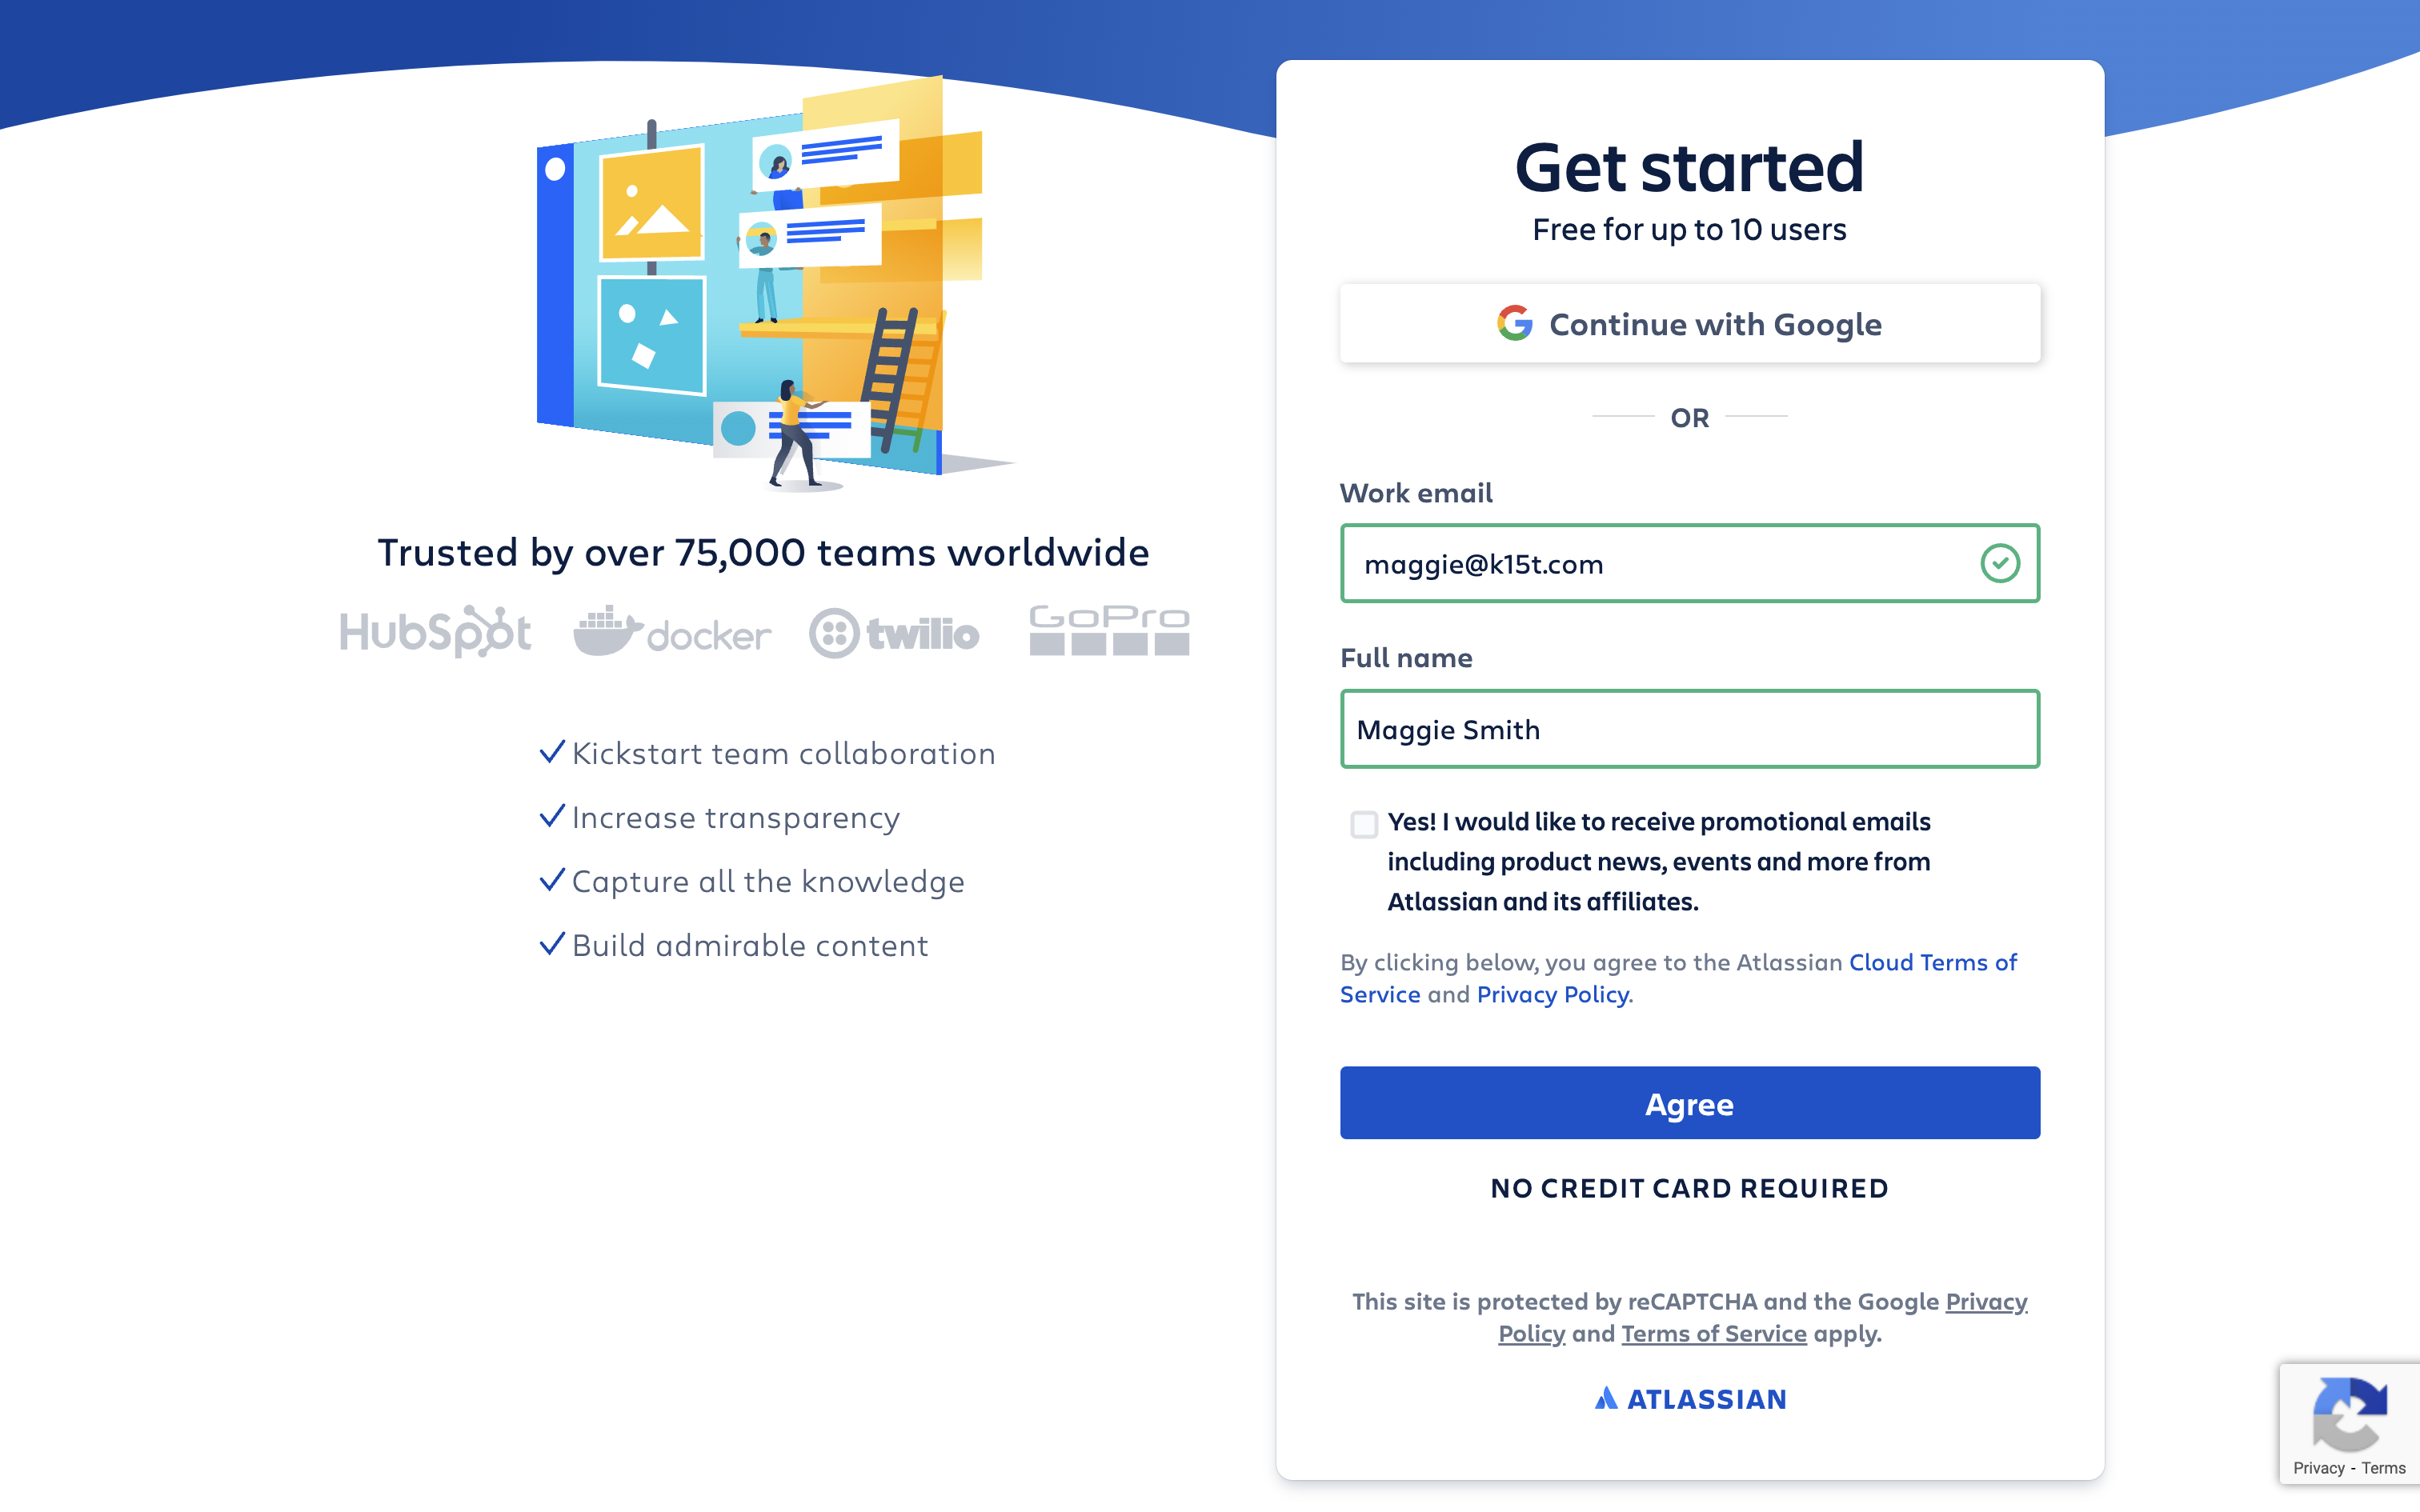 |
| 3 | Confluence will gather some basic information about you to set up your instance. Select the options that best suit your team. For example, we’ll select Software Development to have something familiar already in place in Confluence. | 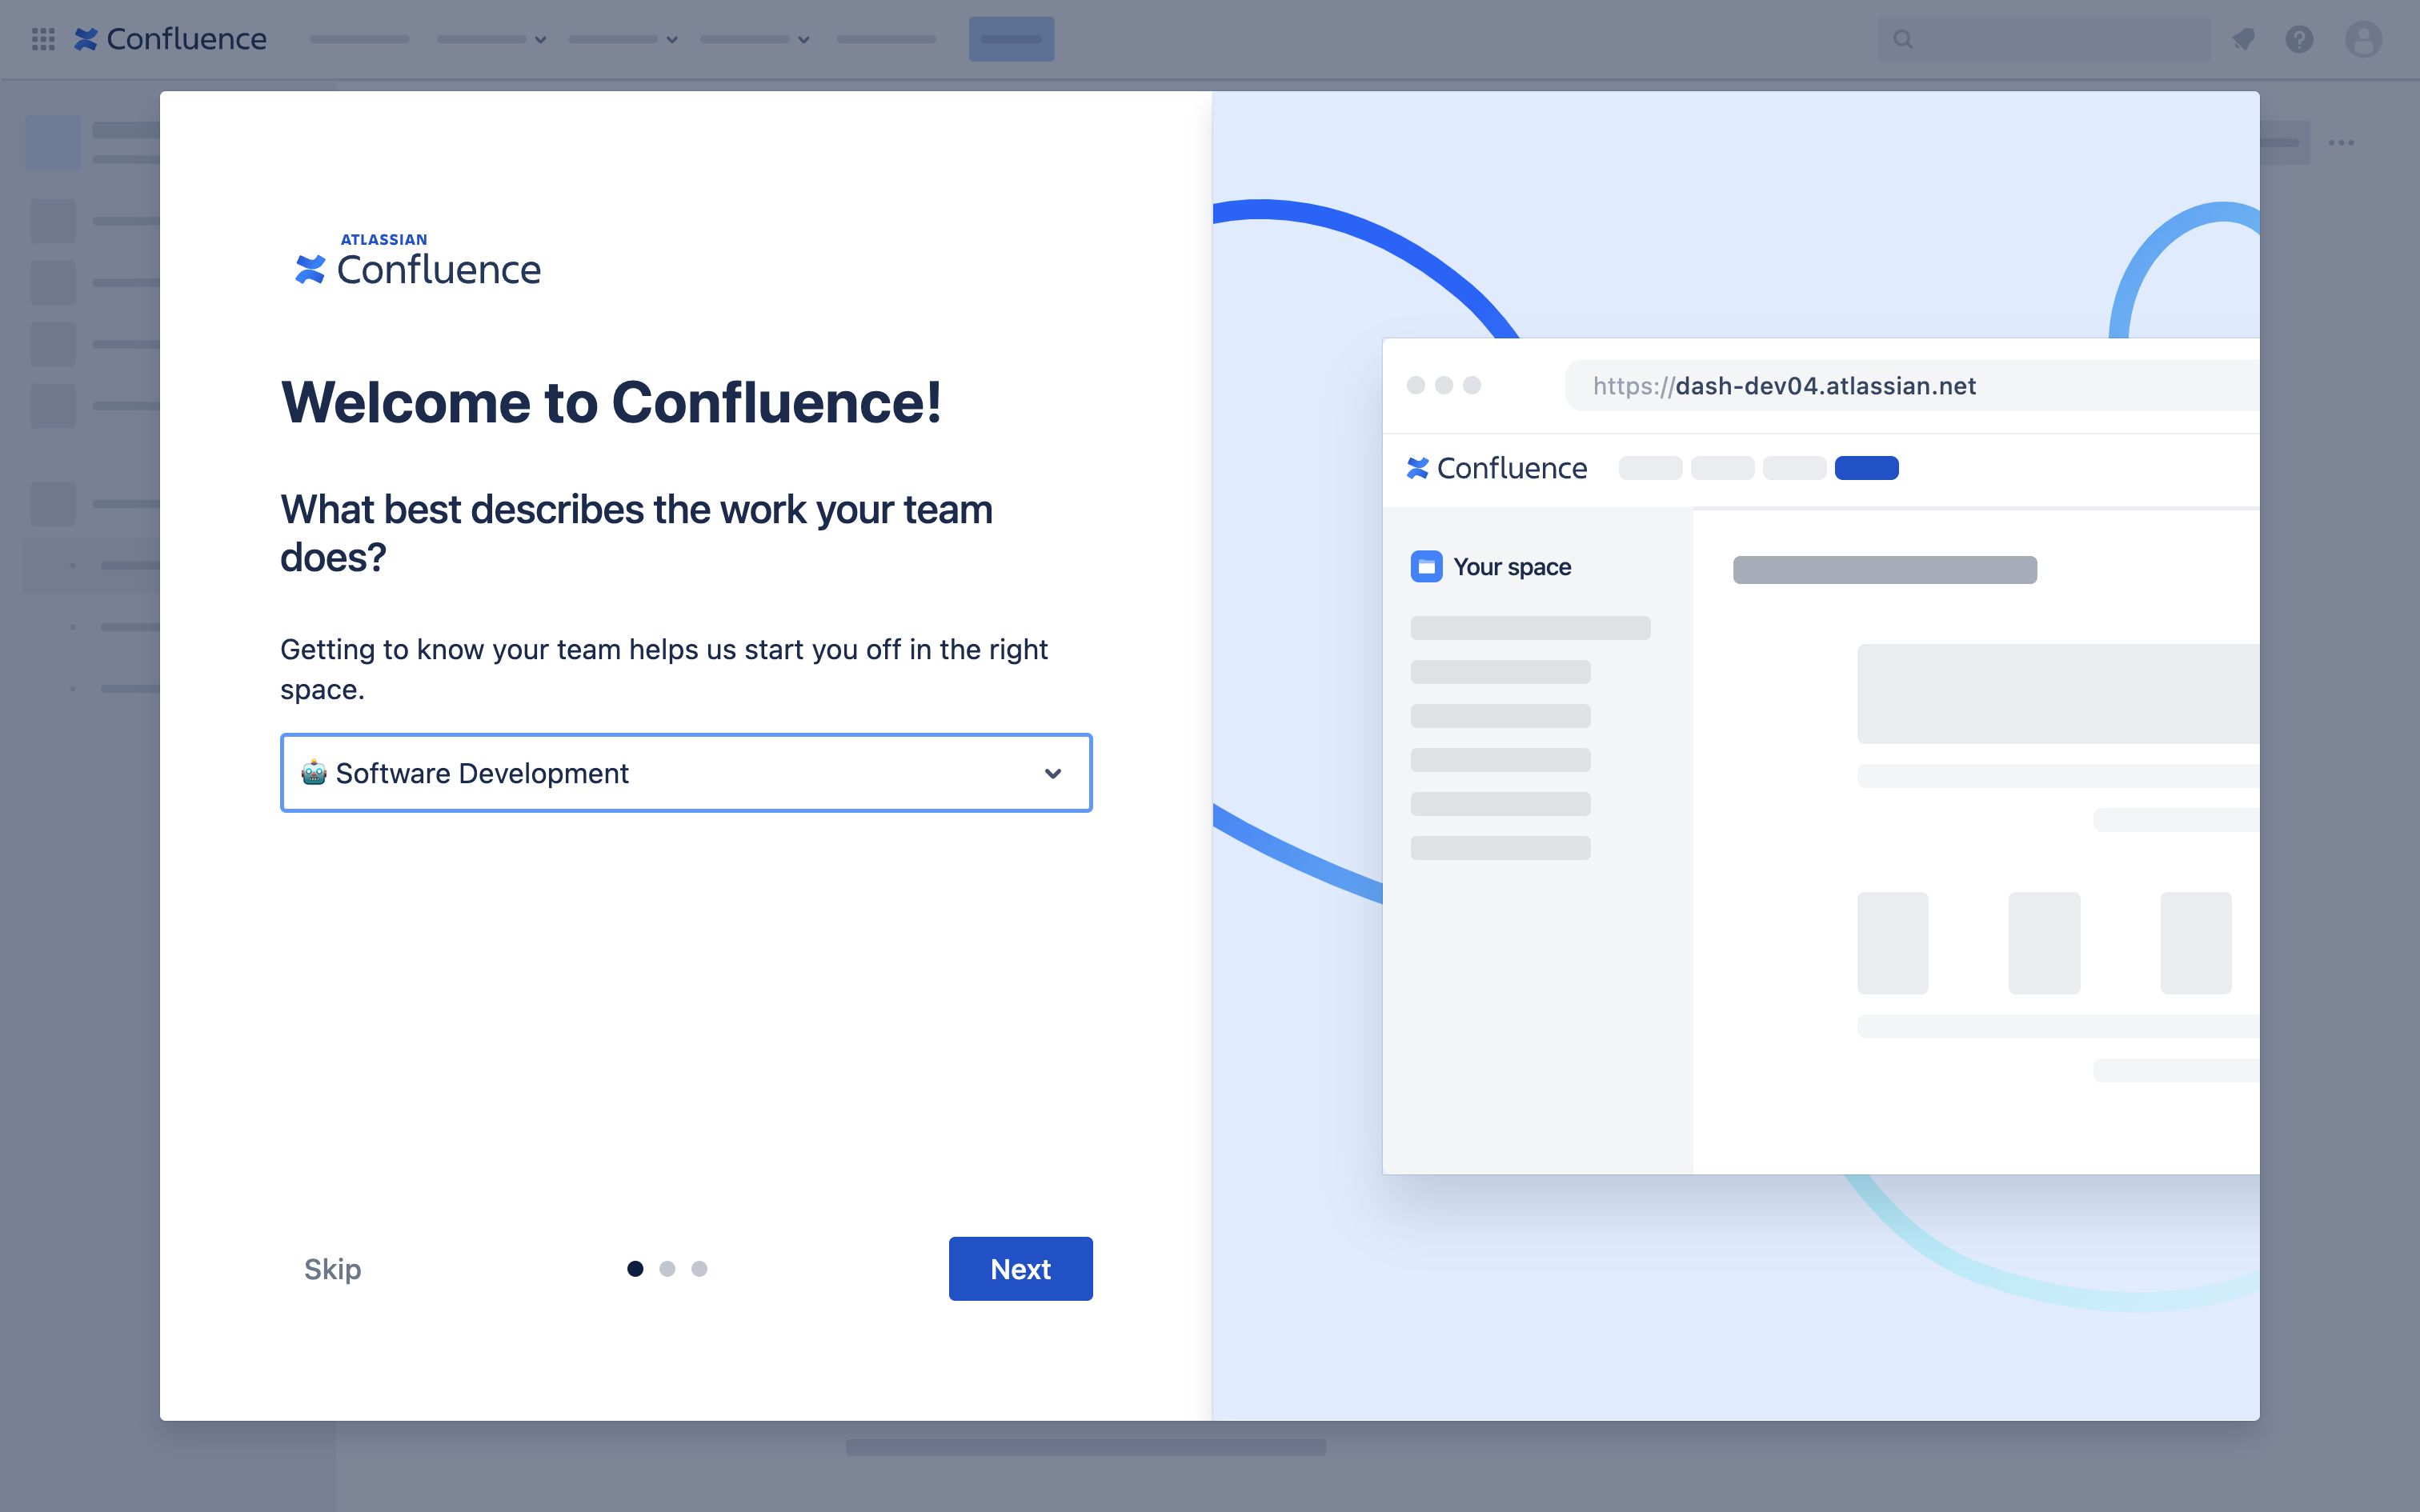 |
| 4 | Next, you'll be prompted to “Name your first space.” Give your space a meaningful name. We’ll call ours Software Development. ℹ️ Info: Spaces are Confluence's way of organizing content into meaningful categories. Think of them as folders where you will put pages of your work. | 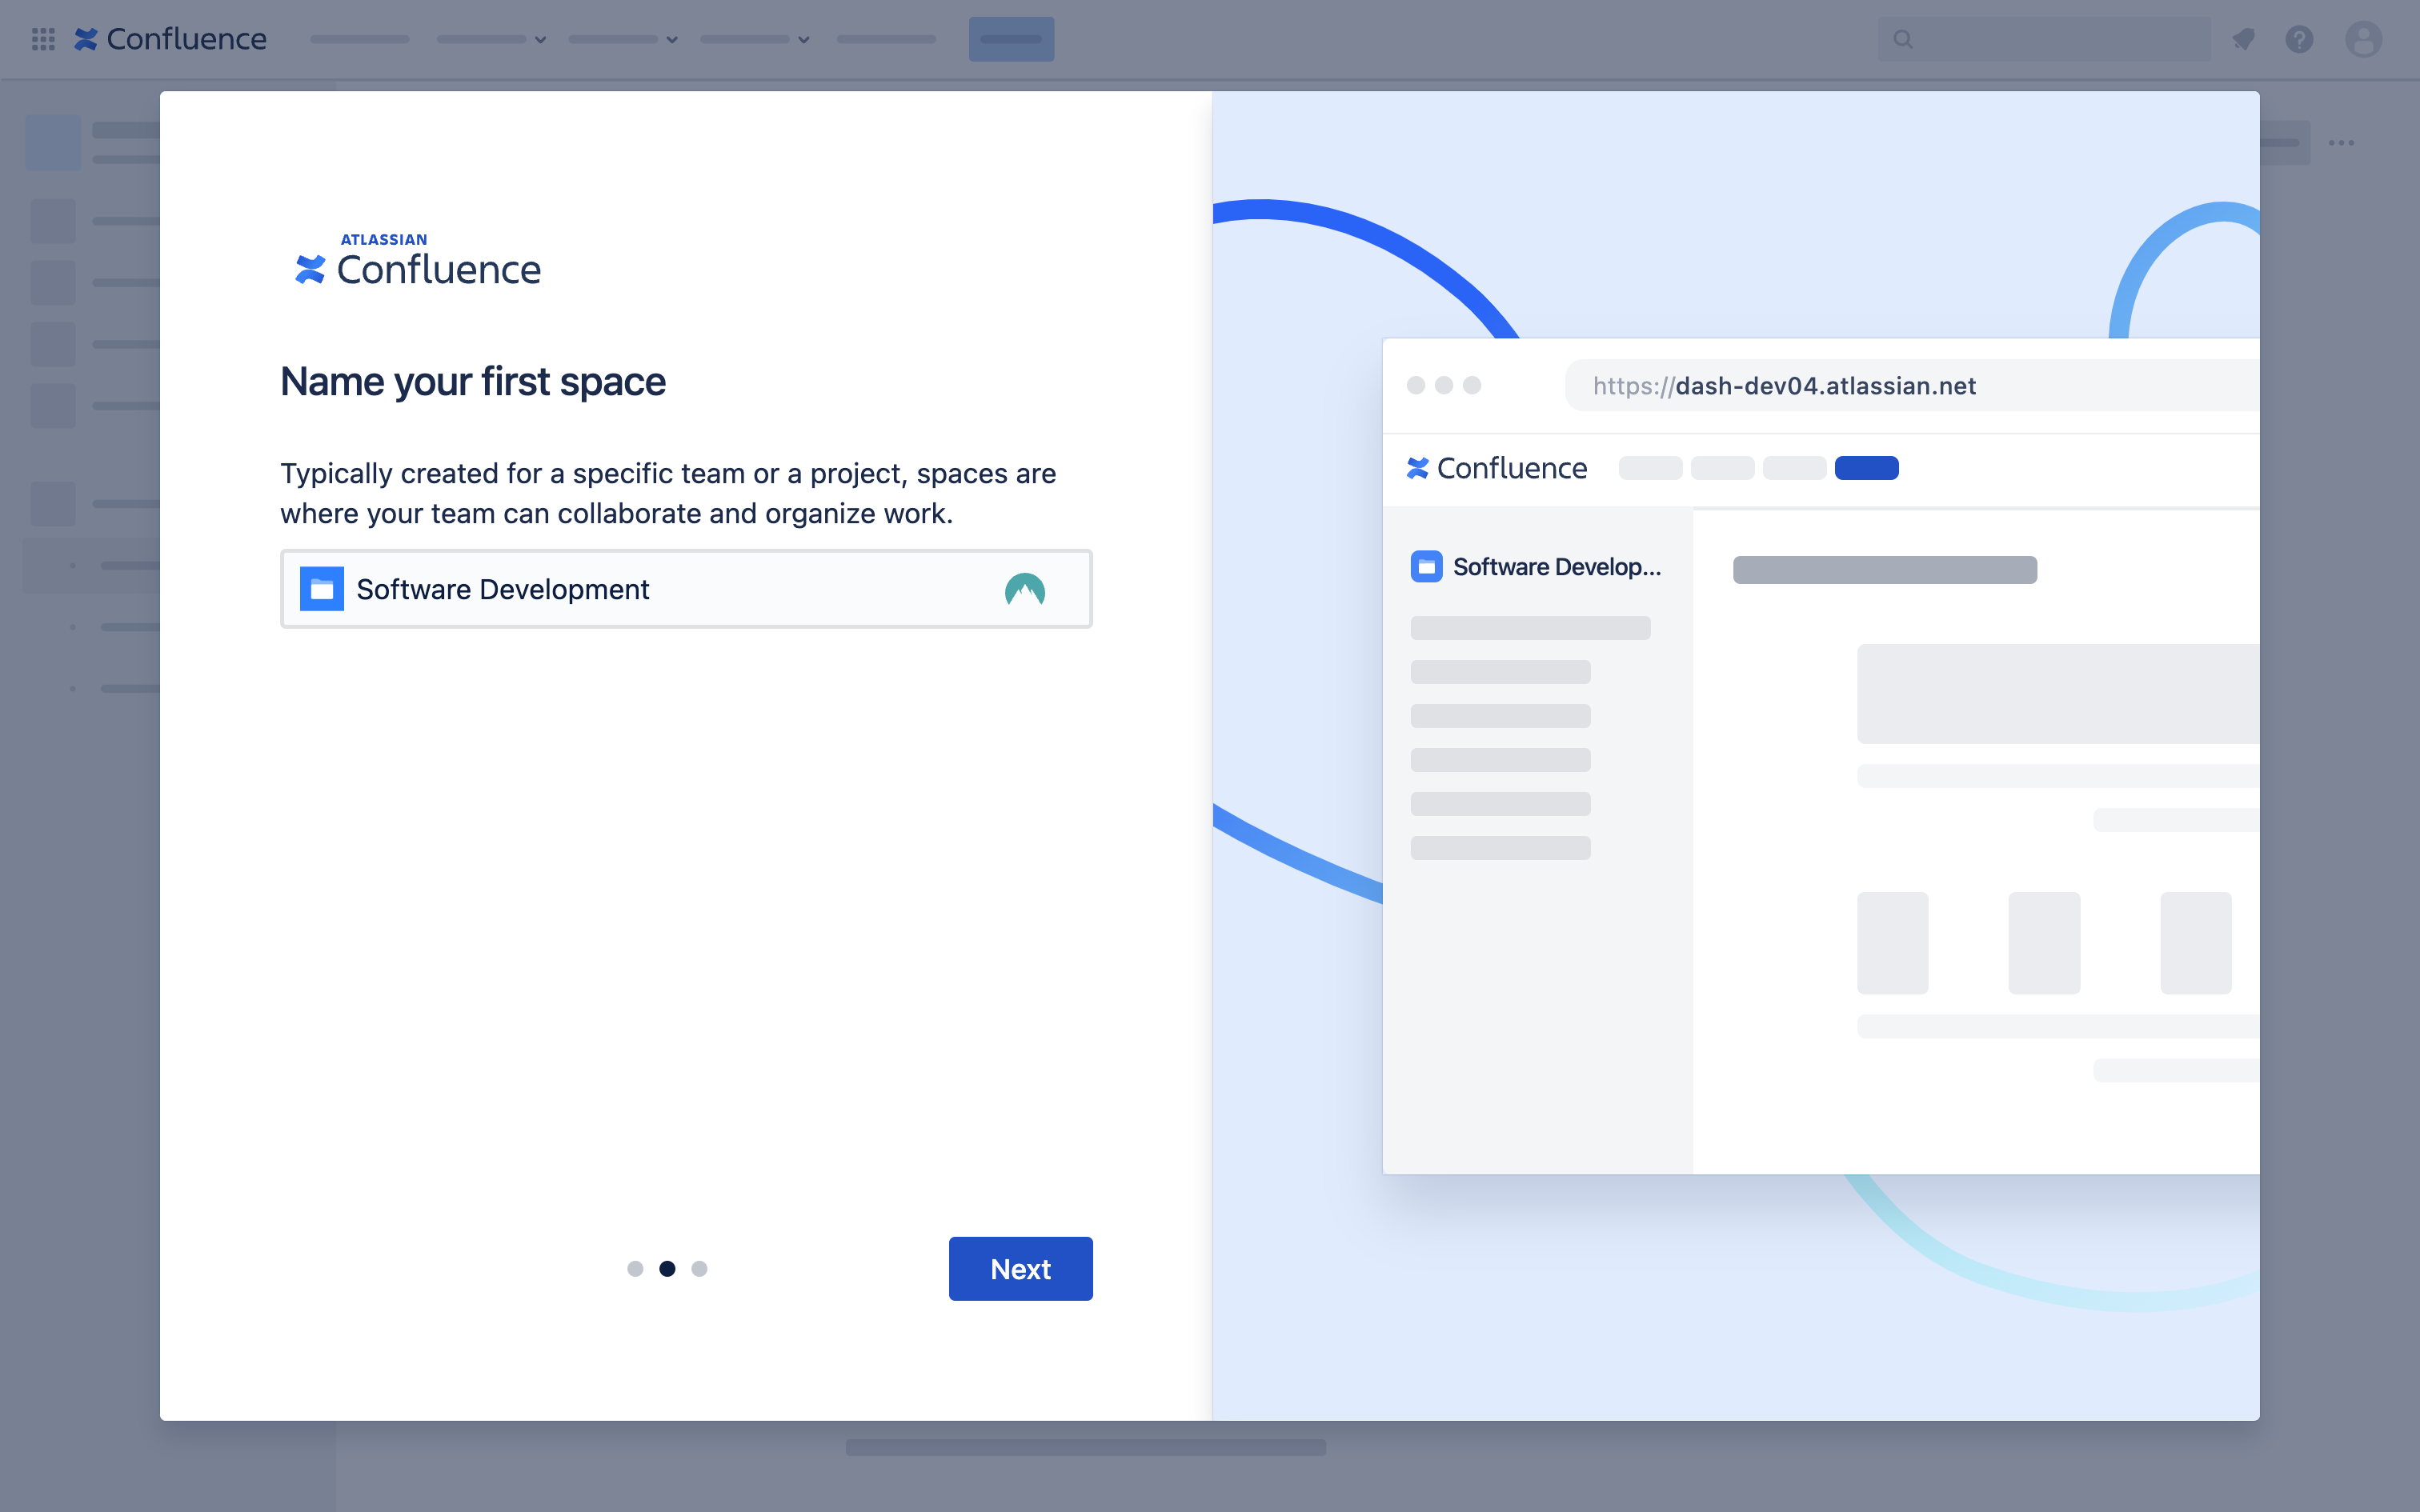 |
| 5 | Next, you're able to invite your teammates to start collaborating with you in Confluence. Skip this step for now. | 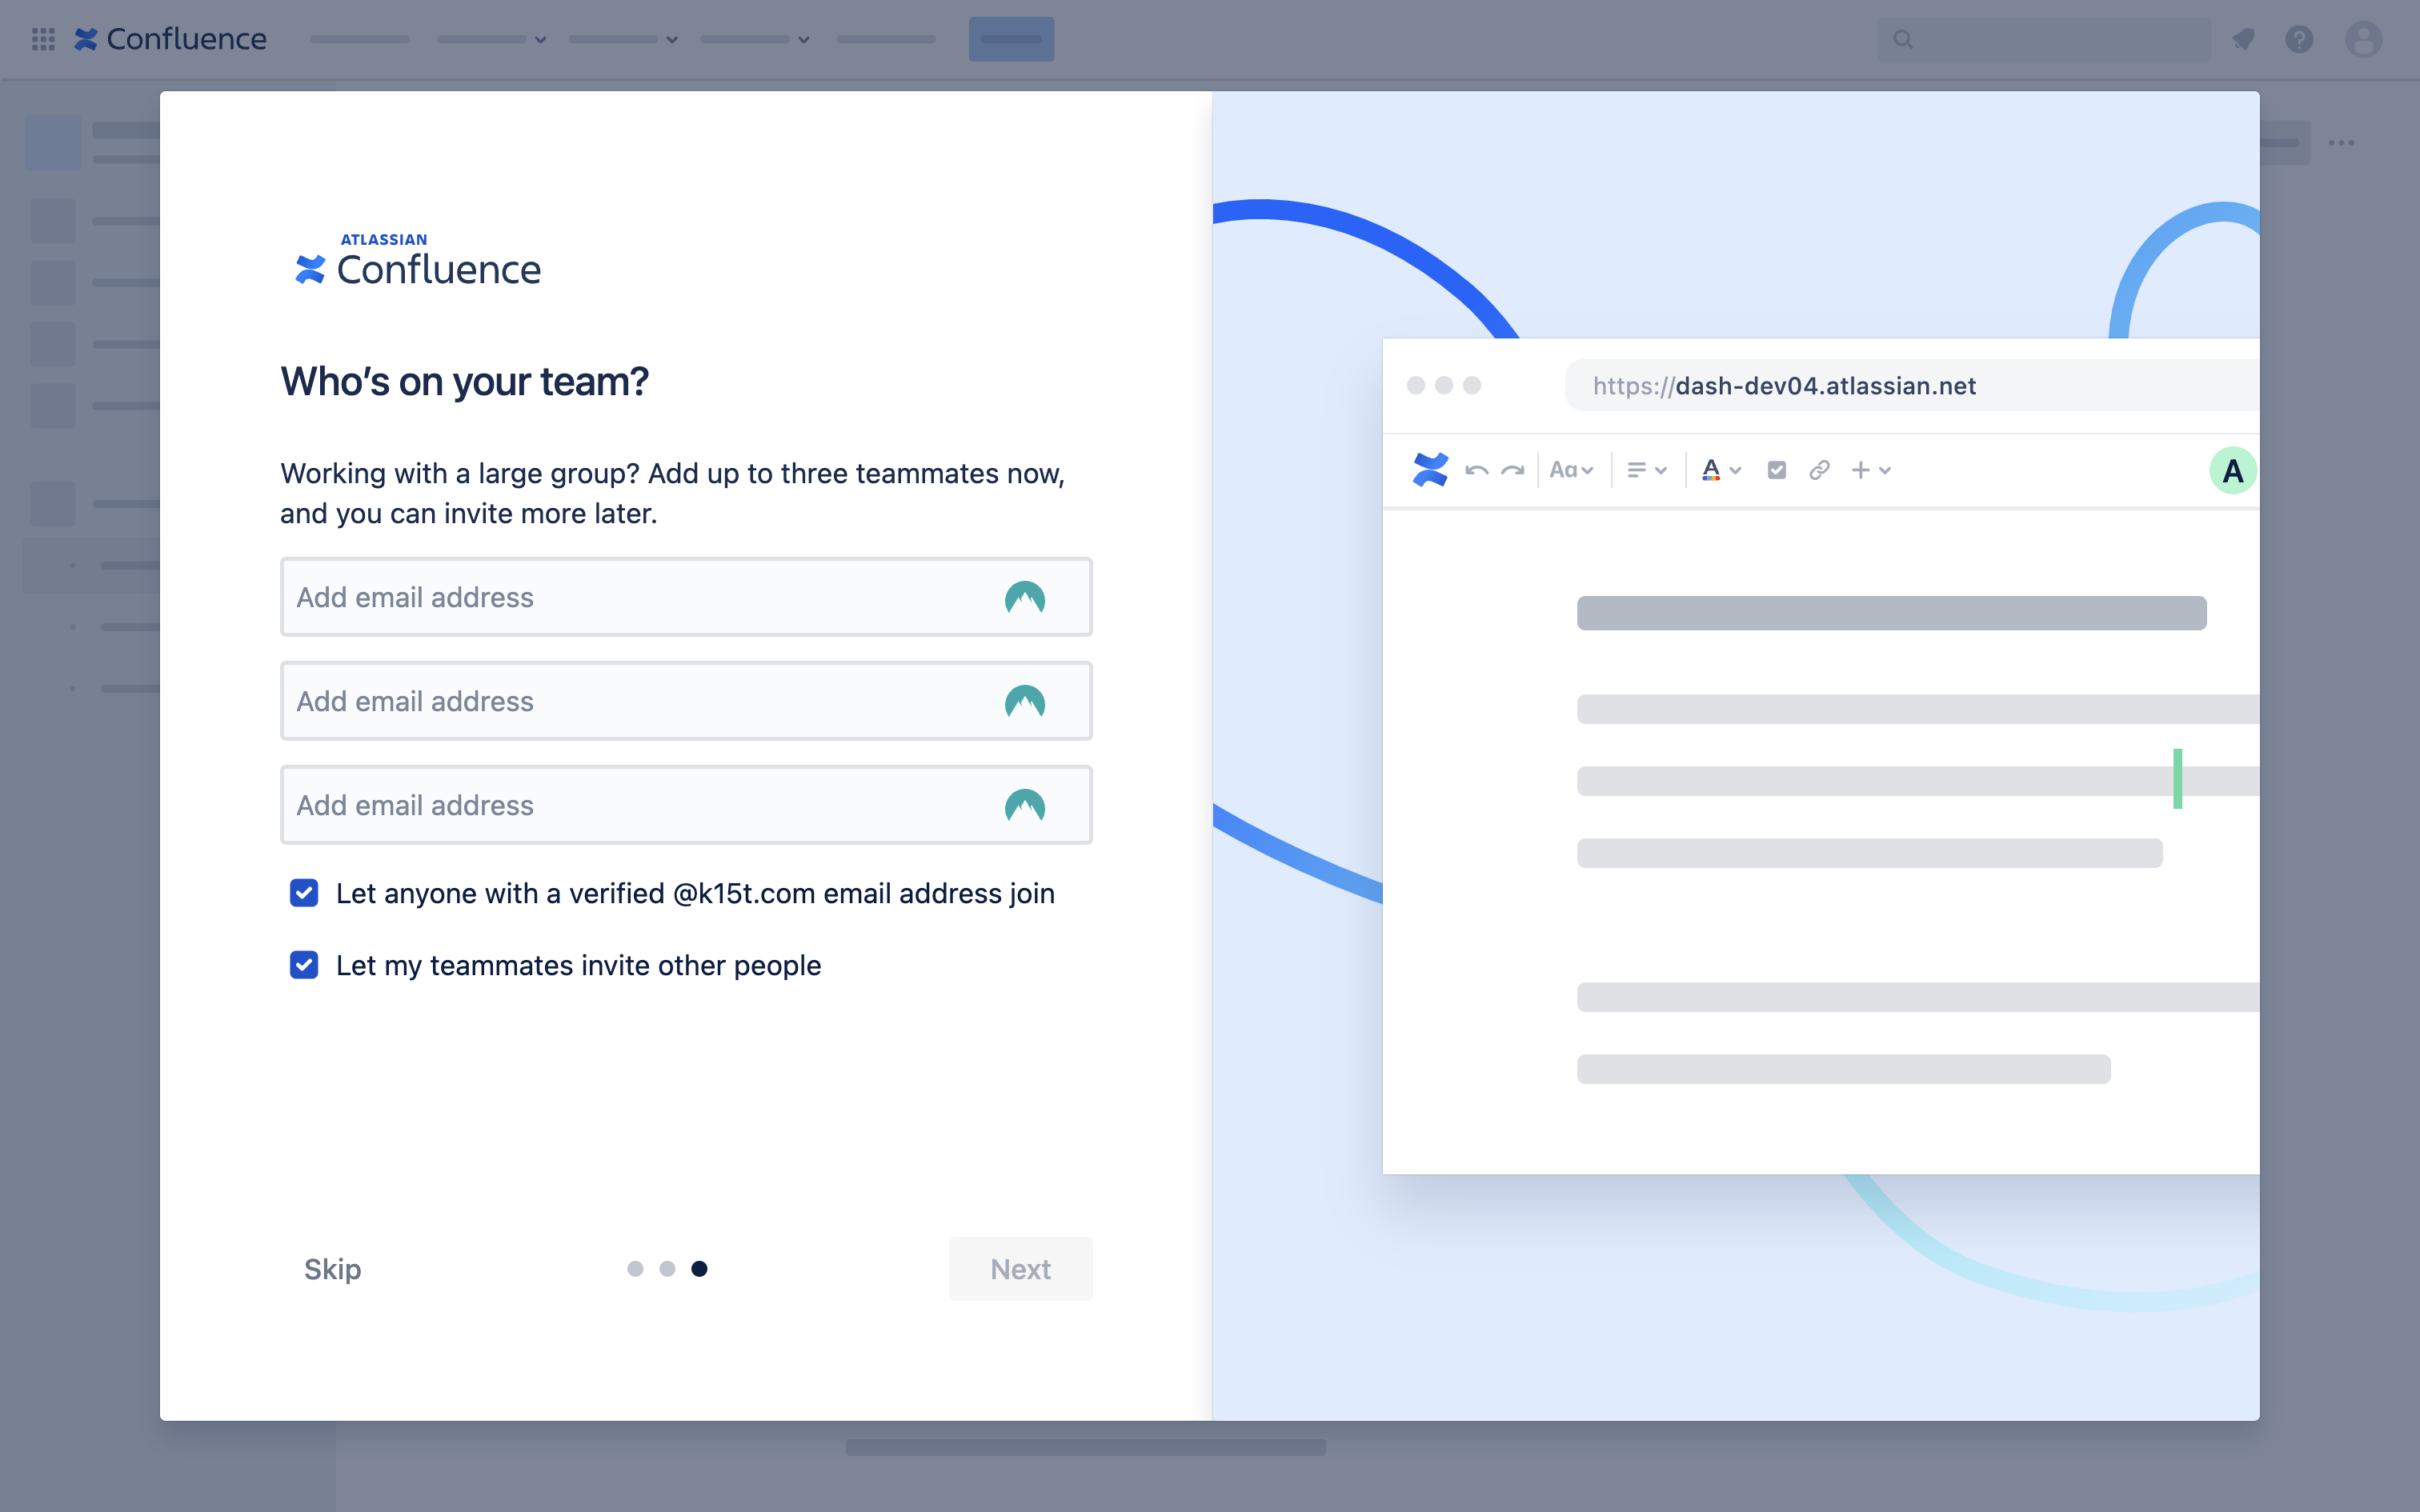 |
| 6 | Hoorah! You're now set up in Confluence. | 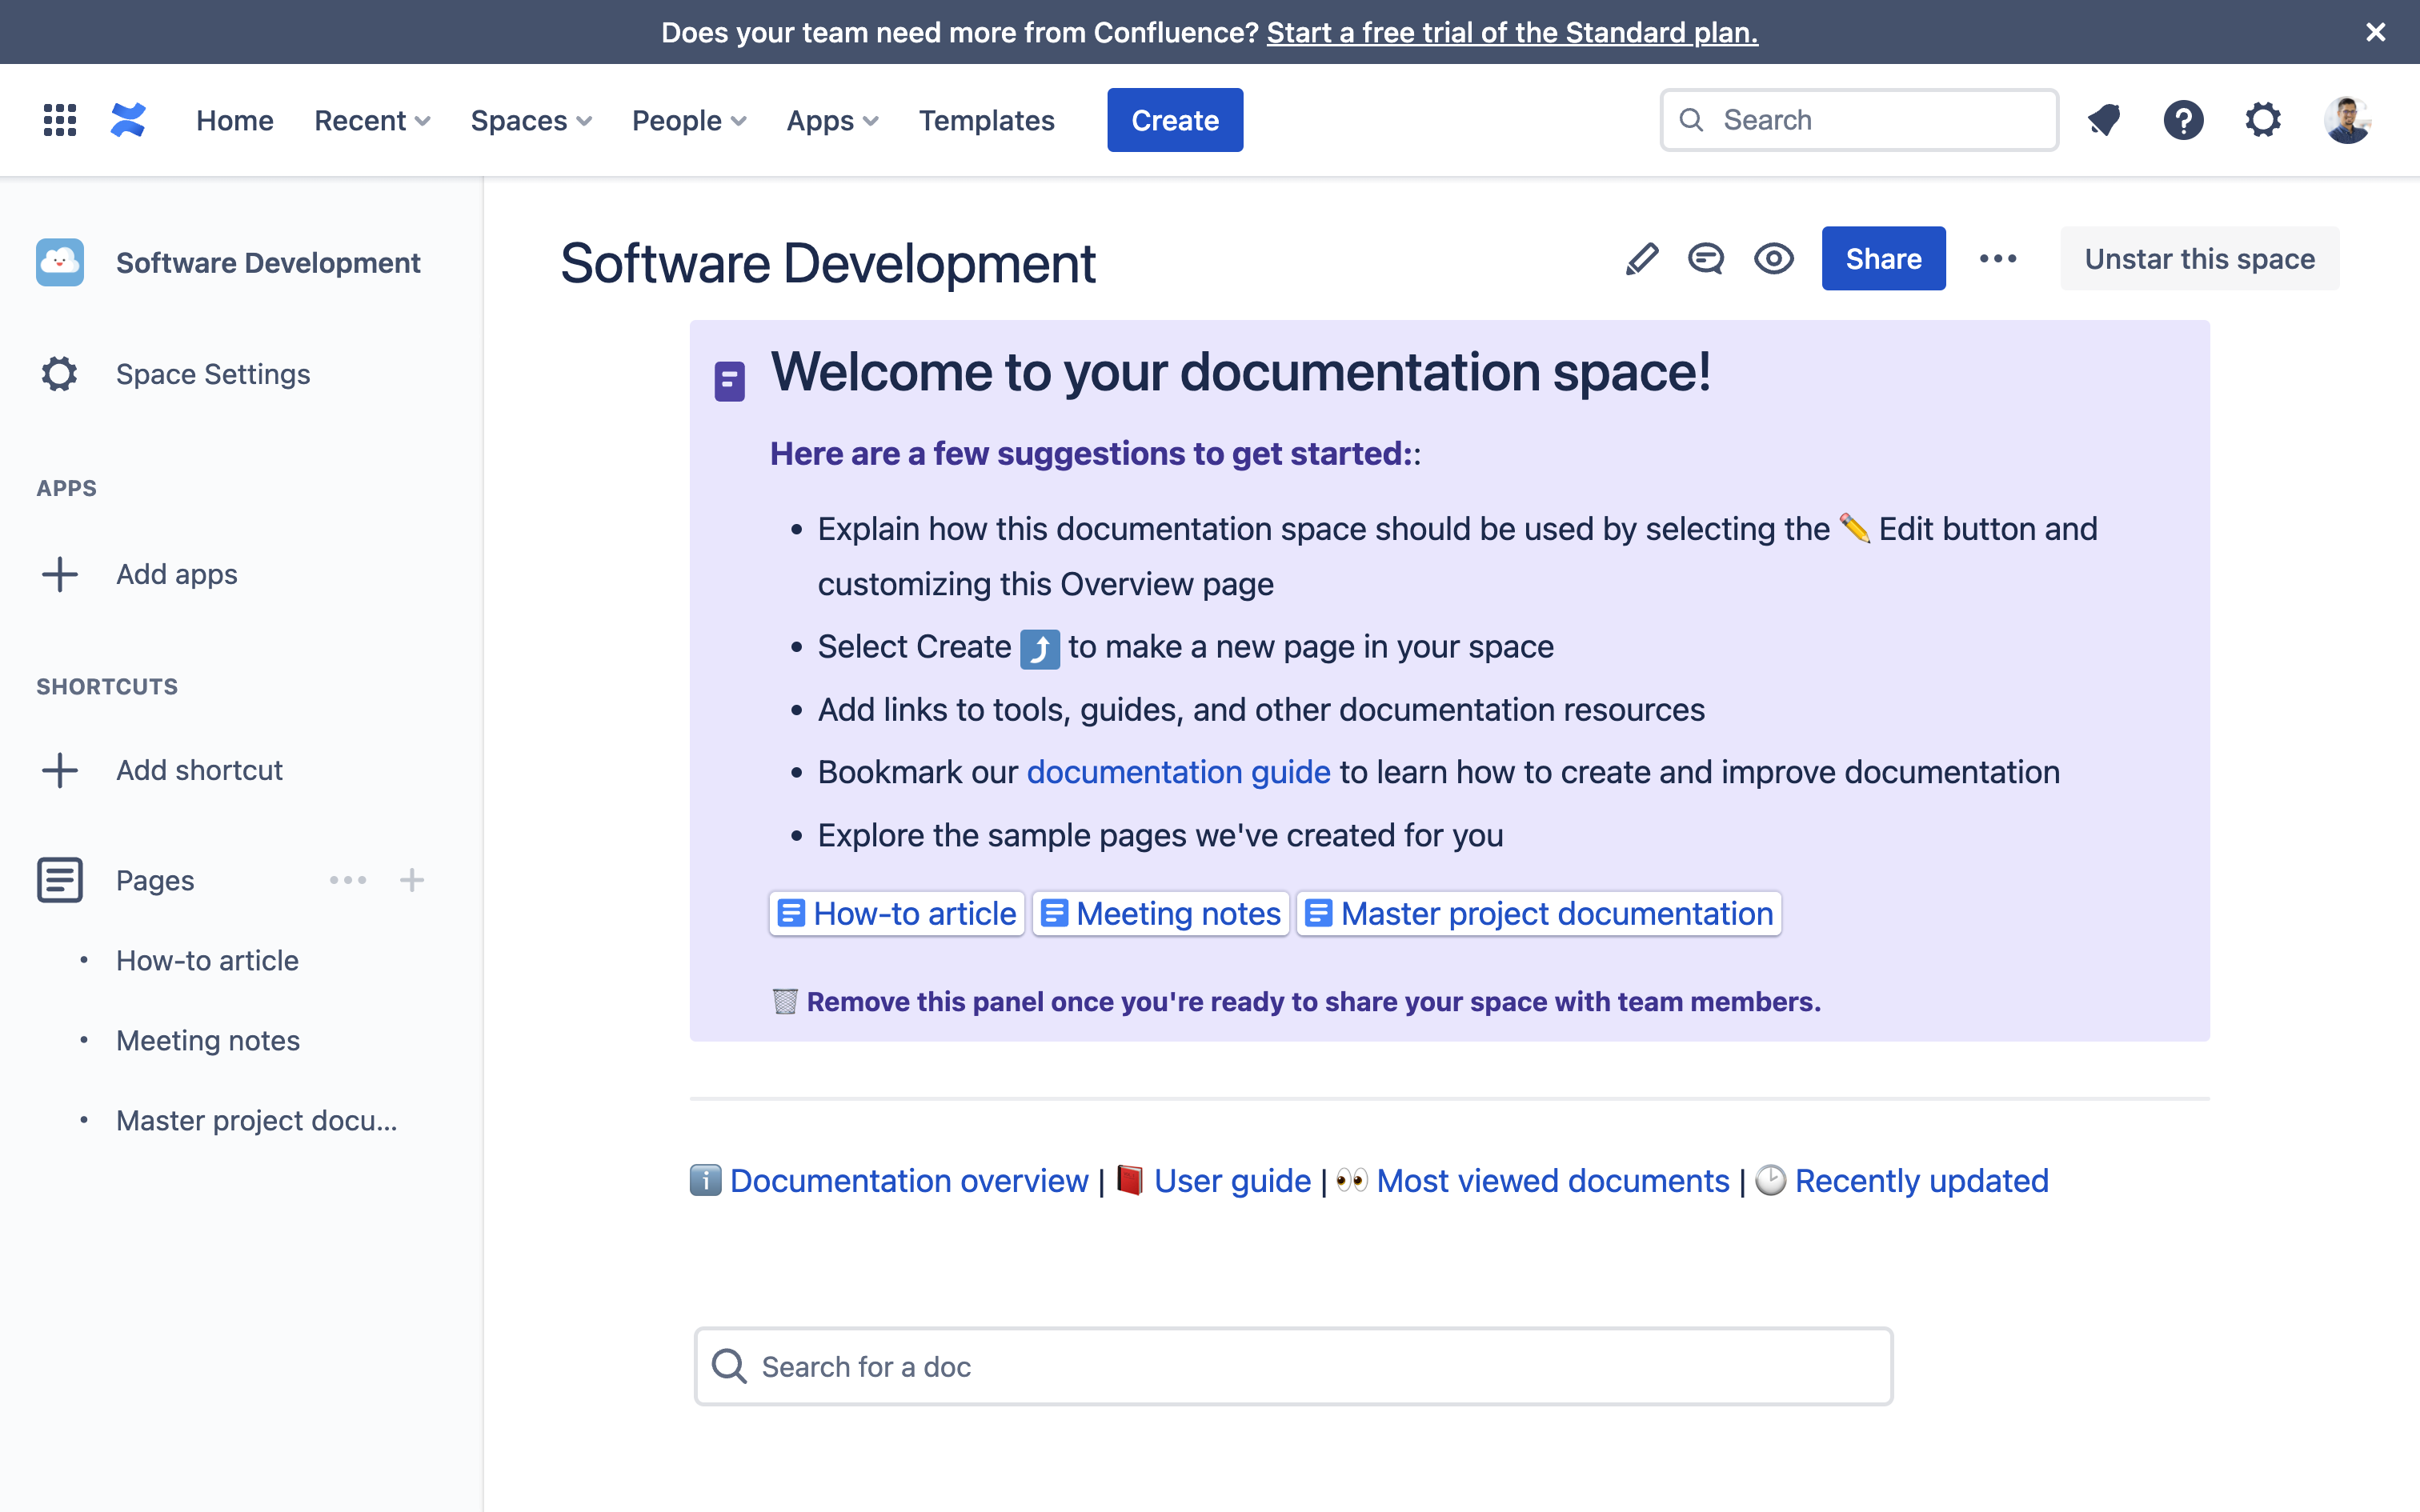 |
Install the required Scroll apps
Apps extend Confluence's base functionality to provide support for a host of advanced use cases. In this step, you’ll learn how to find and install new apps from the Atlassian Marketplace.
To experience all the value that the Scroll Apps can bring to your team, we highly recommend installing Scroll Viewport, Scroll Documents, and one or more of the Scroll Exporter apps, like Scroll PDF or Word Exporter.
For a complete list of the Scroll Apps, refer to our Guide to choosing the right Scroll apps.
| 1 | From Confluence menu, navigate to Apps and click Find new apps. This will take you to the Atlassian Marketplace for apps. Don’t see the “Find new apps” option? Try the following:
| 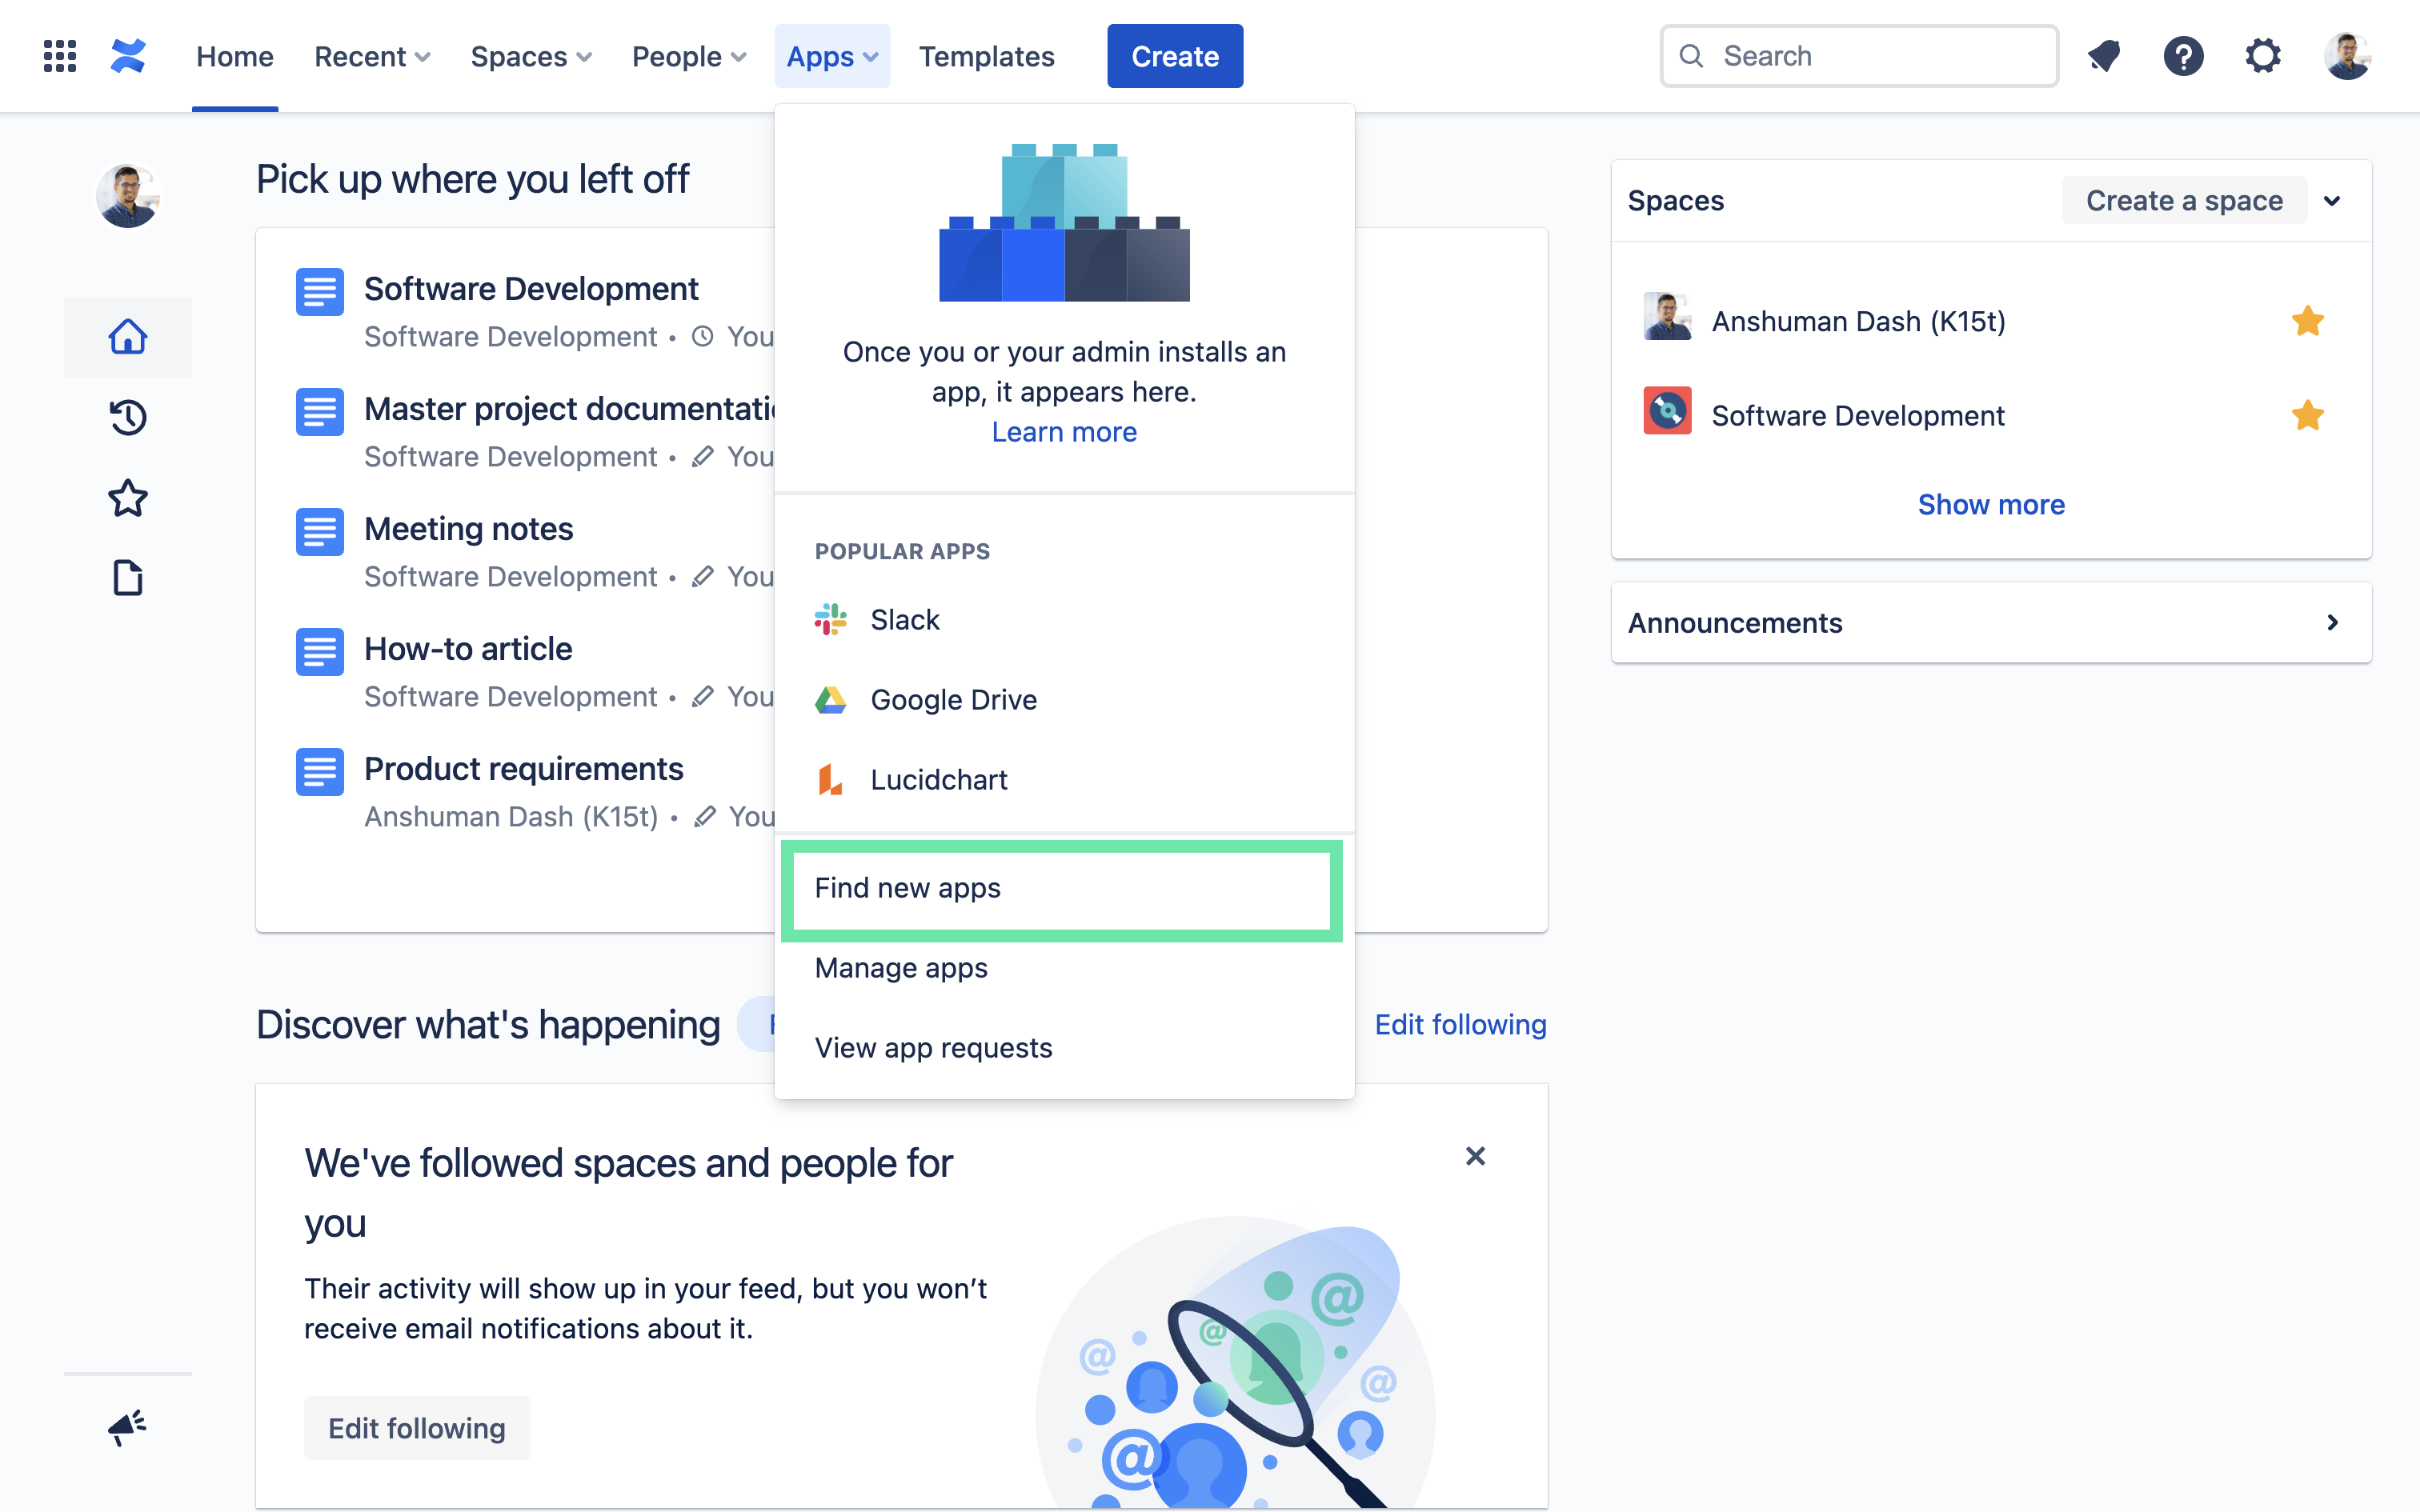 |
| 2 | In the Marketplace, search for “Scroll Viewport for Confluence” and click on the corresponding card. | 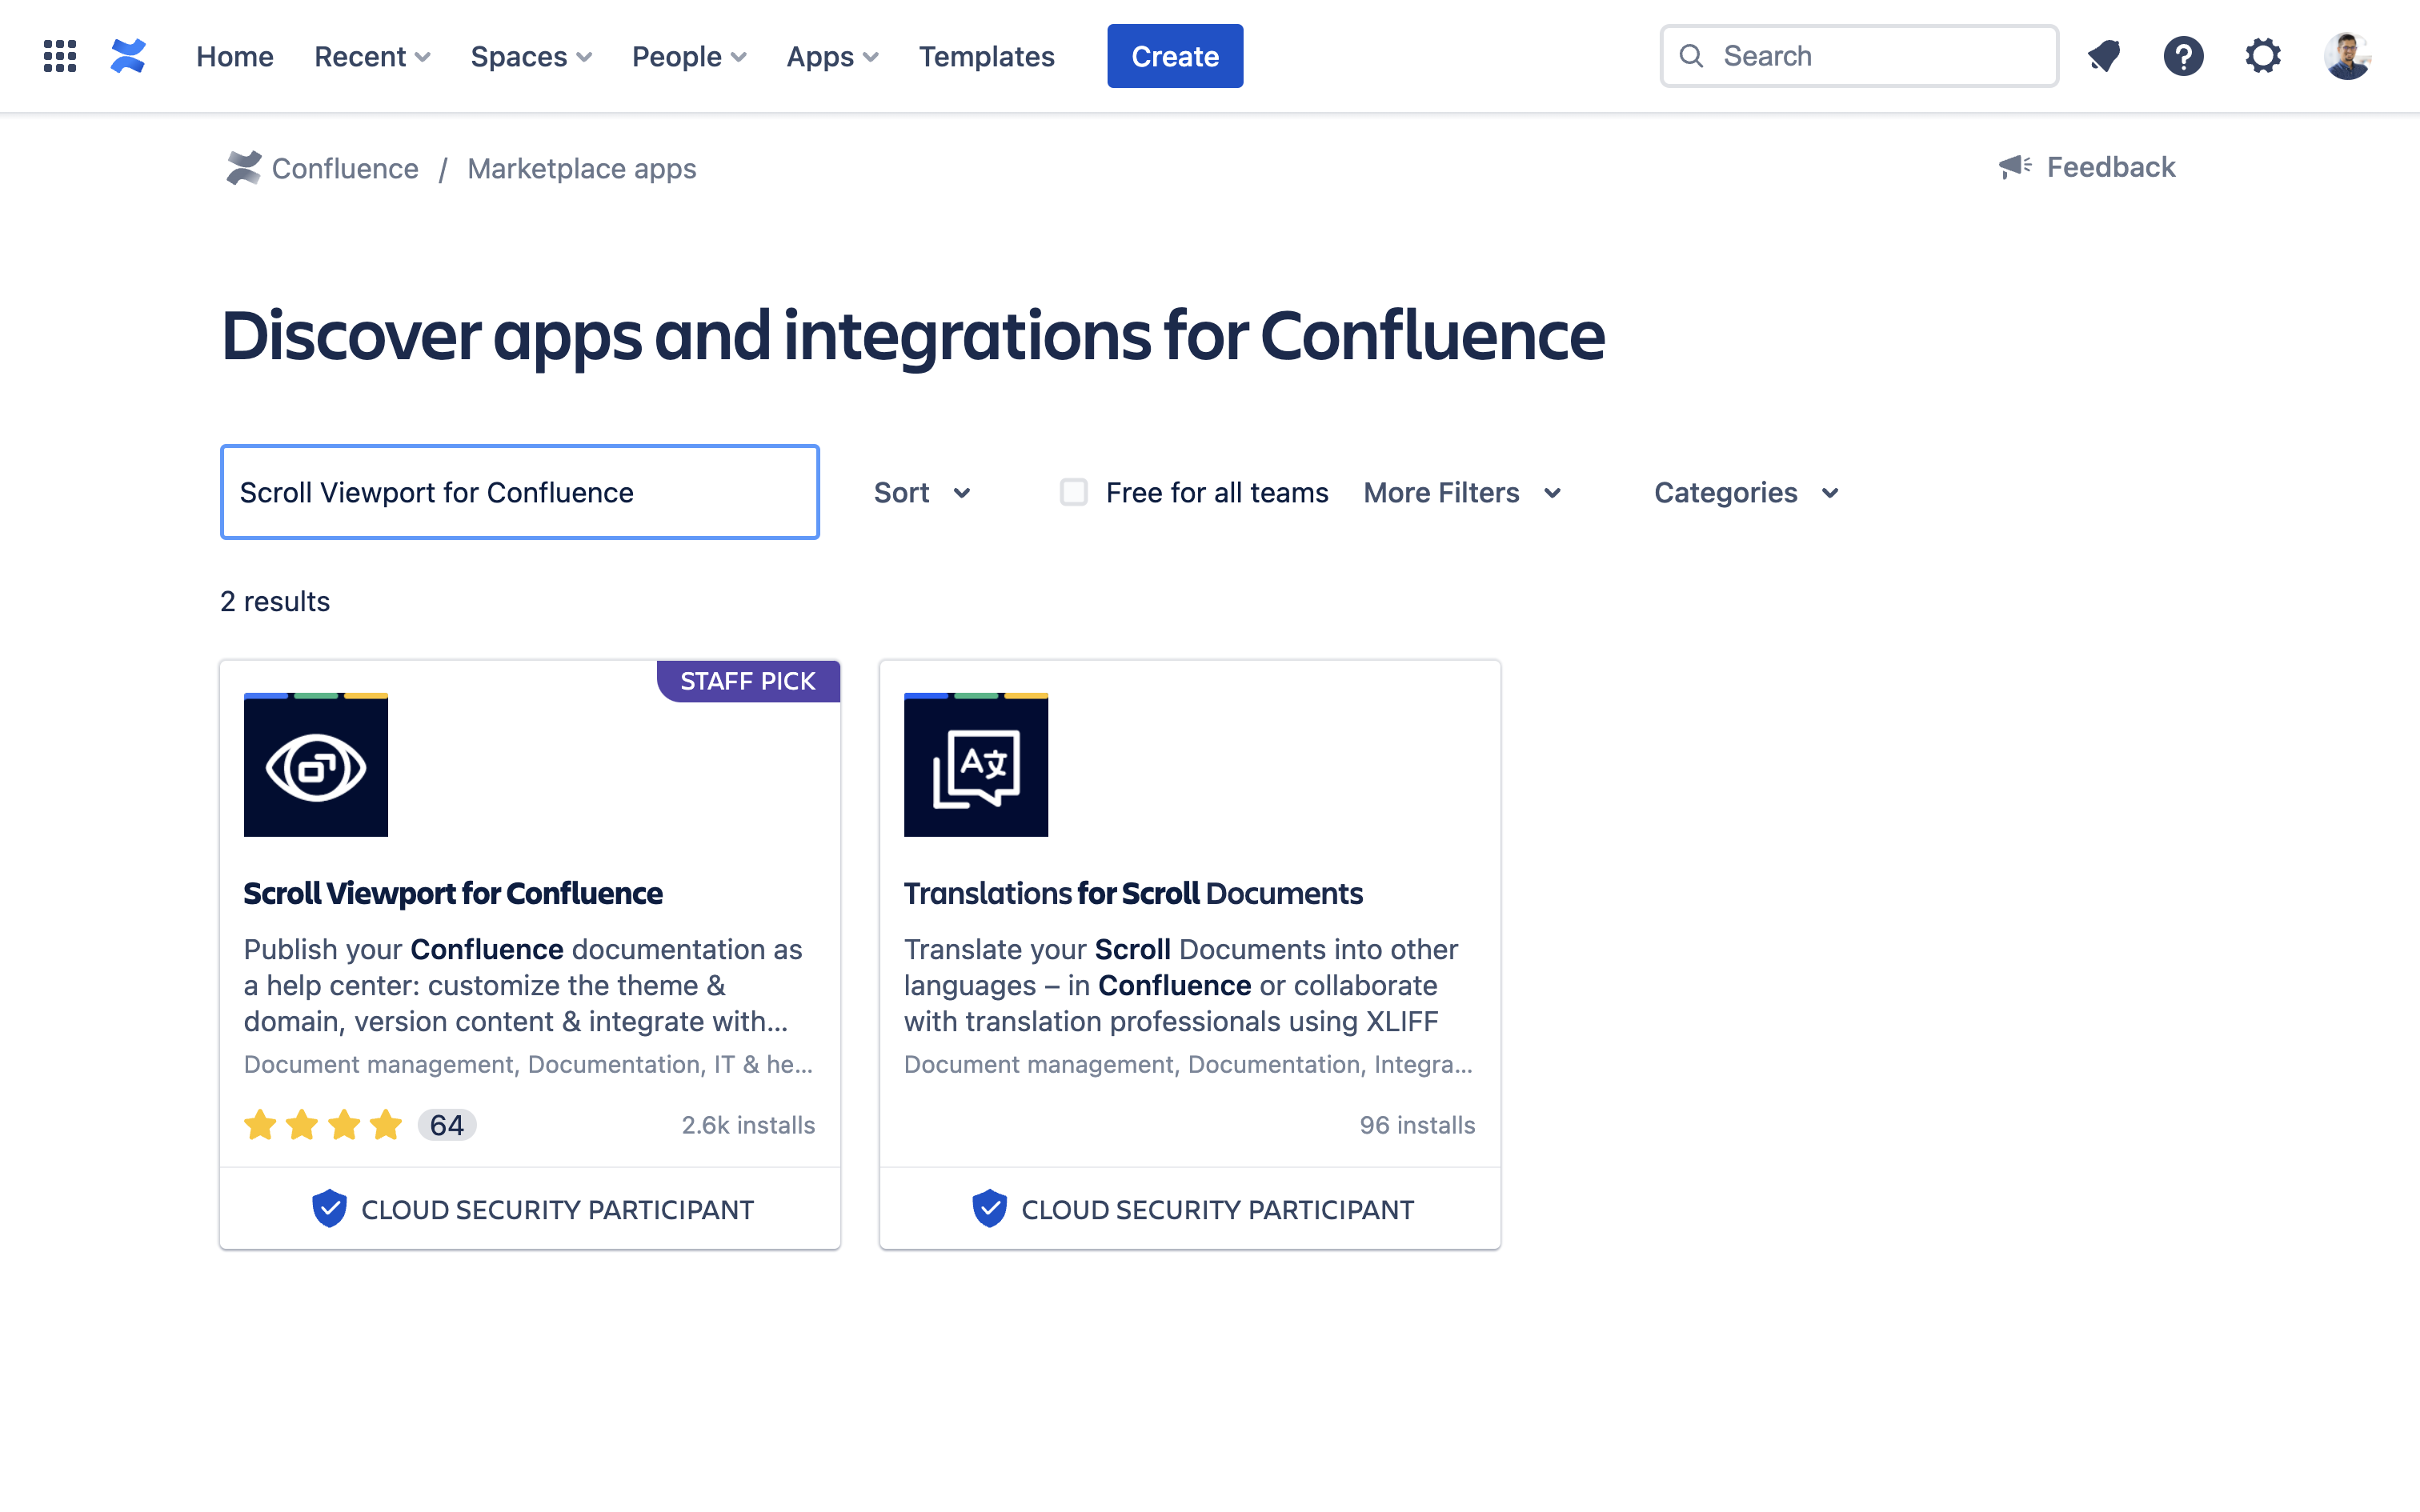 |
| 3 | Click Try it free. In the pop-up that opens next, click Start free trial. ℹ️ Info: This will start a free trial of the app for 30 days – no payment needed. | 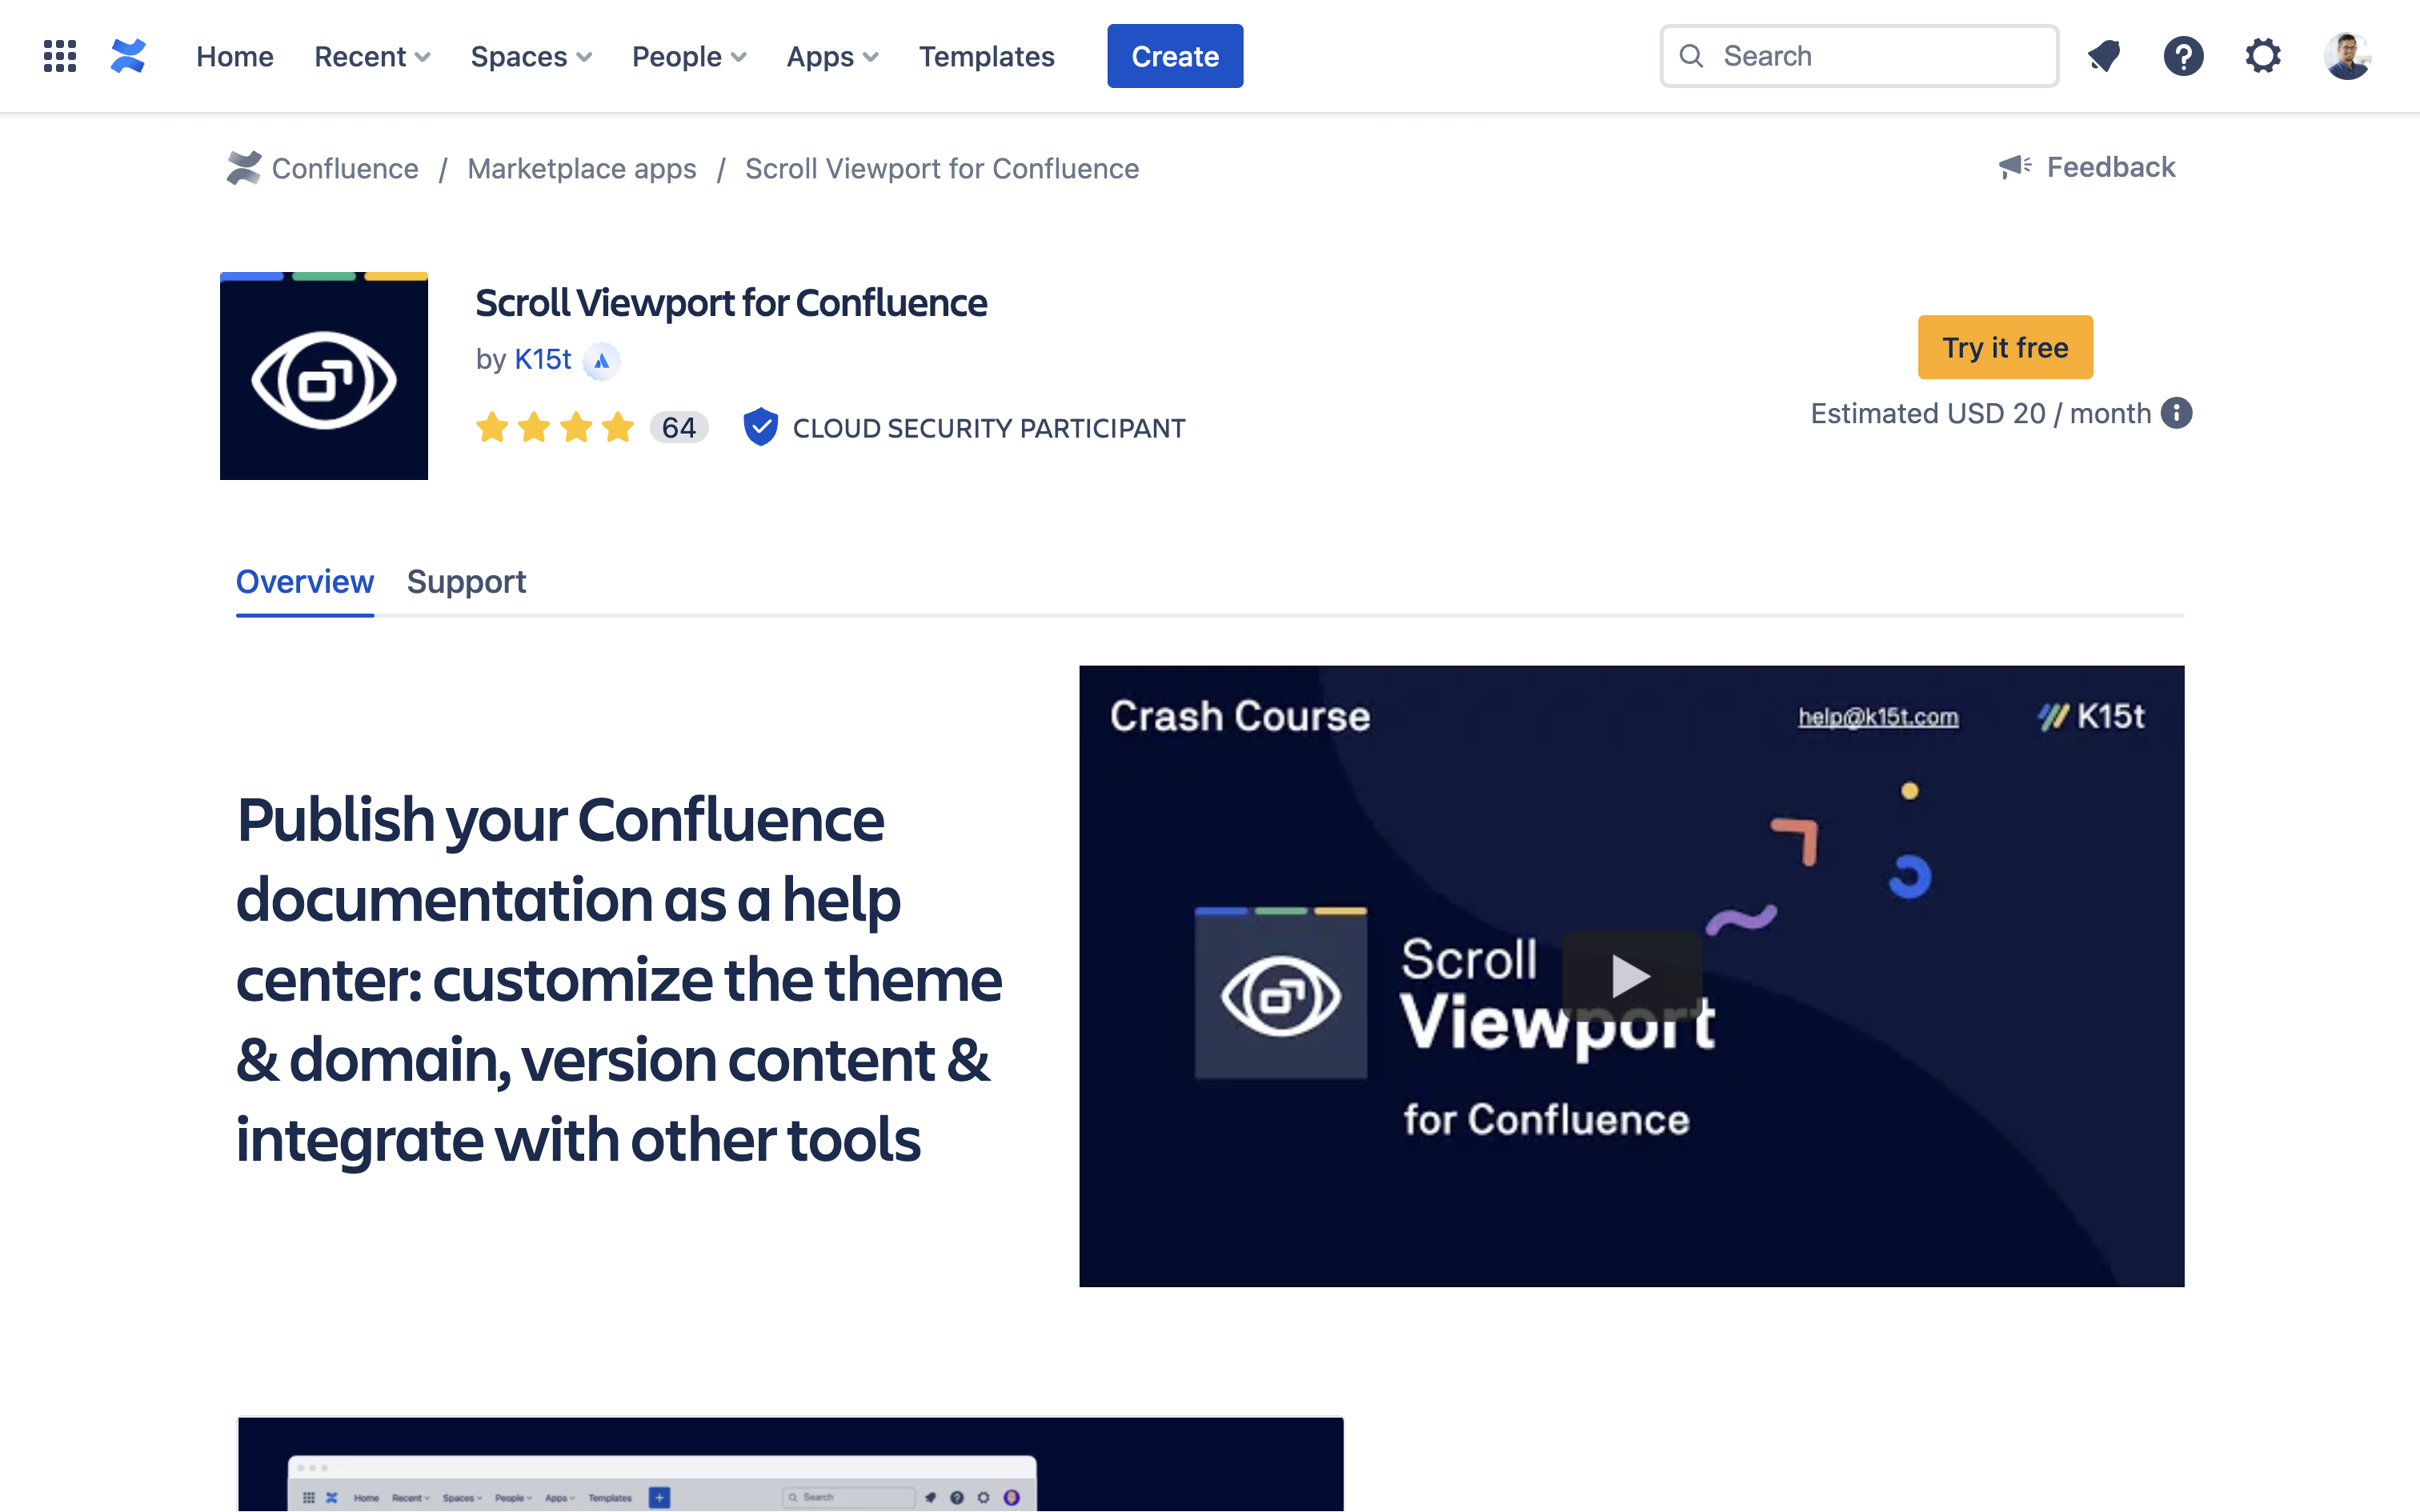 |
| 4 | Wait until the pop-up at the bottom-left corner says - “Scroll Viewport for Confluence was added.” | 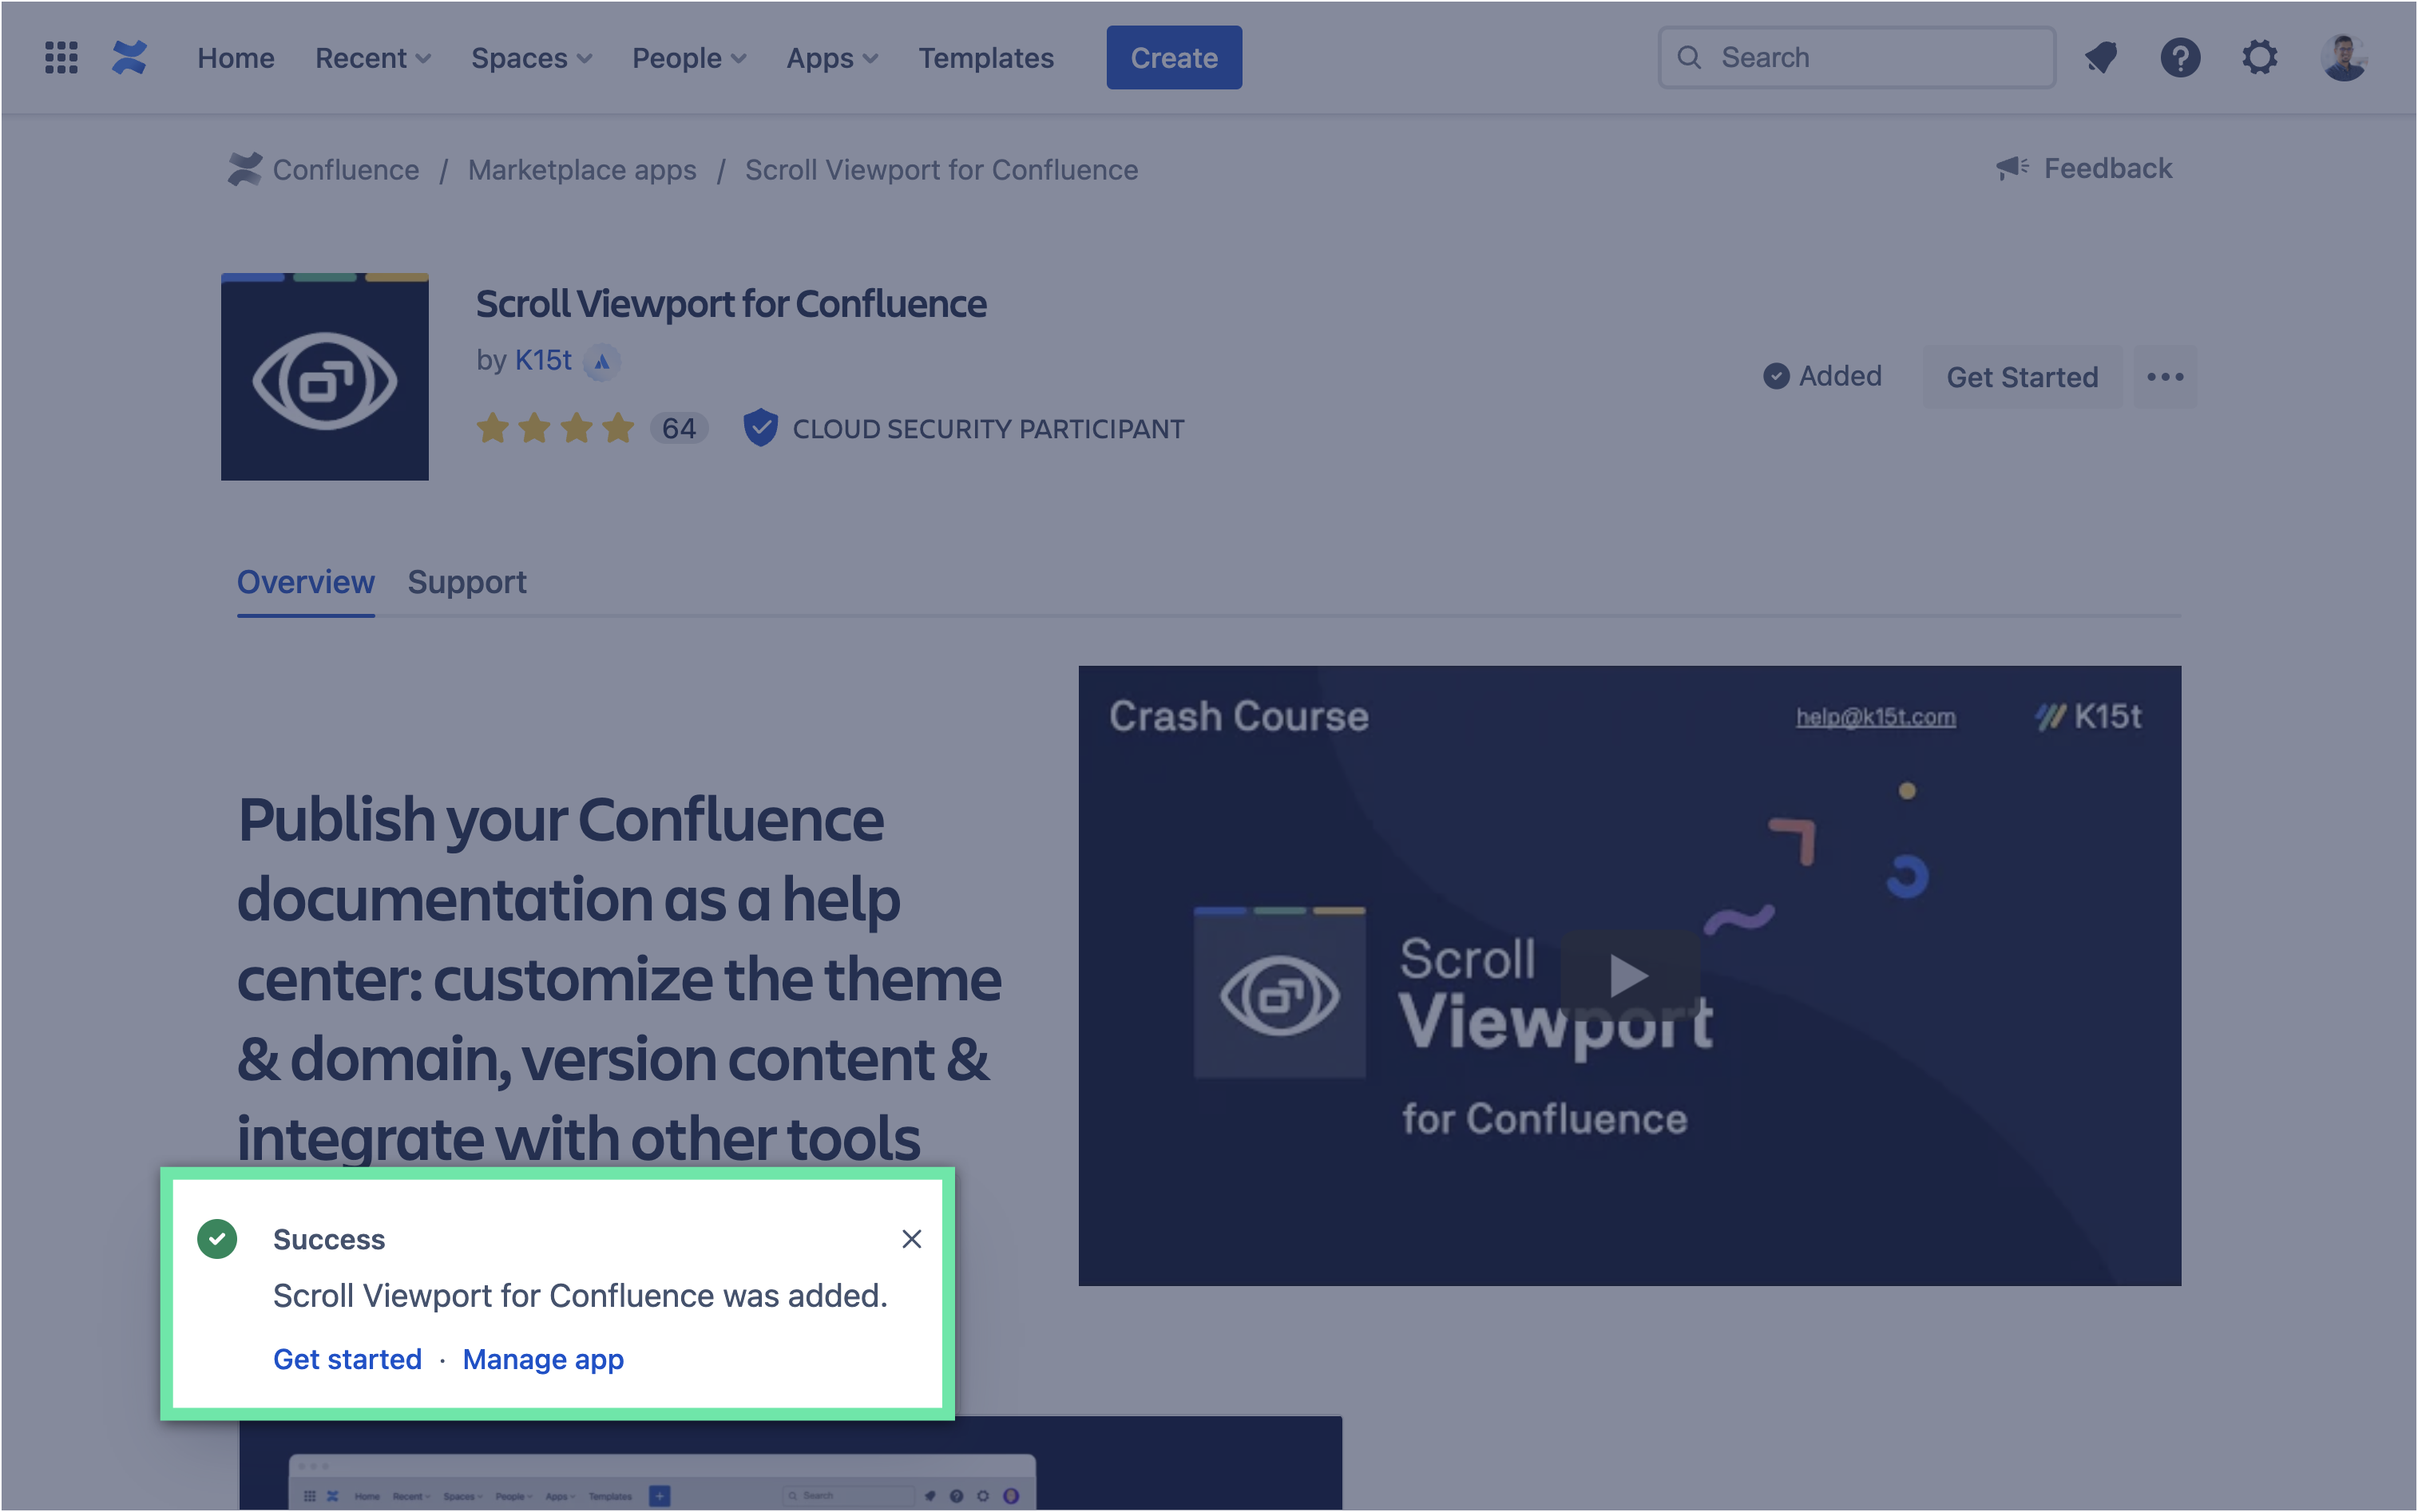 |
| 5 | Repeat steps 1-5 to install additional Scroll apps required to complete this tutorial successfully. ℹ️ Info: We recommend at least installing Scroll Viewport and Scroll Documents for your base setup. | 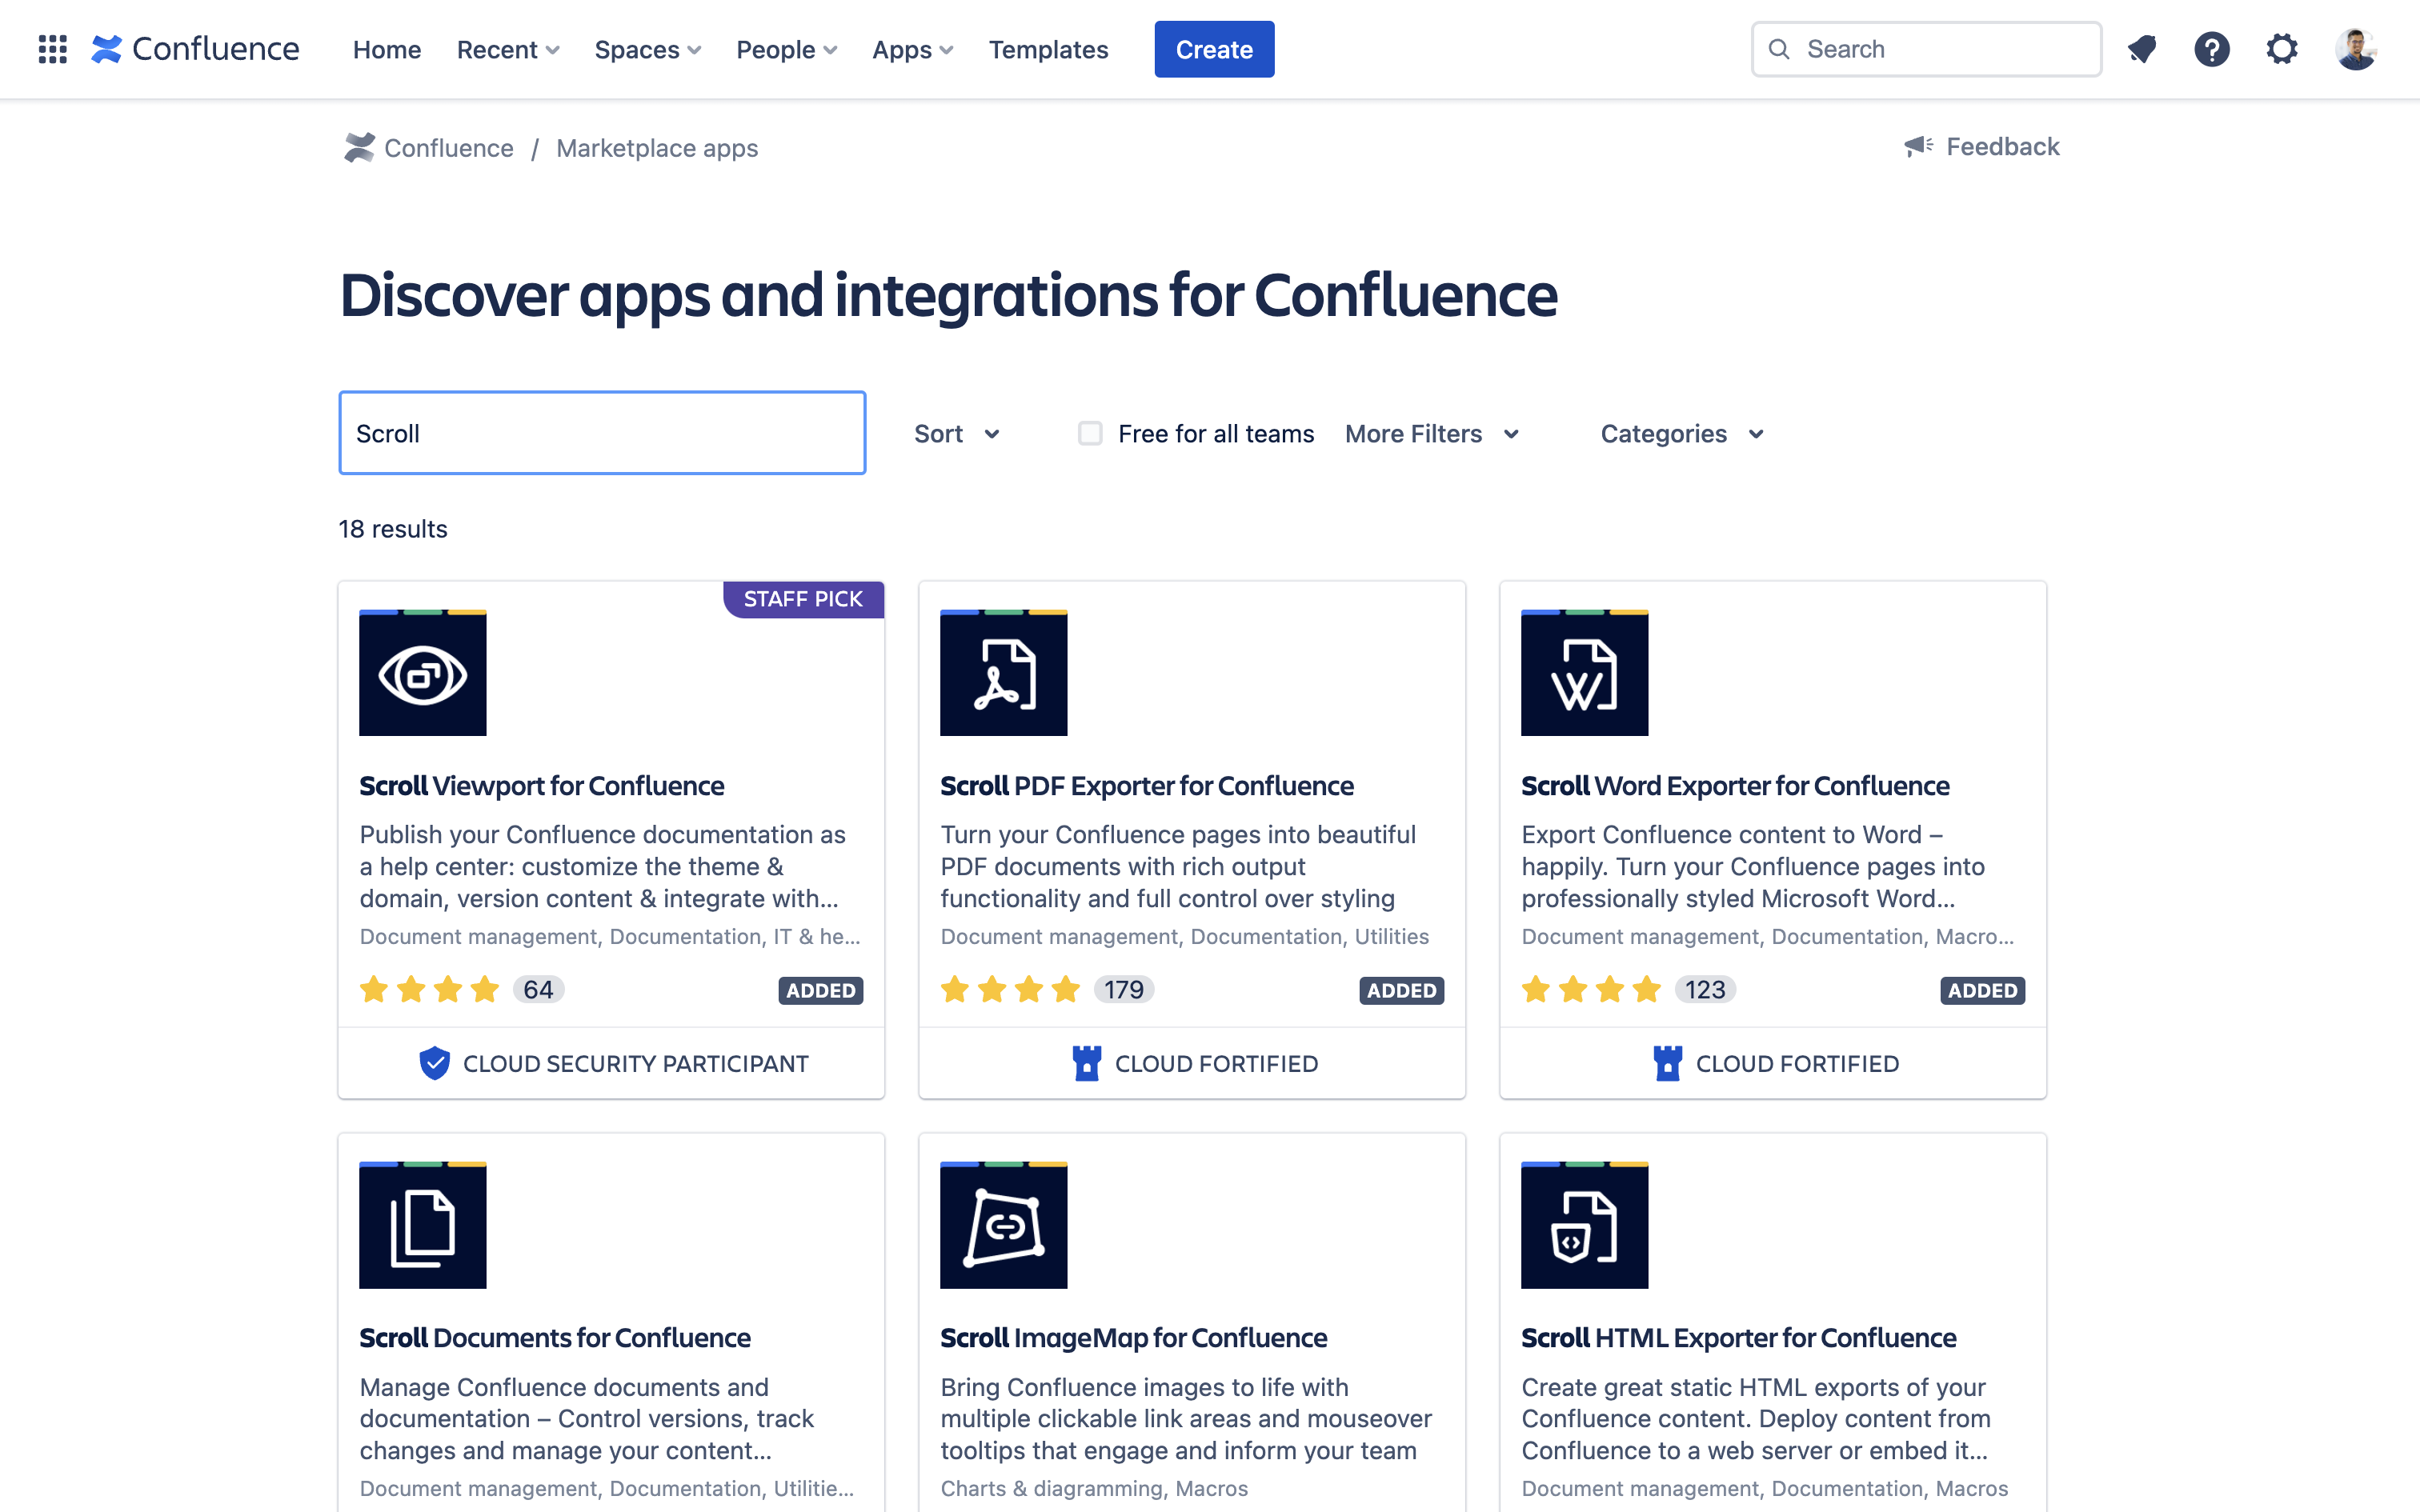 |
Next Steps
Congrats! You should now have a new Confluence space with the Scroll apps installed, along with plenty of content to start testing them out. Head back to the Get Started guide to learn how to publish and manage your documentation.