Workflow overview
This page gives an overview about the required steps to export your content from Confluence to Word. The general process looks like this:
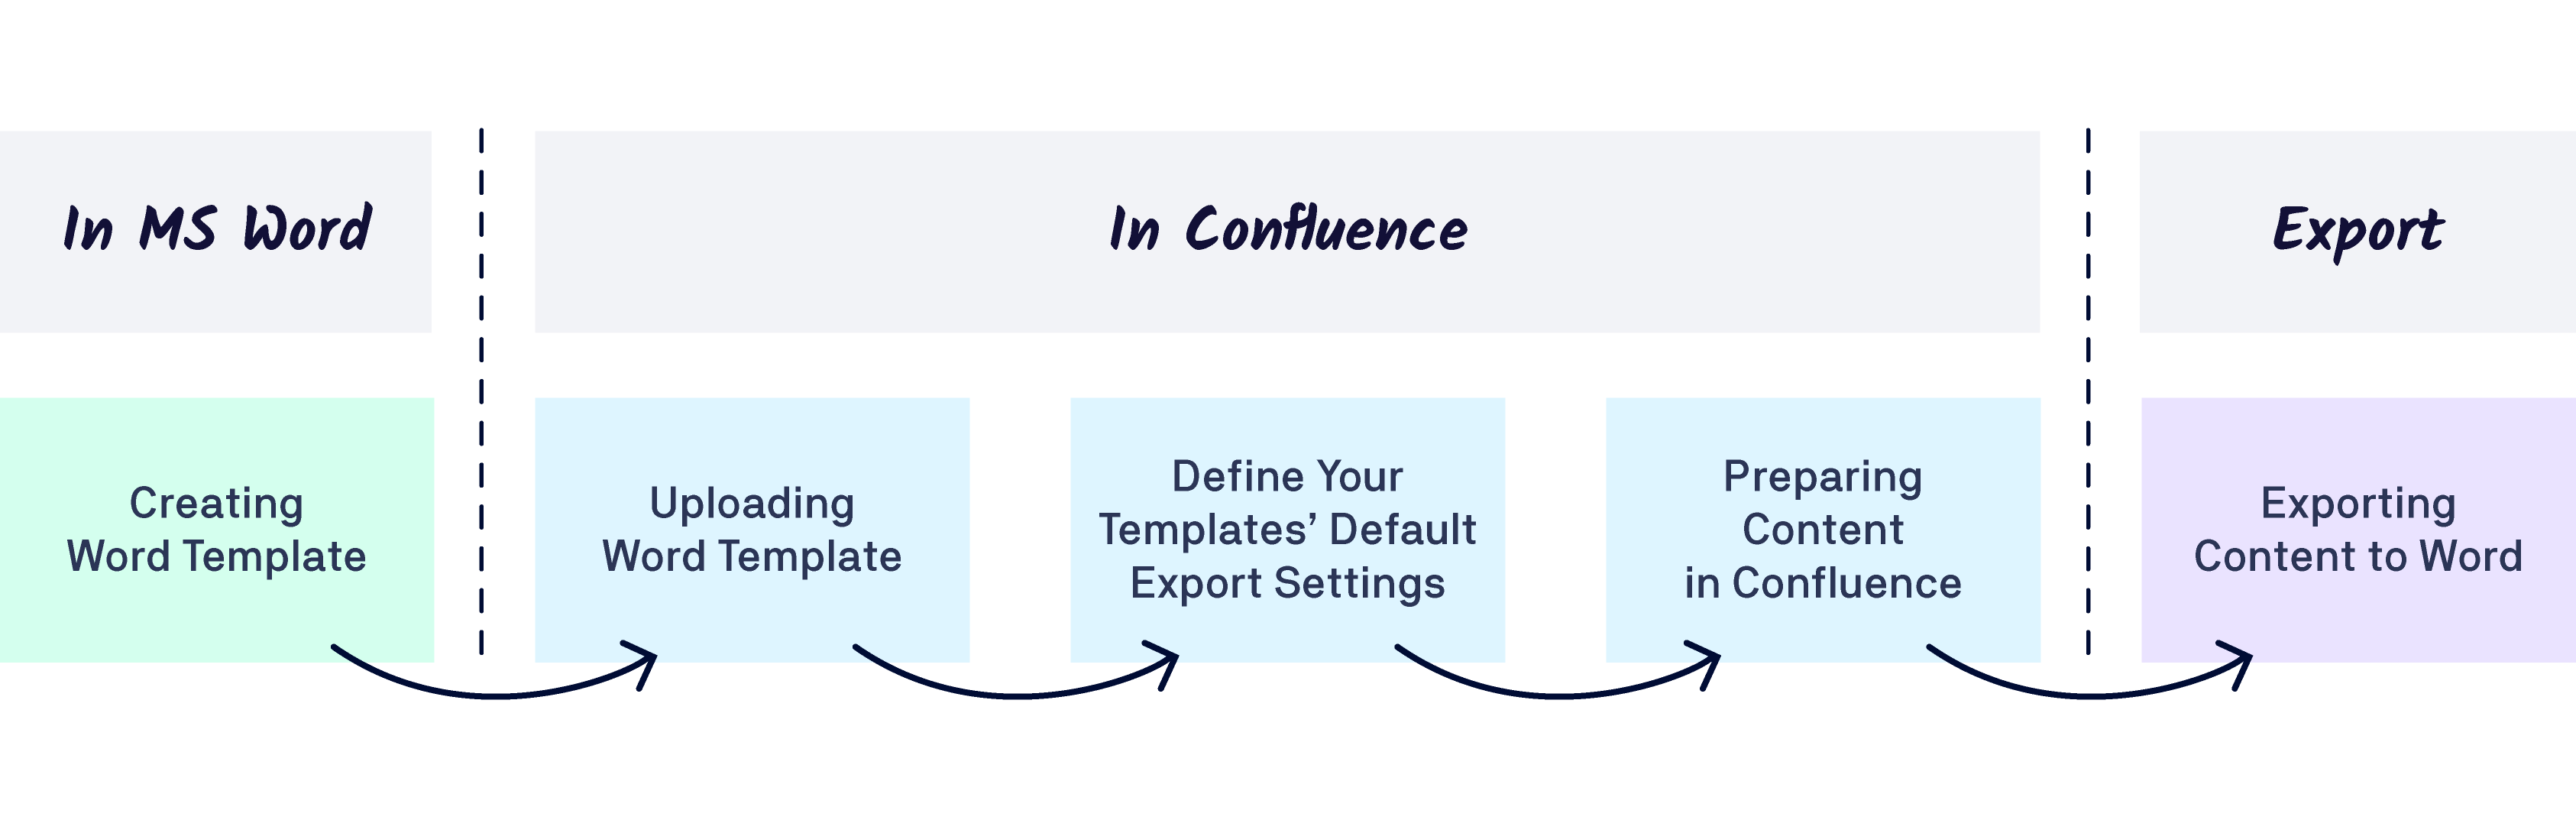
1: Create Word template
Before you can export styled Word documents, you have to create a template in Word. In this template you can define the page layout, paragraph and table styling, and general settings like the title page, ToC, and headers and footers. You can have multiple templates for different scenarios.
If you've already created a MS Word template, you can also use that. You can learn more about creating a Word template file here.
2: Upload Word template
After you've finished your template, you have to upload it to Confluence. You can upload templates on a space or global level. You can learn more about uploading a Word template file here.
3: Define the default template settings
Once you've uploaded your template to Confluence, you can configure its default template settings.
The settings define the scope of the export (i.e. what Confluence pages get exported), how certain macros are rendered, and how other elements are displayed in your exports.
4: Prepare content in Confluence
You don't have to do anything special in your Confluence system – just create your content as normal. When you export, Scroll Word Exporter automatically generates a native Word document, and takes the formatting in Confluence and matches it to the styles defined in your template.
Additionally, Scroll Word Exporter provides some special macros that give you fine-grained control over what you export and how it's exported – for example defining page breaks, overriding page titles, or applying captions to tables or figures.
5: Export content to Microsoft Word
The export from Confluence to styled Microsoft Word documents is just one click away.