Literal Redirects
Literal redirects will overwrite other Viewport URLs (working or not).
Choose literal redirect if you want to:
Take prominent elements in your site to present ‘teaser content' and direct your users to external URLs (e.g. pinned pages or content source tiles can link to your external API documentation or support portal).
Maintain stable links for your in-app help (e.g. define a URL like /security and map this to a page in your Scroll Viewport site).
In general, customize the user flow of your help center.
Literal redirect always apply to a single page.
If you’re looking to recover broken links (404 pages), we recommend setting up Fallback redirects.
Create and Edit a Redirect
You can create and manage redirects for your Scroll Viewport site under Site Settings:
Select your site in your site overview screen (if you have multiple sites).
Click Settings from the top right of the single site overview screen.
Click Manage next to Redirect(s). You will see a list of all redirects that were already created for your site.
Click + New Redirect. The New Redirect form opens:
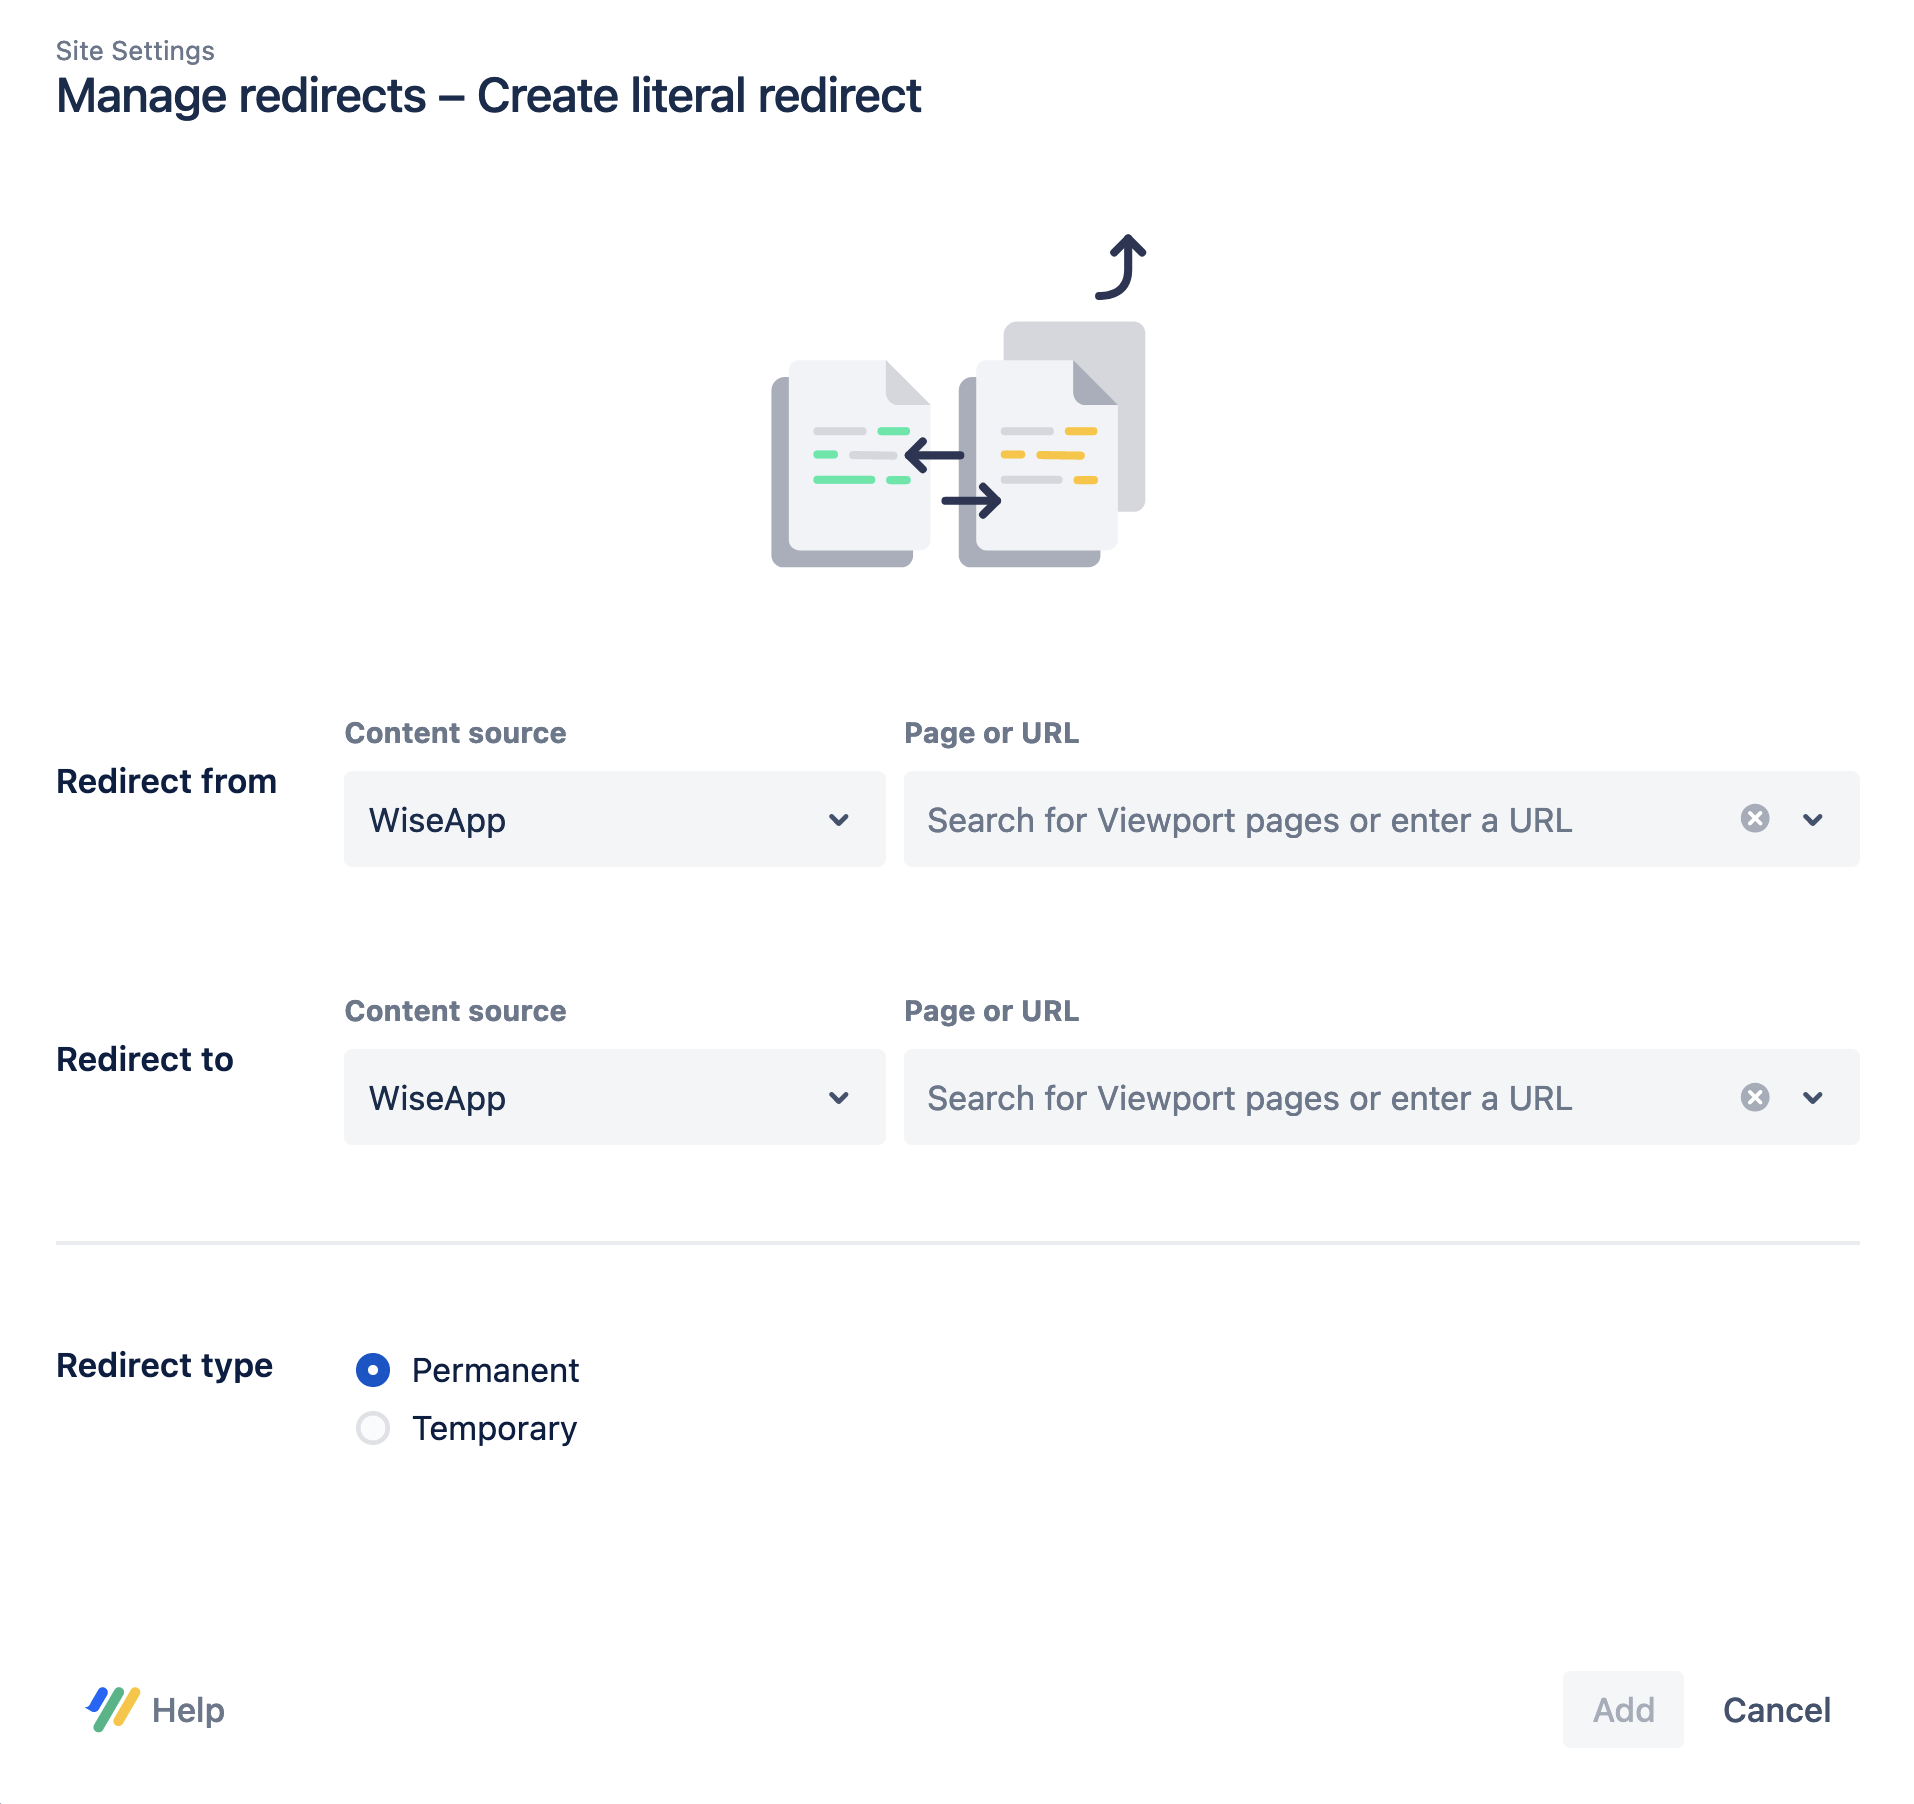
For the Redirect from fields, select a content source and page from the dropdown or directly enter a path from your Scroll Viewport site.
For the Redirect to fields, you can select a content source and page from the dropdown, directly enter a path from your Scroll Viewport site or enter an external URL. We recommend you review the list of disallowed redirects to ensure that the redirect you create will work.
Choose the redirect type permanent or temporary. Read more about the different redirect types.
Click Add. You are taken back to the list of existing redirects.
Click Save. The redirect option in Site Settings will state Active Redirect(s).
Click Close.
Click Update site and Go Live to activate your newly created redirect.
Saving or deleting redirects in your site settings won’t affect your live site until you go live with the changes.
Redirect Types
For each created Literal Redirect, a Redirection Type will be associated with it. Scroll Viewport offers two types of redirects you can select:
Permanent Redirect
A permanent redirect tells browsers and search engines that the original URL has permanently moved to a new location. This is the most commonly used type of redirect when you want to preserve the SEO value of the page.Temporary Redirect
It indicates that the move is only temporary. Search engines are told to keep the original URL indexed instead of the new one. This type of redirect should be used sparingly for situations where content is temporarily moved.
Disallowed Redirects
To prevent your users entering endless loops of redirects, we have placed the following limitations when creating redirects:
sourceandtargetvalue can’t be the same path
Disallowed paths
Redirecting from the site preview, root page or the search of your Scroll Viewport site is not possible. They correspond to the following disallowed paths:
/_search*/preview*/
Literal Redirect Examples
Here are some examples for how to create literal redirects for a Scroll Viewport site.
Recover broken links by pointing to the next most-relevant content
The following example shows how to permanently redirect an old URL which doesn’t exist anymore because the Confluence page (and related Confluence page ID) has been deleted or changed.
You can redirect this ‘broken link’ to other content that could be relevant to the users who try to access the removed content.
In this case, set the following values:
Source:
/my-content-source/my-article-1Target:
/my-content-source/my-article-2Type:
permanent. Uses the HTTP response status code “307”
Since the redirect is from and to page within the Scroll Viewport site, we are using relative paths for the URLs you want to redirect.
If you use the advanced mode, the redirect is:
literal /my-content-source/my-article /my-content-source/my-article permanentUse landing page elements to direct users to external locations
You can use the URL of a pinned page or content source to direct your users to the marketplace of your app or to another external location, when they click on these elements in the Scroll Viewport landing page.
In this case, set the following values:
Source:
/my-content-source/my-articleTarget:
//www.example.com. Since the redirect is to an external page, we are using an absolute paths for the redirect target.Type:
permanent
If you use the advanced mode, the redirect is:
literal /my-content-source/my-article //www.example.com permanentMaintain stable links for your in-app help
With Scroll Viewport, you can display a simplified view of your help content within your own app using an iframe. More generally, you might also want to directly link to and open specific articles in your Scroll Viewport site when your users click defined elements in your app or the F1 button.
To ensure that your users reliably end up at the right location in your site (even if the original pages was deleted or the content moved to a different page), define a new URL for your specific article (e.g /in-app-help/my-article) and map this to the corresponding article in your Scroll Viewport site:
In this case, set the following values:
Source:
/in-app-help/my-articleTarget:
/my-content-source/my-article-2Type:
permanent
Since the redirect is from and to page within the Scroll Viewport site, we are using relative paths for the URLs you want to redirect.
The query parameter ?inAppHelp=true does not need to be specified in the redirect. The parameter will always be respected (and simplified view of the page shown) if appended to the target URL.
If you use the advanced mode, the redirect is:
literal /in-app-help/my-article /my-content-source/my-article-2 permanentYou can now embed the newly defined URL in your app’s source code. Whenever the target location of the in-app help content changes, you can edit the redirect instead of modifying the URL in the source code of your app.