Create a Multilingual Help Center
A multilingual help center is a great way to provide better and more appropriate help to an audience that speaks different languages.
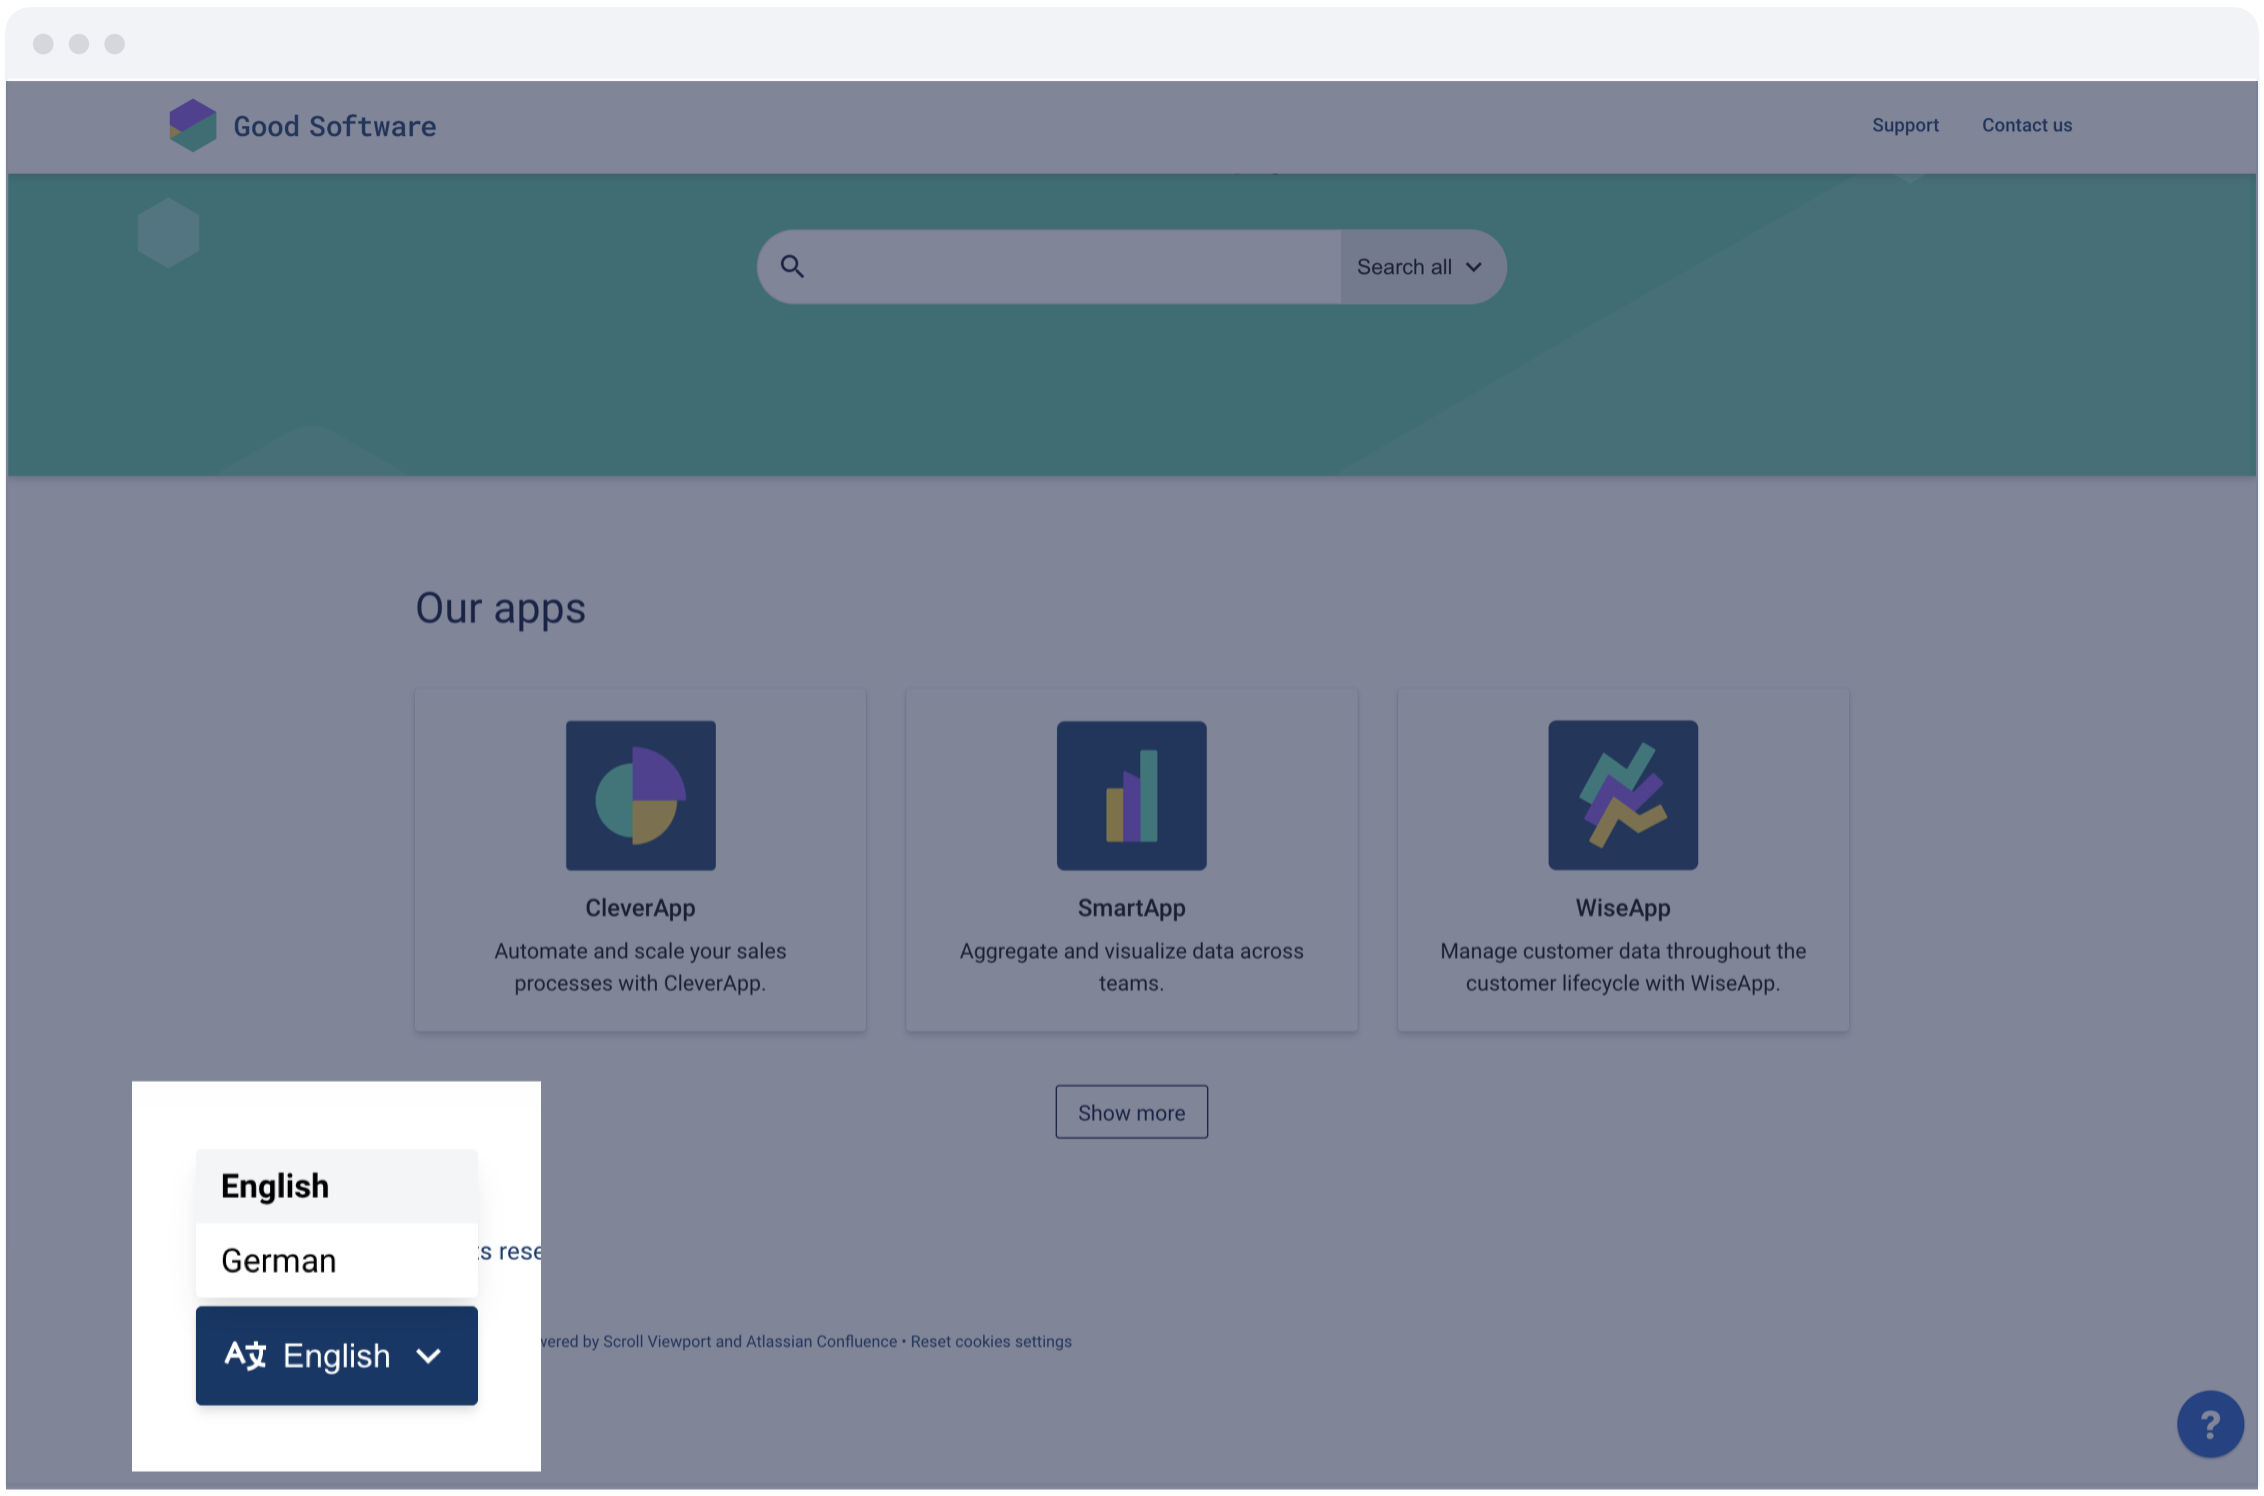
Like any multilingual website, a multilingual help center has:
content available in more than one language - ideally this is the case for every piece of content or the majority of content
pages that are optimized for the currently selected language - default texts and error messages appear in the correct language and the HTML metadata indicates this language to screen readers and search engines.
With the Scroll suite of apps, it’s easy and quick to deliver a help center in more than one language.
To follow the steps described on this page you will need to install:
Why a Multilingual Help Center?
Whether you are targeting new global markets for your products or services or are required by law to provide content in specific languages, making content available in more than just one language (e.g. English) has a series of advantages:
It can help you reach and connect to your audience better
It can ensure that you provide the same experience to all your users or customers regardless of the language they speak or the language they are most comfortable with
It can prevent or avoid confusion or misunderstanding, especially if the topic is complex and very technical
Step 1: Define the languages of your help center
The first step is to define for yourself which languages you want to make available in your help center and decide which of these should be the main or default language of your help center.
Once you have defined this, you can start creating a site with Scroll Viewport. This site will become your help center.
1.1 Set your site’s default language
In the “New site” form, for Site language select your default language:
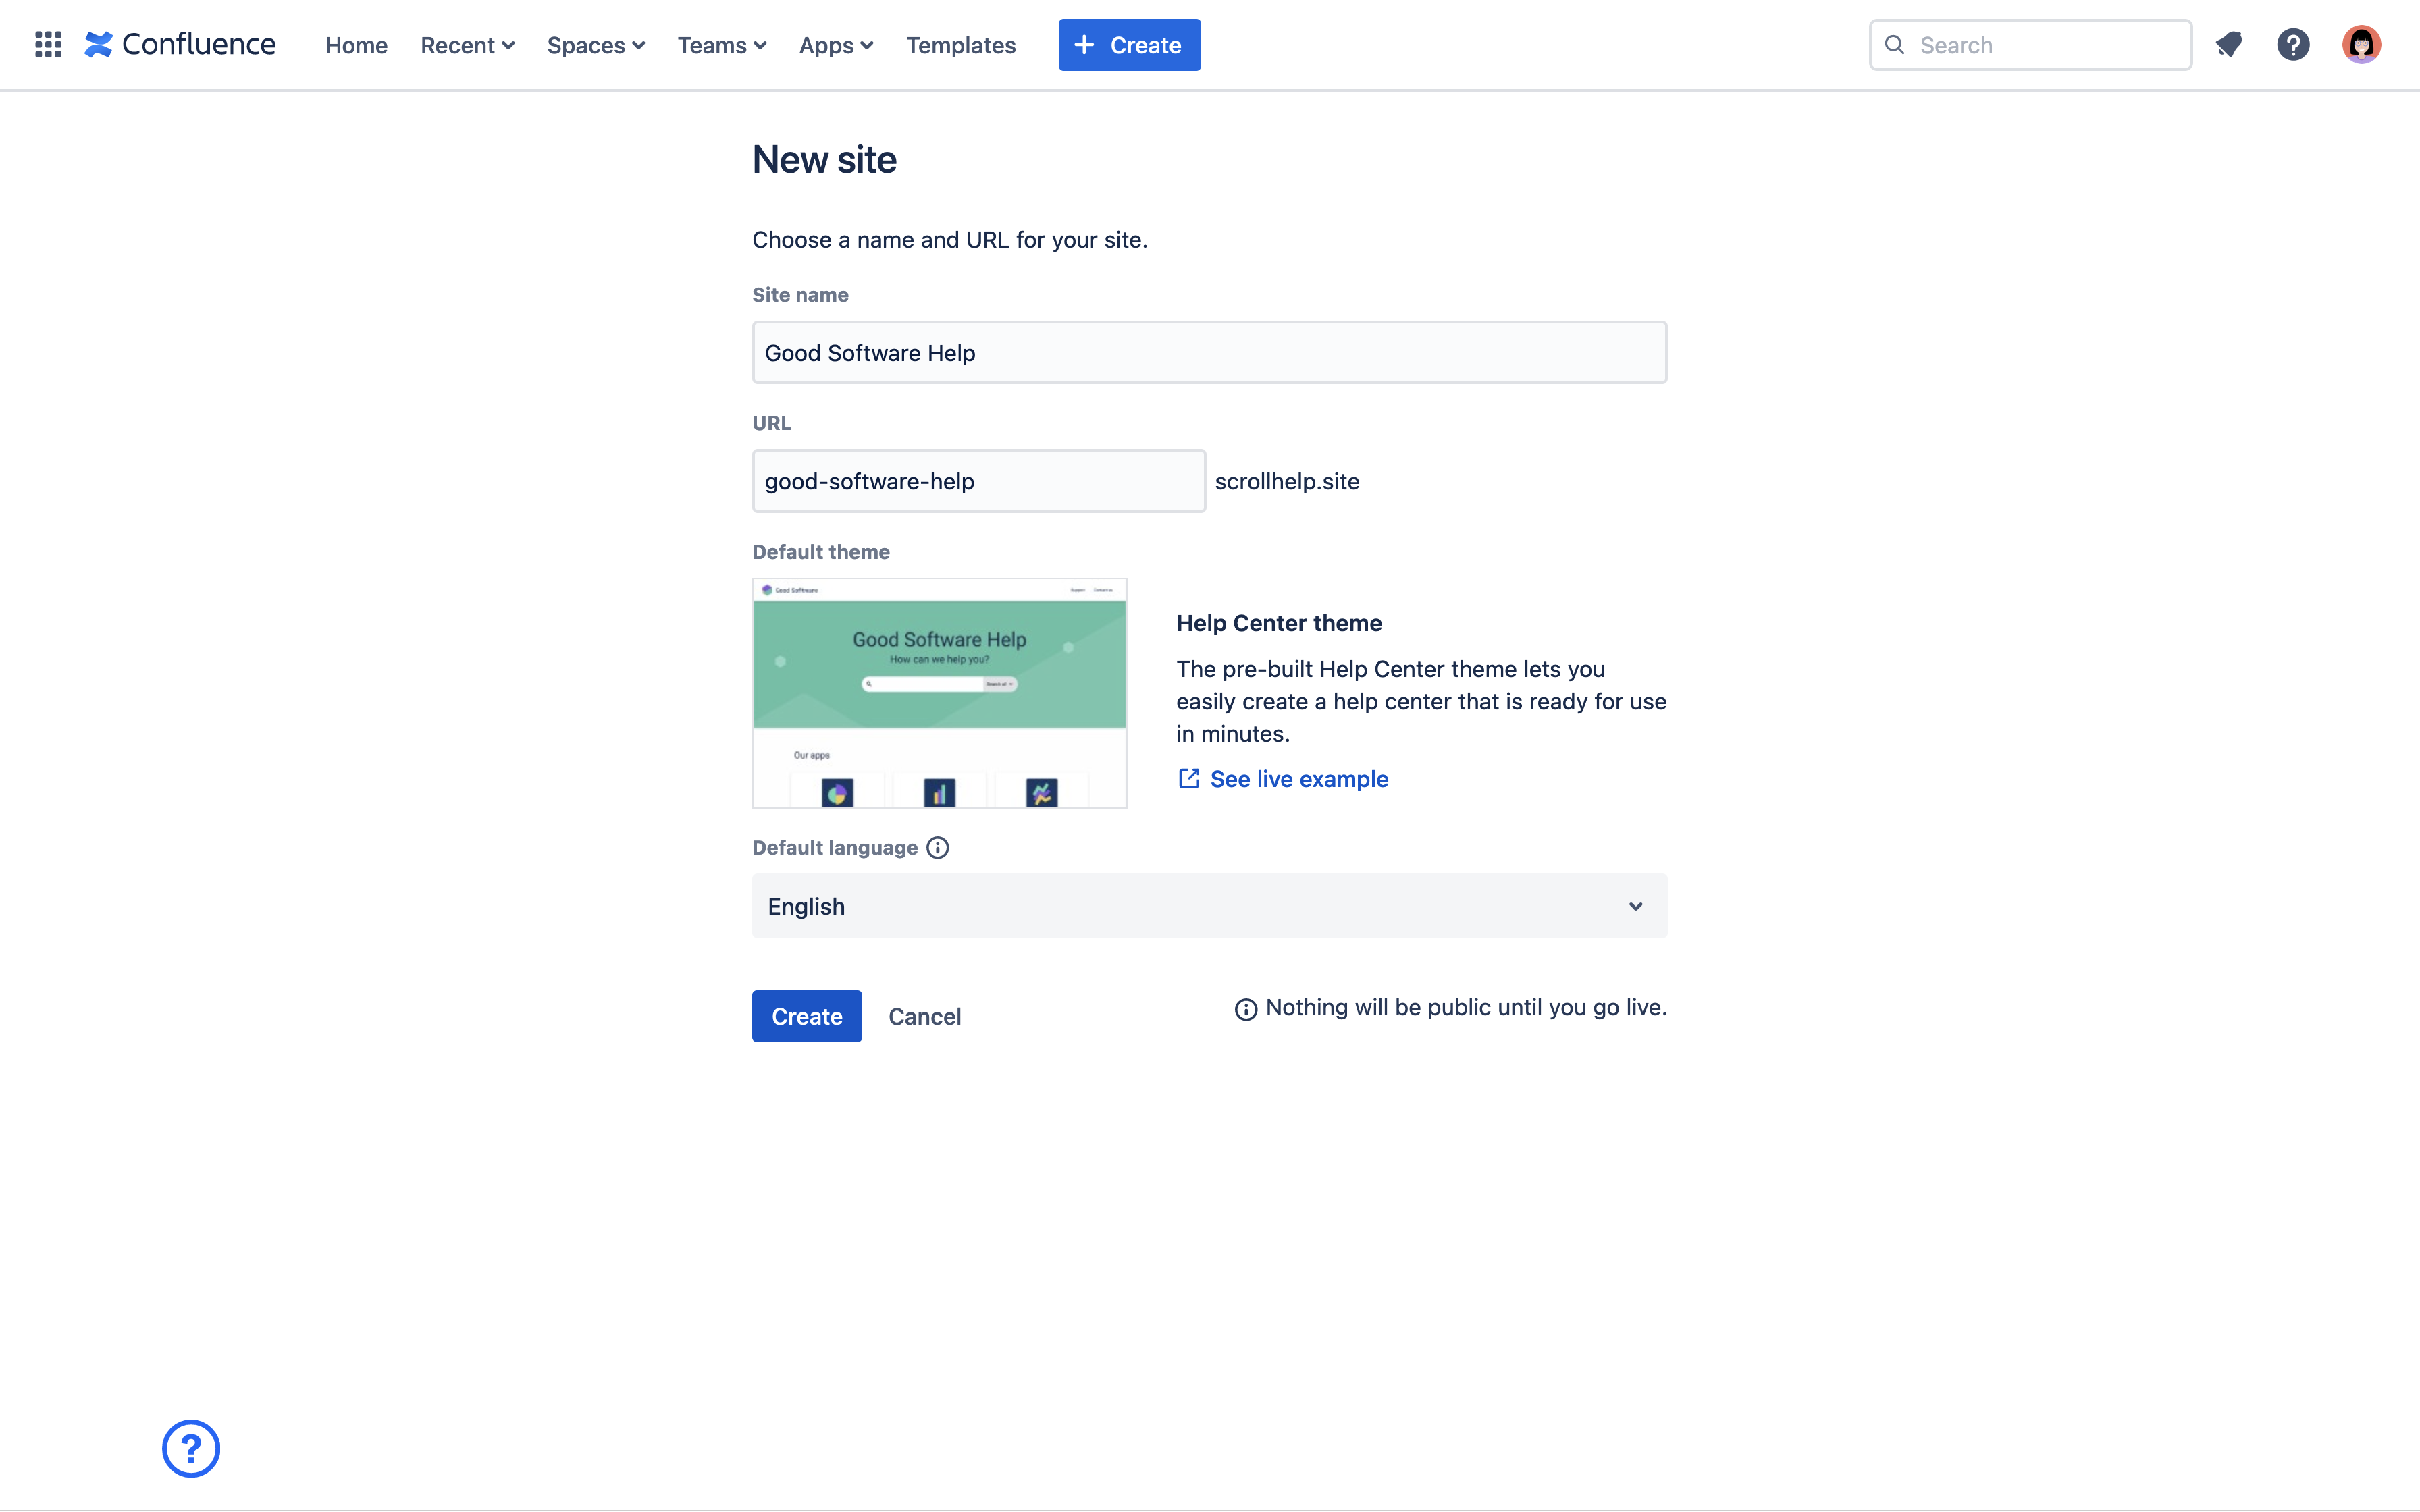
Ideally, your default language is the language that most of your audience speak or understand. This is the language they will get to if no language is specified in the URL or elsewhere in the site.
You can always change the default language later on under Site Settings → Language → Manage.
→ Get going: Create a Site
1. 2 Add more site languages
Under Site Settings → Language → Manage you can add more languages to your site.
It makes sense to add more than one site language, if you plan to deliver help center content in more than one language.
Delivering help center content in more than one language is especially relevant if your product or service is available in various languages or sold in different regional markets, or if local market regulations require that documentation is available in all (co)-official languages.
→ Get going: Set Site Language(s)
At this point, your site has its languages defined but there’s no content yet. In the next step, you’ll learn how to develop and translate content and add it to your help center.
Step 2: Develop Content in an Authoring Language of your Choice
To start creating content, we recommend using Scroll Documents and Translations for Scroll Documents. The apps fully integrate with Scroll Viewport and will help you manage your content and translations later on.
2. 1 Create a Scroll Document for your documentation
In a first step, you create a document with Scroll Documents.
Already created a Scroll Document? Please proceed to step 2.2.
Scroll Documents helps you manage your content development workflow. You can create your document from scratch or from existing content.
When creating documentation, start developing content in the language that you or your team feel most comfortable in. That can be the mother tongue of your contributors or your team’s base country of operations.
Don’t worry about other languages at this point. The first goal is to finalize the content in one language, so you have a baseline for your translations.
→ Get going: Create a Document
2.2 Activate and add languages on your document
Since you want to work with documentation in more than one language, you should activate Translations on your document.
In a first step, you’ll be asked to define your authoring language. By this point, you should have already developed some content. That is your authoring language. It’s okay if your authoring language and your help center’s default language differ. In many cases, however, they’ll be the same.
After setting the authoring language, you can start adding all the other languages that you plan to offer in your help center. At this point you’re not translating yet, you are just preparing your document to absorb translated content later on.
→ Get going: Define Languages
Before moving on to actually translating your content, it’s a good idea to have completed developing the content in the authoring language.
Step 3: Create Translations of the Content from the Authoring Language
After defining all the languages that you plan to make your content available in, you’re ready to provide the actual translations.
Unless you aren’t actively using the versioning feature, we recommend to only add translations to saved versions and keep the Working version in the authoring language only. This makes it easier to separate the authoring and translating process.
For now, you can choose between two translations methods:
Translate manually in Confluence
Export/Import to XLIFF, a global localization file standard, and share it with external translators
Machine translations will be supported soon.
→ Get going: Create and Delete Translations
Step 4: Add All Content to your Help Center
Now that you’ve translated all or most of your content, you are ready to make these translations available in your Viewport site.
Even if you’ve added several site languages, for each of your document content sources and each of their versions, you will be able to decide which translation should show and which not.
If your site is set to more than one language, we recommend to make all site content or as much as possible available in all your site languages.
→ Get going: Display Translations