Add and Remove Content Sources
A Scroll Viewport site can consist of many content sources. A content source can be a Confluence space or a Scroll Document.
The advantage of adding a Scroll Document as a content source is that it allows you to display versions and variants of your content on your site and make use of advanced content management functionality in Confluence.
To be able to select a Scroll Document, make sure you install the Scroll Documents app and create a document first.
Already using a Confluence space as a content source for your site and want to replace it with a Scroll Document? Learn how you can convert a space to a Scroll Document.
Adding a content source
To add content sources to your site, from the site overview page, click on the plus (+) button on the top right of your Content sources table.
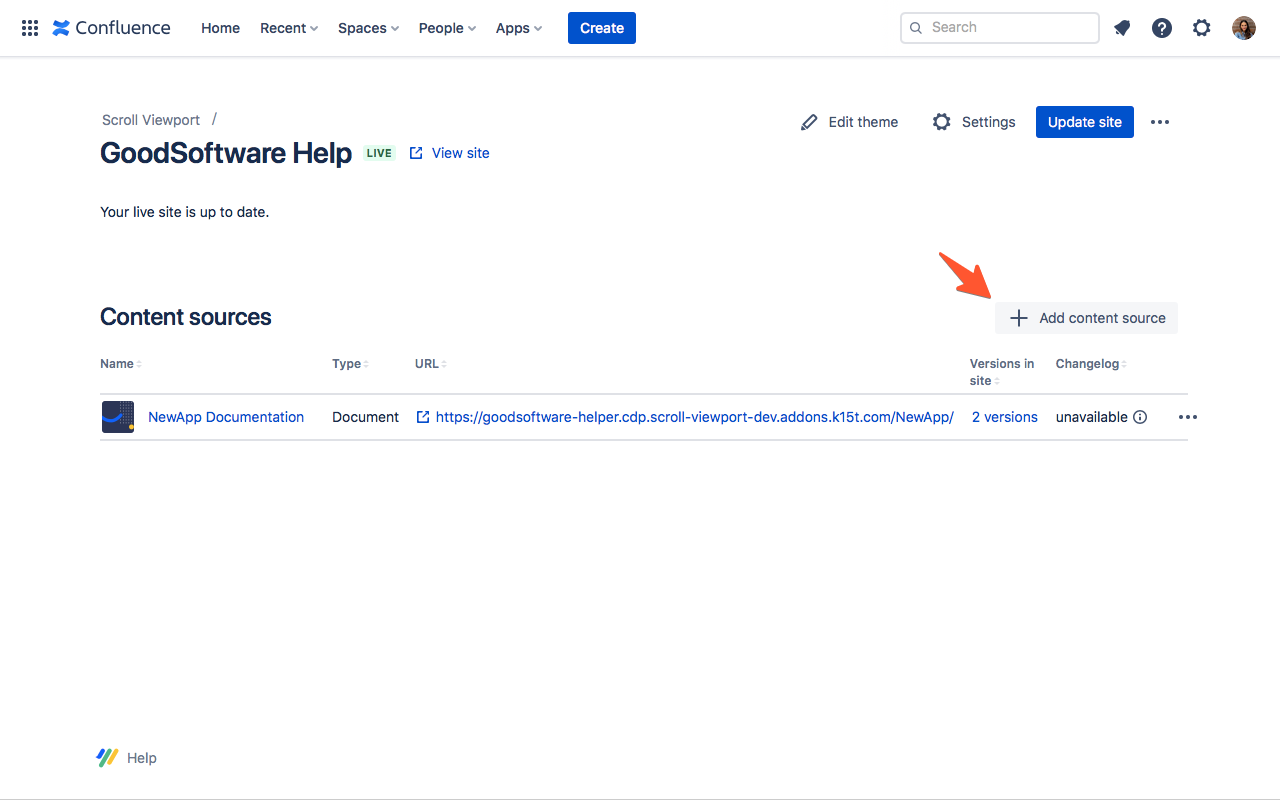
A new window will pop up where you can add one new content source at a time:
Select your content source type: Space or Scroll Document.
In the content source field, enter the name of your document or space.
If you can’t find your space or document, have a look at our troubleshooting articles Unable to Add a Document as a Content Source or Unable to Add a Space as a Content SourceSelect the space or document from the drop down list and click Next.
Configure the URL segment for each of your content sources. By default, Scroll Viewport will use the space key or document name for the content source segment of the URL.
Only for a Scroll Document: You can select which versions, languages and variants you want to add to your site.
Click Save and see your content source appear in the content source table.
Make sure that the spaces or Scroll Documents you add have the right permissions set, so that Scroll Viewport can access its content and display it on your site.
You can always go back to the + button and add more content sources to your live site at any time.
Adding a Scroll Document as a content source
When you add a Scroll Document as a content source, you can select which versions, languages and variants you want to add to your site.
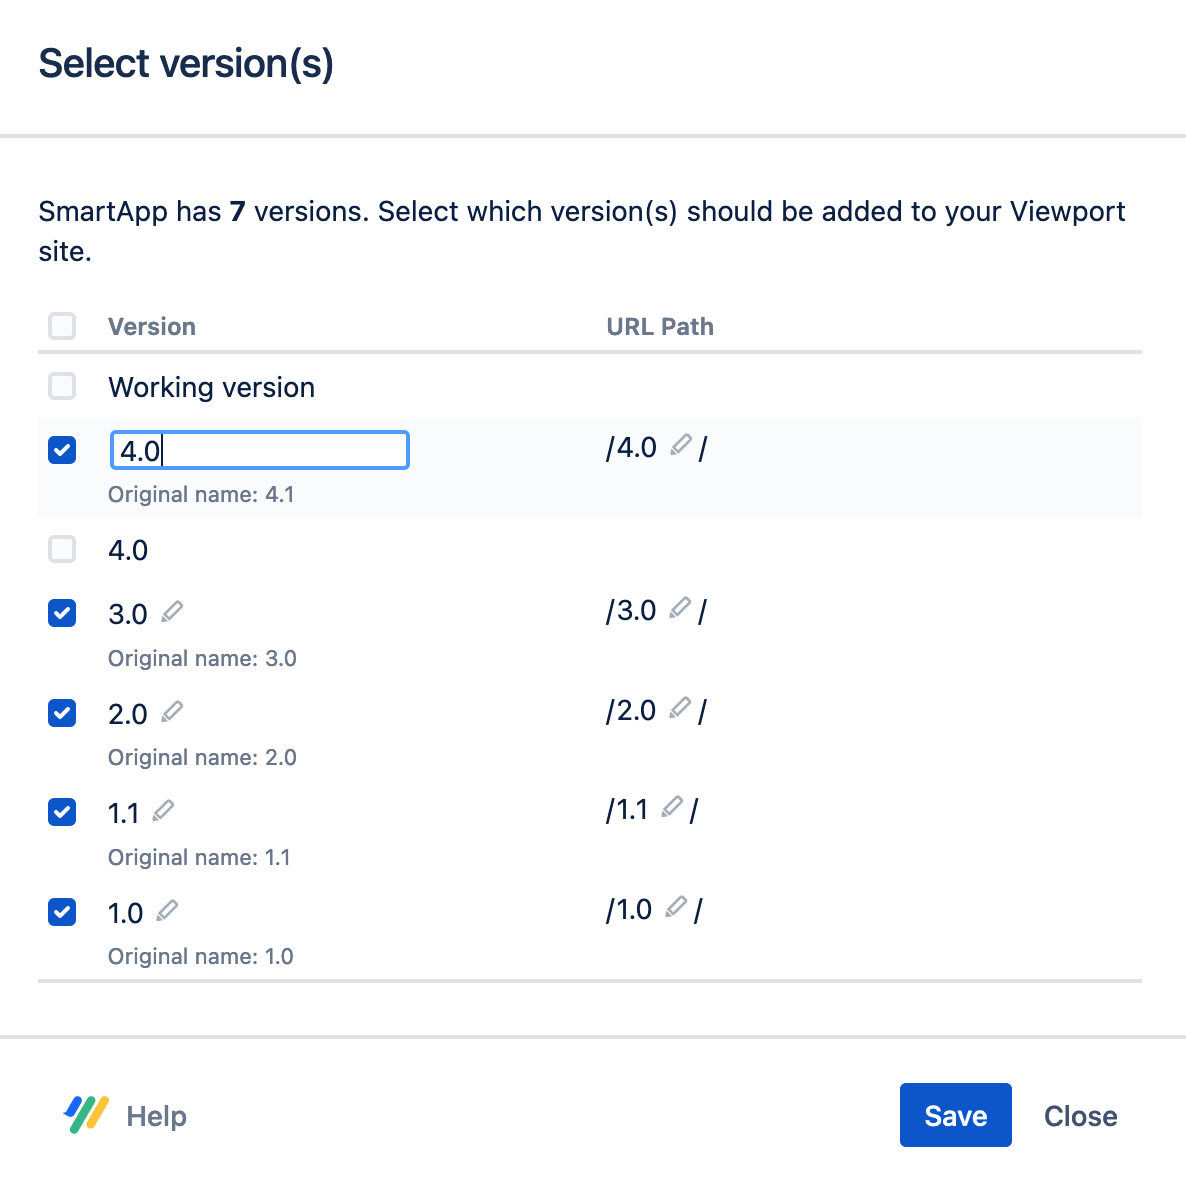
Check at least one version from the list. Learn more: Which versions should I add to my site?
If you have activated languages for your document and want to be able to select which languages should be included in your site: Make sure to first set your site’s languages.
If you add variants or languages to your site at a later point (and your site was already live), your URL format will change. We recommend that you allow the app to set up up URL redirects for you in order to avoid broken links. Read more on: Why Allow to Set Up Fallback Redirects when Adding Variants and Translations?
The selected and included versions, languages and variants will be shown to your users in a drop-down picker in your site’s header (for variants and versions) and in your site’s footer (for languages)
Optional: When you select a version and variant, you get the option to adjust the URL segment of the version/variants and the name that gets displayed in the picker. Editing the fields has no impact on the names that get displayed in your Scroll Documents document details.
Going live with your new content sources
On the overview page, you will see all of the content sources that have been added.
You will need to update your site to re-generate a preview before the new content sources will appear on your live site.
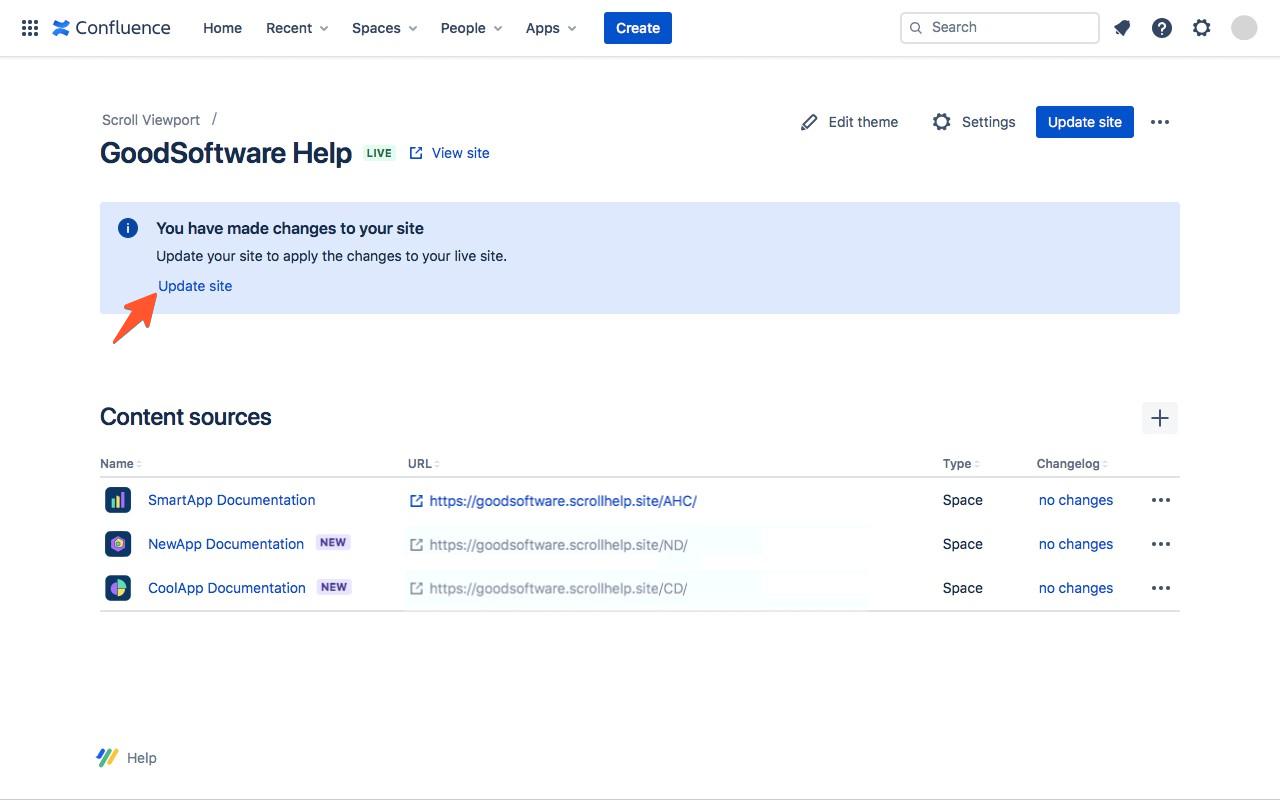
Preview your newly added content sources in your site or go live directly.
If you selected two versions/variants or more, a version/variant picker will be added to your site for your users to easily switch between content.
Prevent content from going live
If you add a content source, all of its content will be part of the site. For Scroll Documents, this includes only the versions you have selected for your site.
Remember to restrict any content within the space or Scroll Document that you don’t want to be live on your help center.
You will need to restrict this directly in your Confluence space settings or Scroll Document restrictions, not within the Scroll Viewport app. Learn more about how you can configure which content Scroll Viewport can access.
Remove content sources
You can remove content sources from your live site at any time.
To remove a content source, find it in the Content sources table and open the ••• menu next to it. Select remove and click remove again from the dialog to confirm your action.
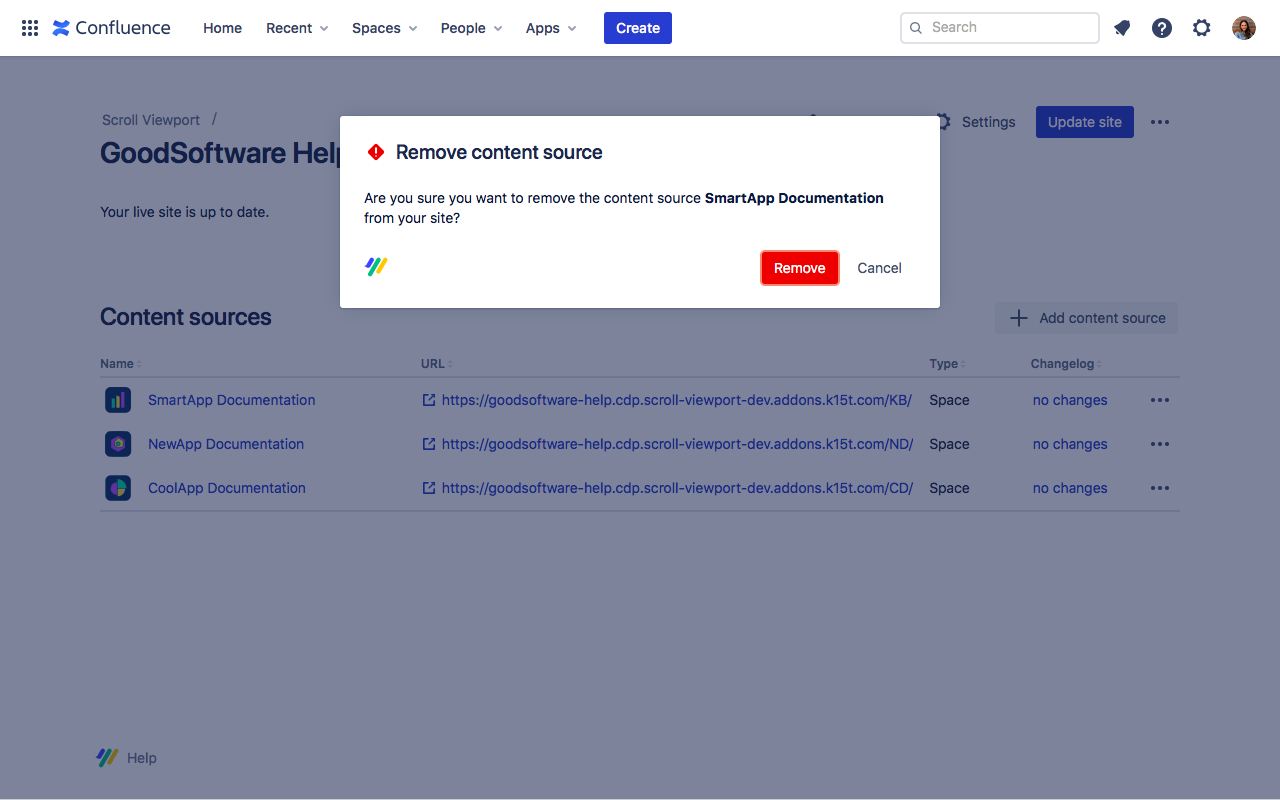
Remember to click update site each time you add a new or remove a content source. A removed content source will still be part of your live site until you go live again after making the changes.
Handling multiple content sources with a portal page
If you add more than one content source, your site will have a new landing page: the portal page.
If you set up a help center with multiple content sources, customizing the portal page in the theme editor will allow you to optimise the browse experience for your users and help them navigate your content.