Organize Page Tree
Using the Organize Page Tree option you can update and rearrange the pages of each document version, any time after you created a document or saved a version. You can also delete or add new pages.
The page titles and structure you define for each version of your document will display as an outline in the Document Reader.
This video tutorial shows how to edit the structure by adding new pages, copying pages, and including existing pages for each version of your document:
Edit or reorder the page tree
To organize the page tree:
For a new document: First, click New document in Document Library to create a new document. Select start from scratch option and fill out the document details. Click next to Organize Page Tree.
For an existing document: Using the space sidebar or document’s version history table, navigate to the page tree of the version you want to update. From any page in your document, click Document toolbox and select Organize Page Tree.
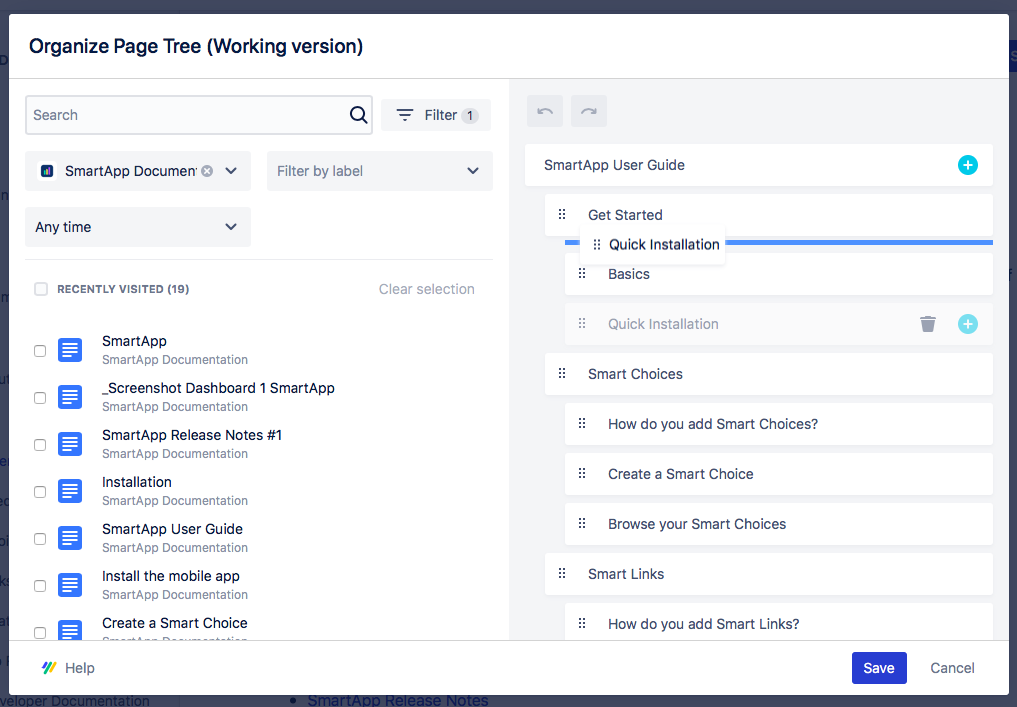
From the Organize Page Tree dialog, click the page title to edit or rename the page. The page is renamed in the version page tree.
To reorder a page in the outline, click and drag the page to move it to a new position. The blue bars indicate the position in which the page will be placed in the hierarchy
Add a new page to the page tree
With the document composer, you can quickly add pages to your document in bulk. You can use this option to either:
Add a new blank page
Add a copy of an existing page
Include an existing page
Use advanced search options to quickly find the pages you're looking for and add them to the document by dragging and dropping them into the document page tree.
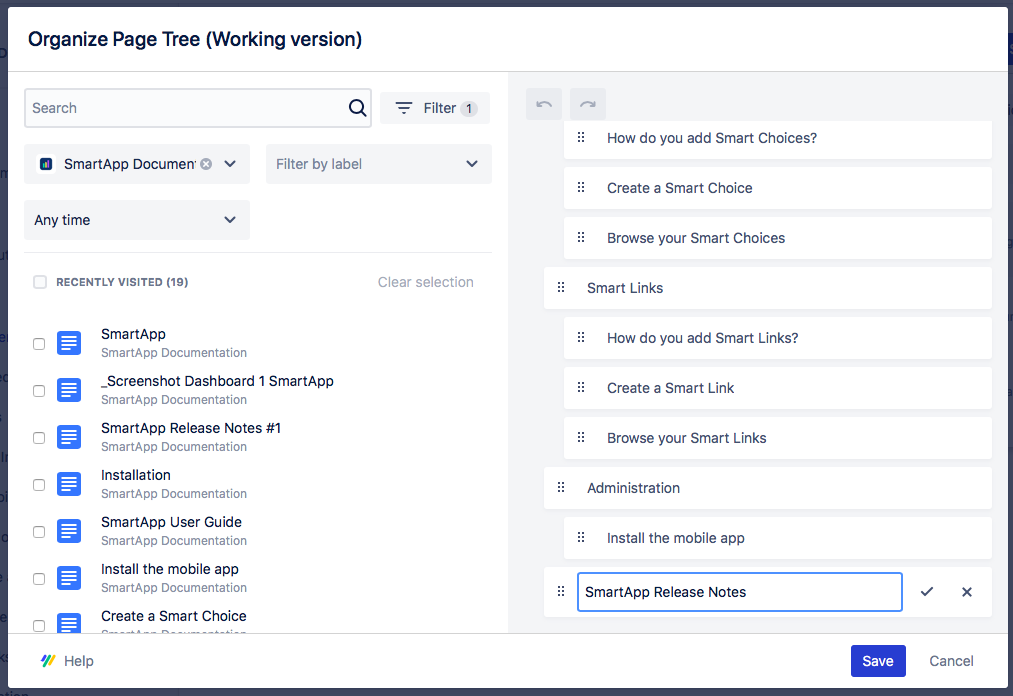
Add a new blank page to your document
Hover your mouse over a page where you want to add a new blank page in the page tree and click +. A new new page box displays.
Enter a page title and click the checkmark.
Add copy of an existing page to your document
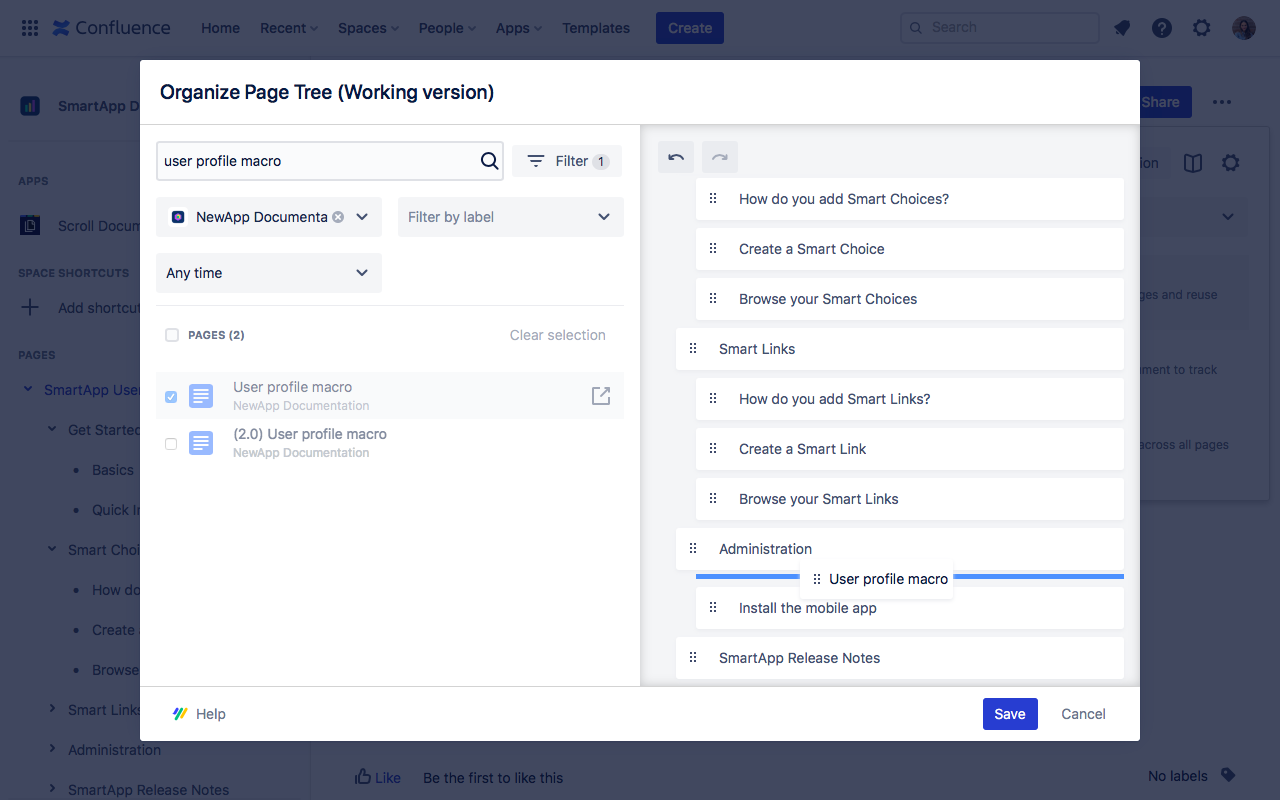
Search for the page you want to copy into your document using the search bar. You can narrow down your search using the advanced filters like:
Space
Label
Time range
Once you find the page you're looking for, drag it to the document page tree and drop it at the location of your choice.
You can add copies of multiple pages at the same time. Select all the pages in the search result you want to copy into your document and drag and drop them to the desired location on your document page tree.
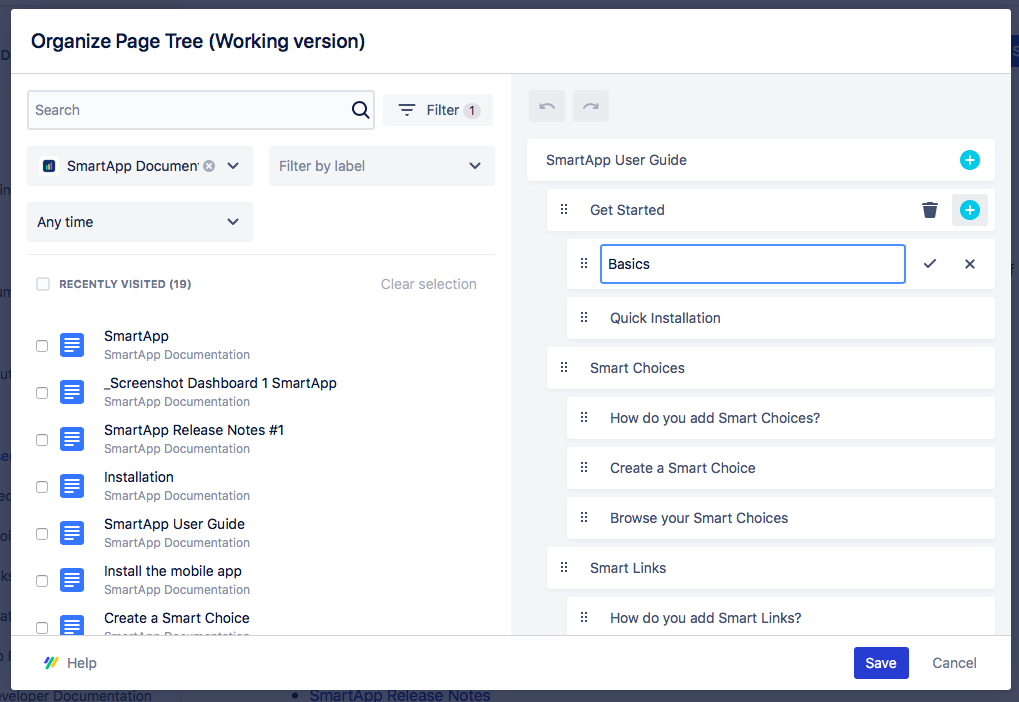
You can rename a page if you like. To do so, click on the page title in the document page tree, rename the page title, and click the checkmark.
Include an existing page
Reference the most up-to-date content of the page being added to the document. Any changes made to the included page always reflect in the document.
When you include an existing page to a document, Scroll Documents creates what is called a 'proxy page'. A proxy page is a special page with the same title of the page being included, and contains an Include Page macro.
To include an existing page to the document, you can follow the same steps used when adding a copy of an existing page to your document.
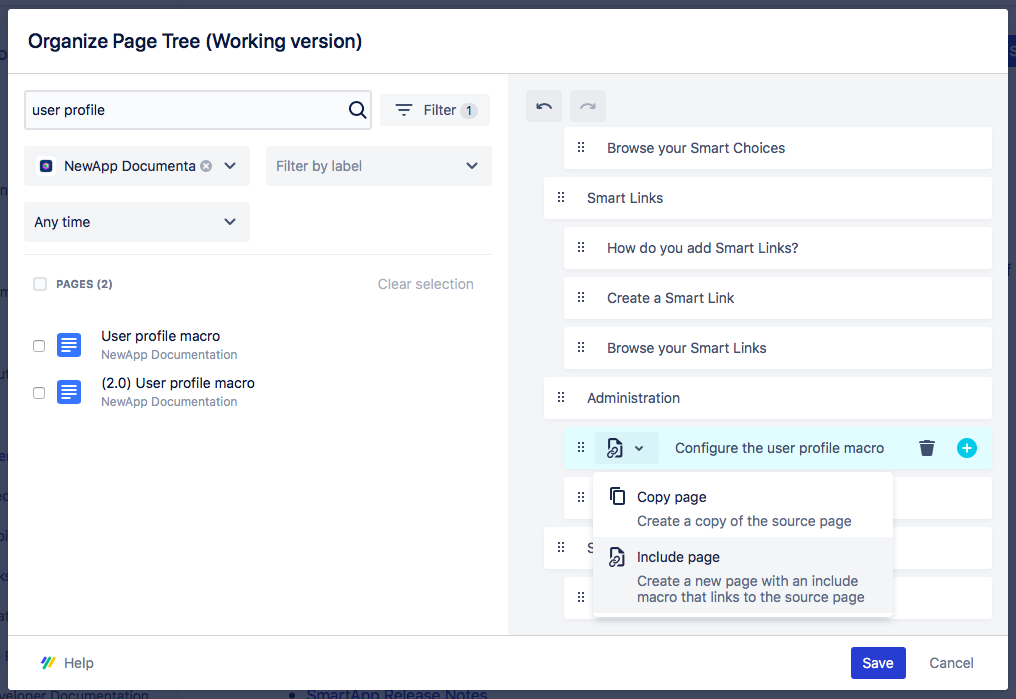
Search for the page you want to include. Drag and drop it into the document page tree at the desired location. Click the icon to the left of the page title and select Include Page.
Remove a page from the page tree
Click Delete to delete a page from your document. Keep in mind that deleting a page from your document page tree also deletes the page in the space.
If you delete a page in the page tree by accident, use the undo button to recover it. In addition, no changes to the page tree are final until you click Save.