Manage Restrictions
Manage restrictions for your document and each of your document versions. You have control over who can view and edit pages in the version page trees, and update version details like workflow statuses.
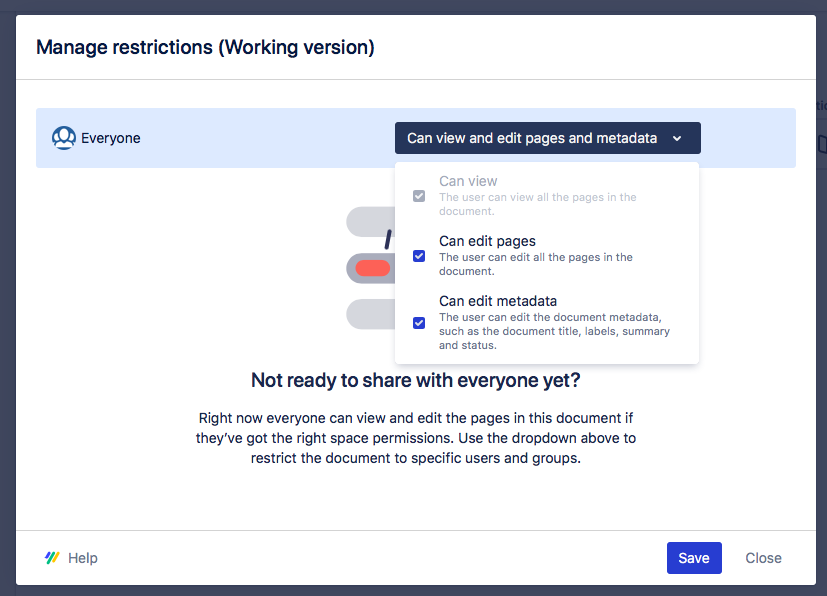
There are a few different restrictions you can apply to a document and its versions. These are:
Restriction | Description |
|---|---|
Can view | If set, then for the selected versions the user/group will be able to:
|
Can edit pages | If set, then for the selected versions the user/group will be able to:
|
Can edit metadata | If set, then for the selected versions the user/group will be able to:
If set for the working version versions, then the user/group will be able to:
|
If any user or group is permitted to view a version, they are able to add new pages to the version as well.
To prevent a user or group from adding pages to any version, revoke Add page permissions using Confluence’s space permission.
Manage Restriction of the Working and all Saved Versions of the Document
In this section you will learn how to access and manage a document’s individual version restrictions.
The version specific restrictions can be found in the Document Manager:
Click Scroll Documents from the Apps section in your space sidebar.
From the Document Library, click the document card of a document.
Or
From a page in a document, click Document toolbox.
Click on the cog icon.
To open the restrictions dialog and set restrictions for a version, follow the steps below:
For the version you want to update, in the version history table click Manage restrictions (the padlock shaped icon).
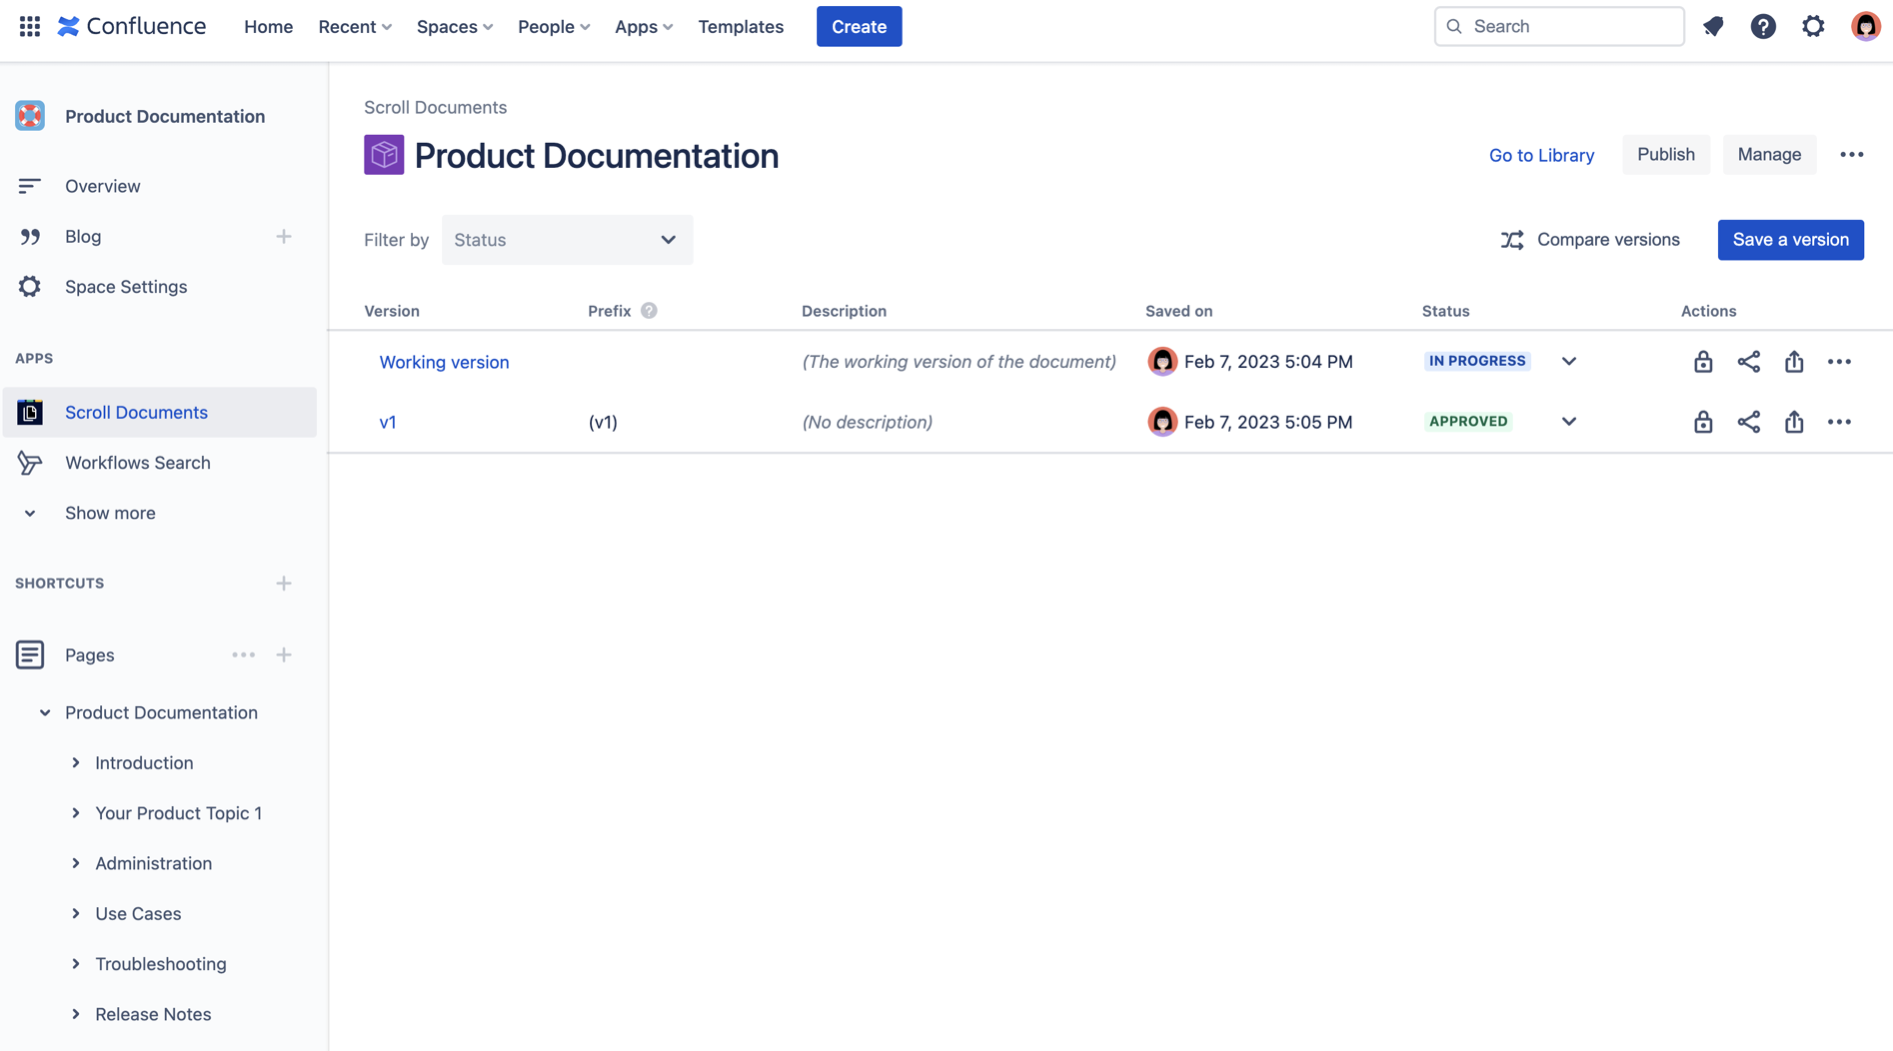
2. Select the restrictions you want to apply to groups or individuals, you can choose a combination of these options to manage restrictions of your documents.
3. Click Save when you are done.
Restrict a Document to Specific Users or Groups
You can also keep certain individuals or groups from modifying a document.
Start by revoking permissions for “Everyone” by deselecting the corresponding checkboxes in the restrictions dropdown.
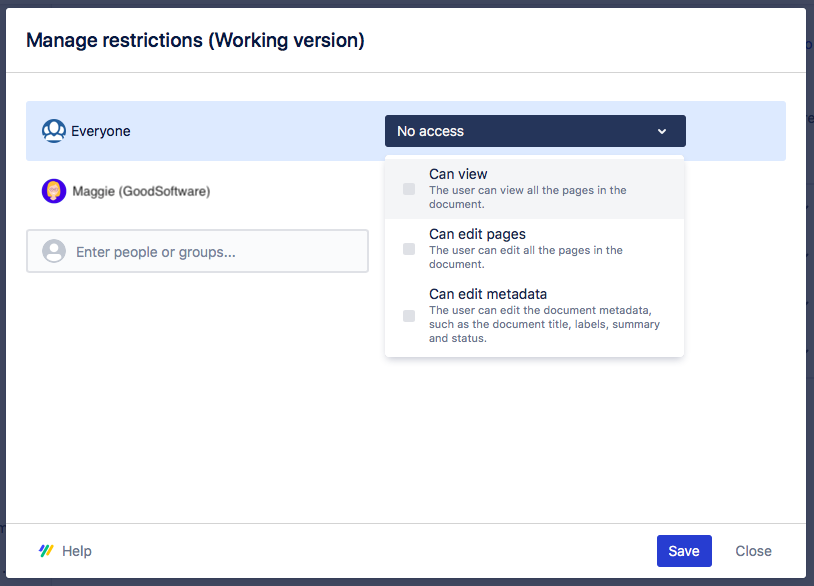
2. Use the user picker to add specific users or groups.
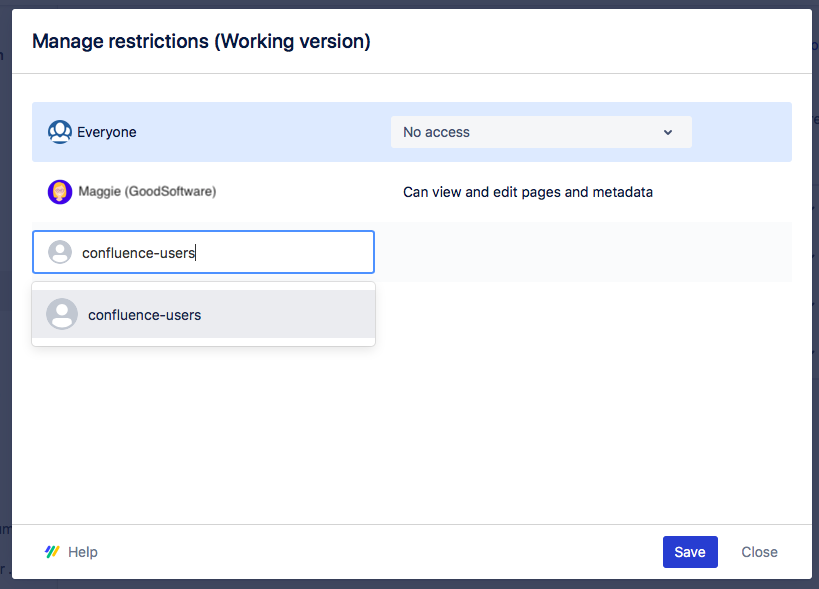
3. Assign the user or group-specific restrictions by selecting the corresponding checkboxes in the restrictions dropdown. You can do this by deselecting the corresponding checkboxes in the restrictions dropdown.
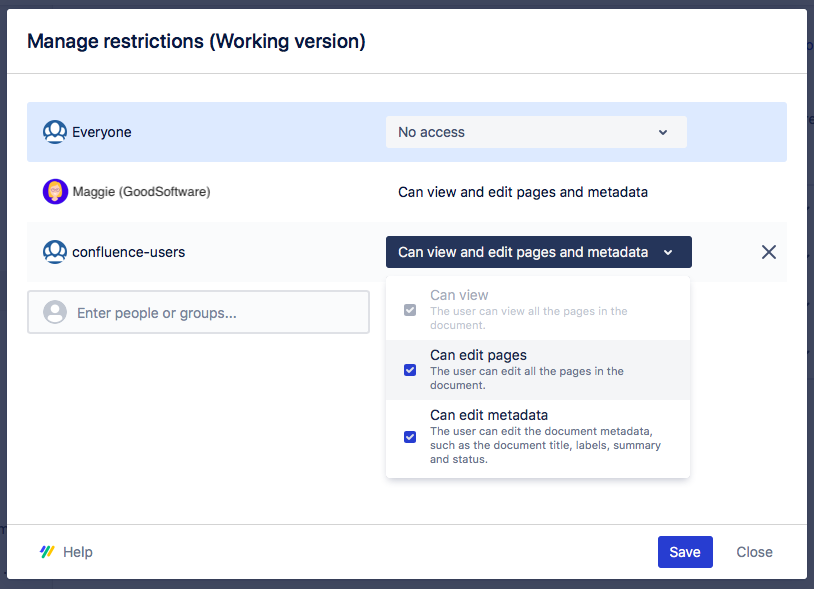
4. Click Save.
How document restrictions affect your Scroll Viewport site
Document restrictions allow you to manage restrictions within Confluence. This is especially helpful during the document authoring phase.
When you publish a document to a Viewport site, you can not determine who exactly can view the content. All of your document will be publicly available on the web under your specified site URL.
However, if you have previously revoked access to ‘Everyone’ on your document, Scroll Viewport might not be able to access your content to make it public.
If you want your document to publicly appear on the live site, in the document manager make sure that one of the following applies:
Everyone can at least view
The user group Confluence-users can at least view
The app user Scroll Viewport for Confluence Cloud can at least view